I didn't expect them to be open on Monday, being a religious public holiday, and Salvos and Lifeline being run by volunteers, I was pleasantly surprised to find that I was wrong. I went into Salvos, looking for but not really expecting to find any sewing books-but what do you know, I found a 3 really good books between 1 and 2 dollars each as well as a really nice denim skirt with a flounce, a style which I really love.
[caption id="" align="alignnone" width="639" caption="Stretch Denim Flounced Skirt. AUD4.50"]
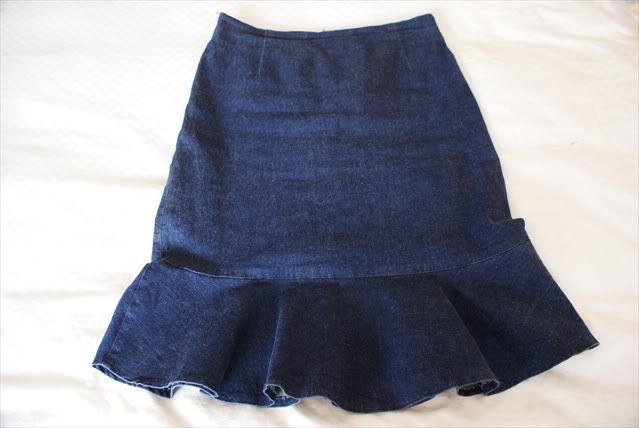 [/caption]
[caption id="" align="alignnone" width="639" caption="Another view"]
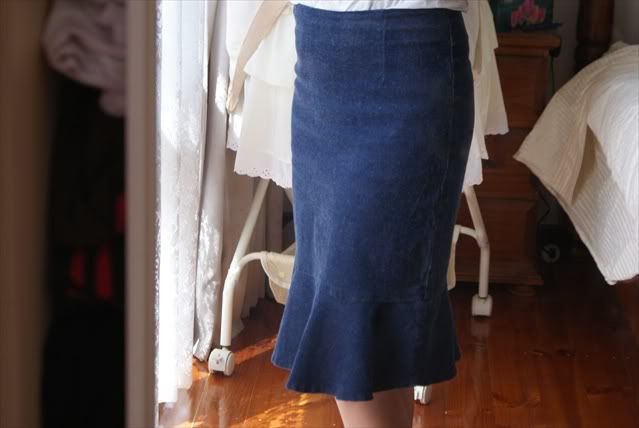 [/caption]
I was really glad I found this, because I was actually planning to make one. I already have a similar one which I made with a maternity stretch panel...
[caption id="" align="alignnone" width="428" caption="My maternity flounced denim skirt "]
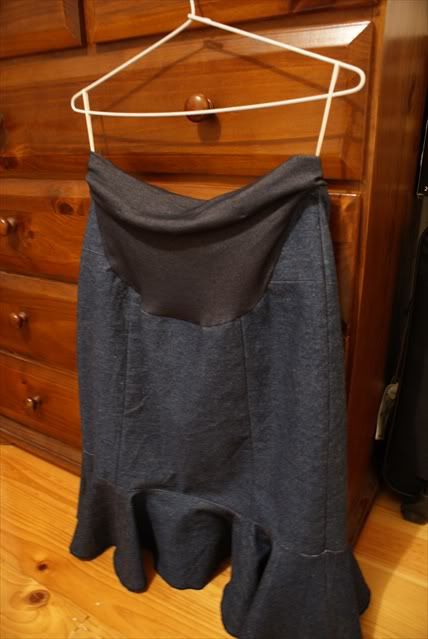 [/caption]
...but it's become too loose to wear since I gave birth. So this will do nicely.
The books I picked up were these:
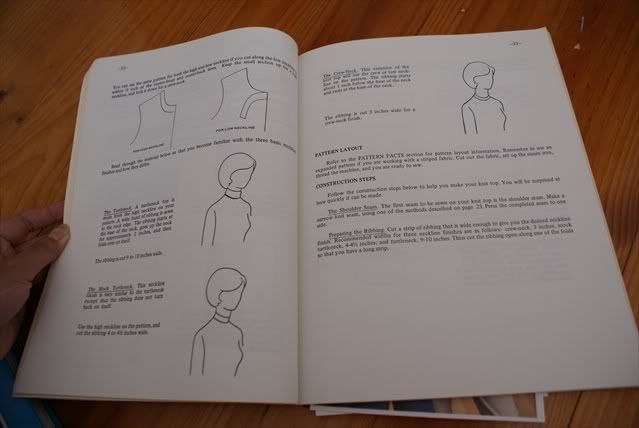
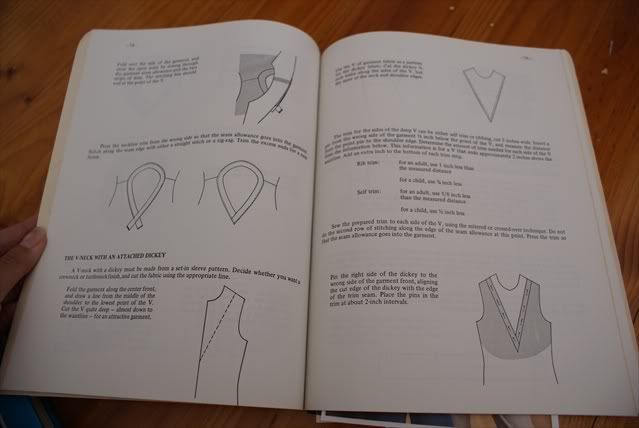
1. Singer: How to Sew Fashion Knits
[caption id="" align="alignnone" width="639" caption="Singer: How to Sew Fashion Knits"]
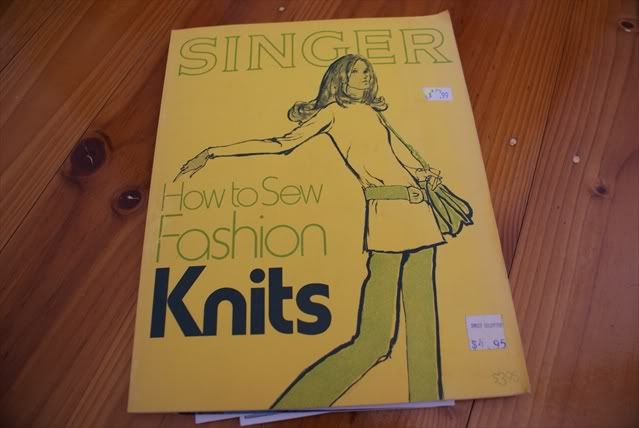 [/caption]
[caption id="" align="alignnone" width="639" caption="Inside"]
 [/caption]
[caption id="" align="alignnone" width="639" caption="Another look inside"]
 [/caption]
Boring line drawings, but useful information on knits. 99 cents.
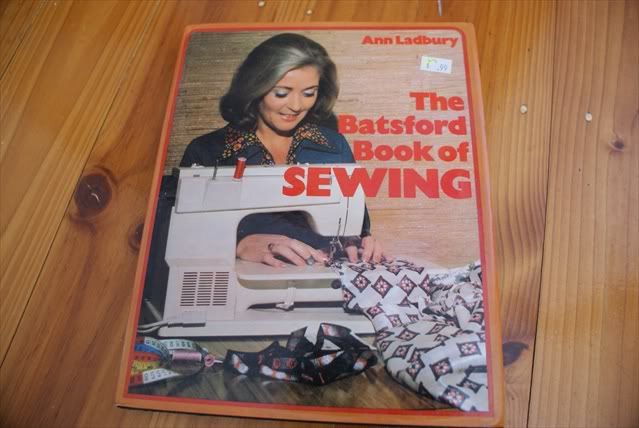
2. The Bastford Book of Sewing by Ann Ladbury
[caption id="" align="alignnone" width="639" caption="The Batsford Book of Sewing"]
 [/caption]
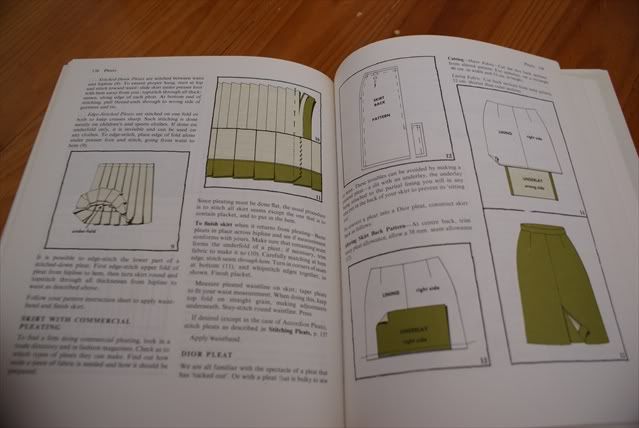
I've got no idea why it's called the BATSFORD book of sewing-there is not explanation inside as to why, and the author is called Ann Ladbury, so I assume it's not sewing methods that she's invented, but someone elses. Printed in 1977, has 500 drawings and phtographs, and divided into alphabetical sections starting from Alterations, Belts, to Waistbands and Zips. A little counter-intuitive, as I was puzzled when I first turned the page and straigthaway saw the section on Alterations. Normally sewing books start with fabric and equipment first, before graduating to techniques. I suppose the author decided to make it into a sort of alphabetical sewing dictionary. Below is an inside look.
[caption id="" align="alignnone" width="639" caption="Inside"]
 [/caption]
[caption id="" align="alignnone" width="639" caption="Another page"]
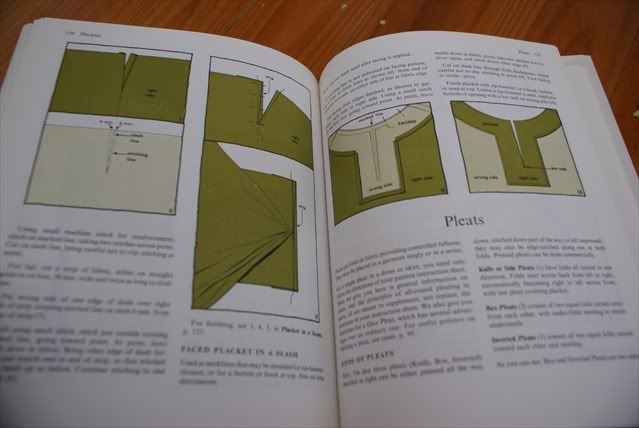 [/caption]
[caption id="" align="alignnone" width="639" caption="Another inside look"]
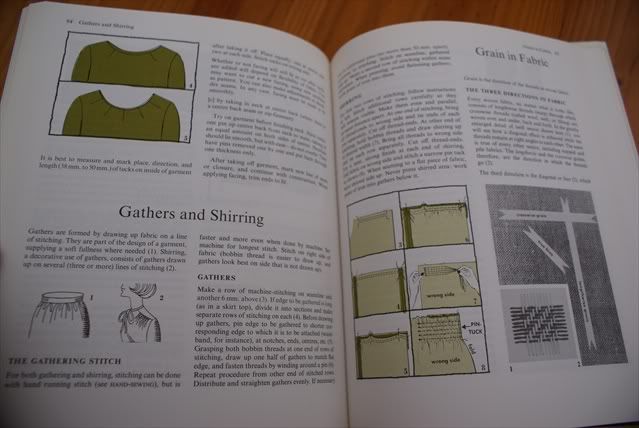 [/caption]
For 99 cents, a pretty good find.
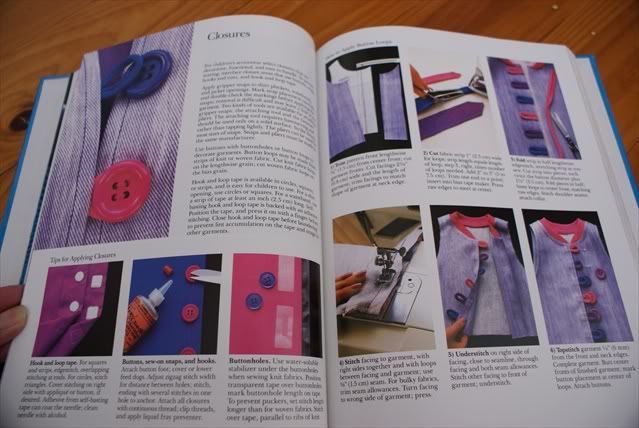
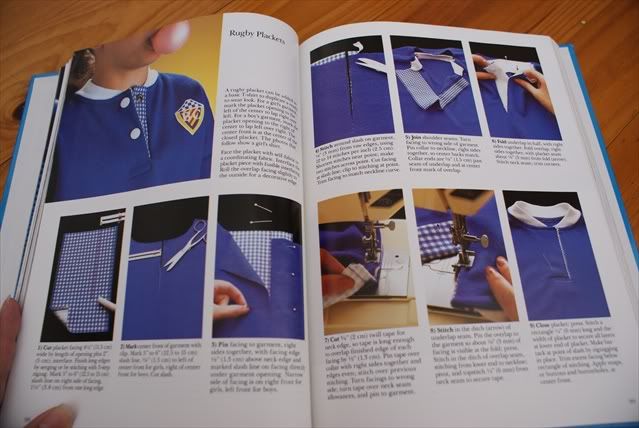
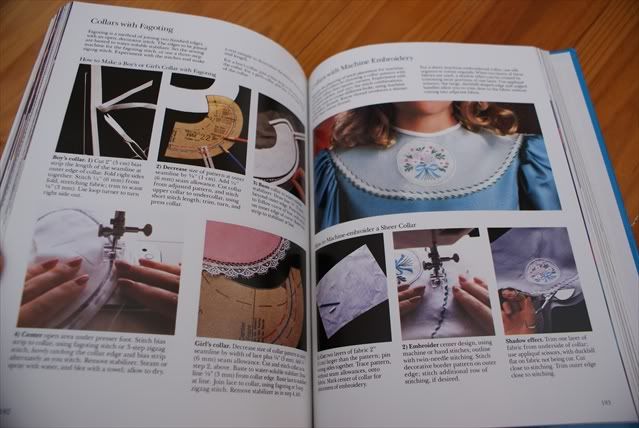
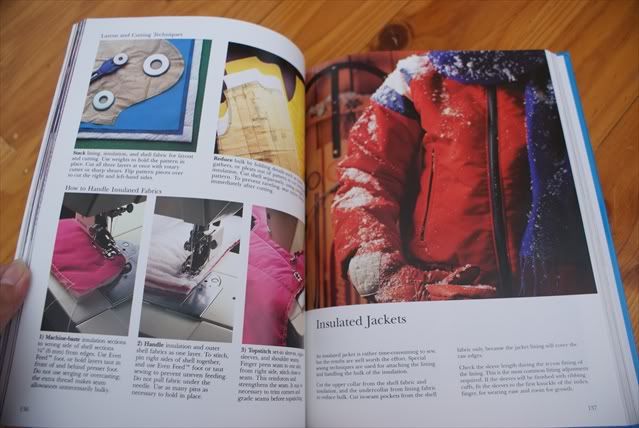
3. Singer: Children's Clothes, Toys & Gifts
I was really happy with this one. It's a Reader's Digest publication, and I love their books. I have a Reader's Digest Complete Guide to Sewing, the 70's edition, and I love it. I found that book at the same Salvos store too.
[caption id="" align="alignnone" width="639" caption="Singer: Children's Clothes, Toys & Gifts"]
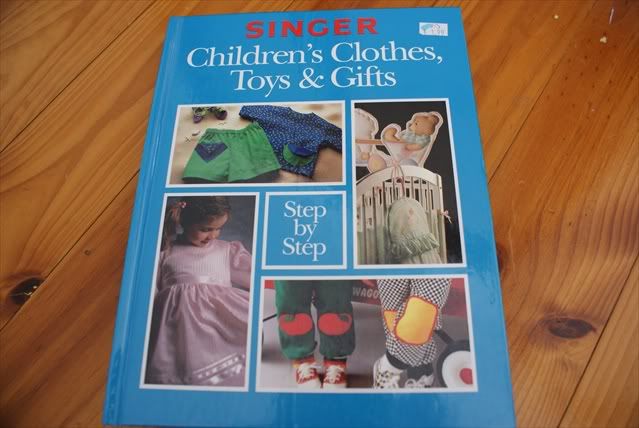 [/caption]
[caption id="" align="alignnone" width="639" caption="Elastic Waistbands"]
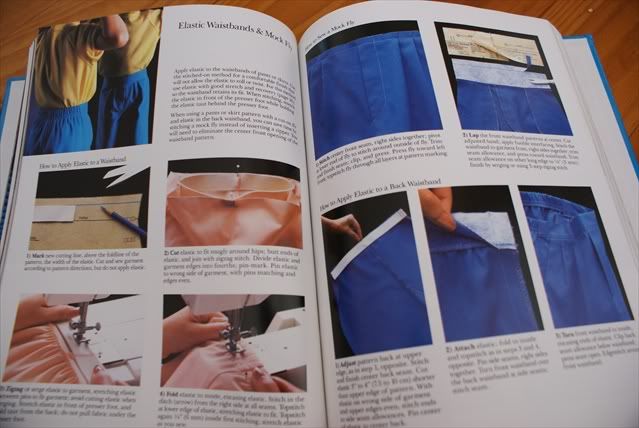 [/caption]
[caption id="" align="alignnone" width="639" caption="Closures"]
 [/caption]
[caption id="" align="alignnone" width="639" caption="Rugby Plackets"]
 [/caption]
[caption id="" align="alignnone" width="639" caption="Collars with Faggoting"]
 [/caption]
[caption id="" align="alignnone" width="639" caption="Insulated Jackets"]
 [/caption]
This book was AUD1.99, but with tons of pictorial guides - totally worth it.
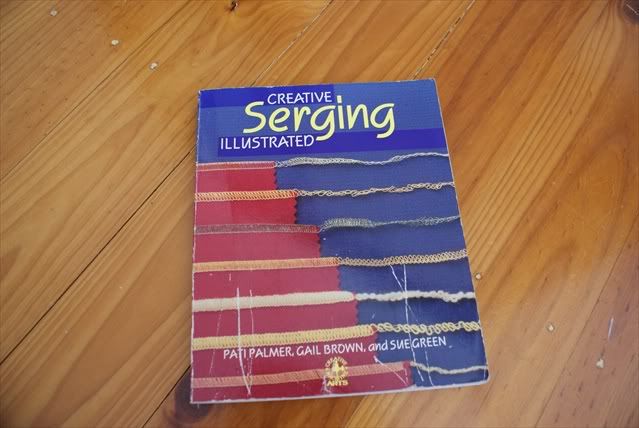
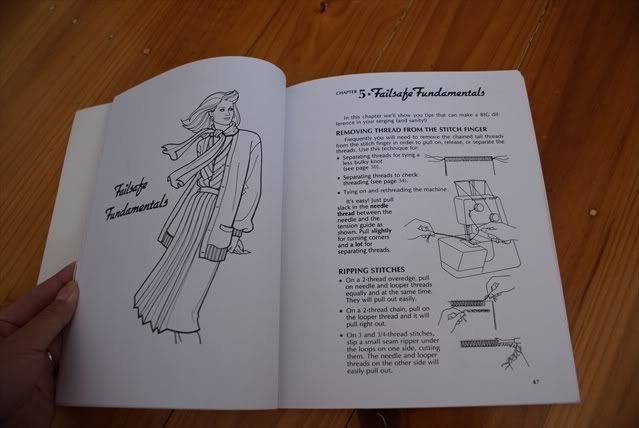
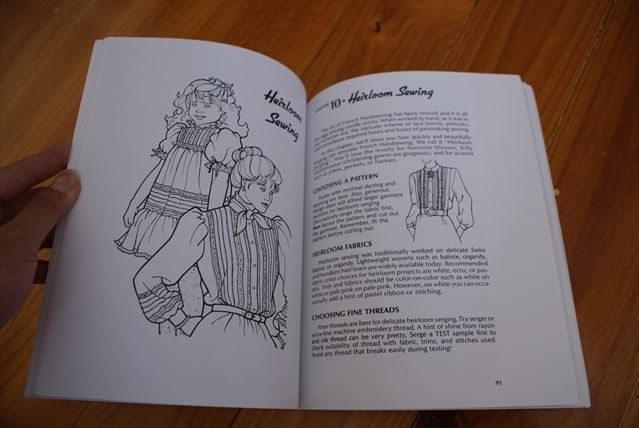
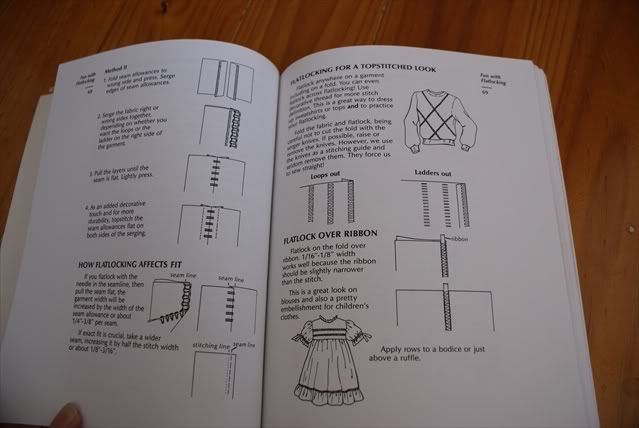
I got the fourth book at a second hand book shop next to Lifeline, called Creative Serging Illustrated by Palmer, Brown and Green. This wasn't run by a charity organization, so I had to pay AUD5 for this one.
[caption id="" align="alignnone" width="639" caption="Creative Serging Illustrated"]
 [/caption]
[caption id="" align="alignnone" width="639" caption="Failsafe Fundamentals"]
 [/caption]
[caption id="" align="alignnone" width="639" caption="Heirloom Sewing"]
 [/caption]
[caption id="" align="alignnone" width="639" caption="Flatlocking for a topstitched look."]
 [/caption]
Books on serging don't come up very often, so I'm glad I got this one.
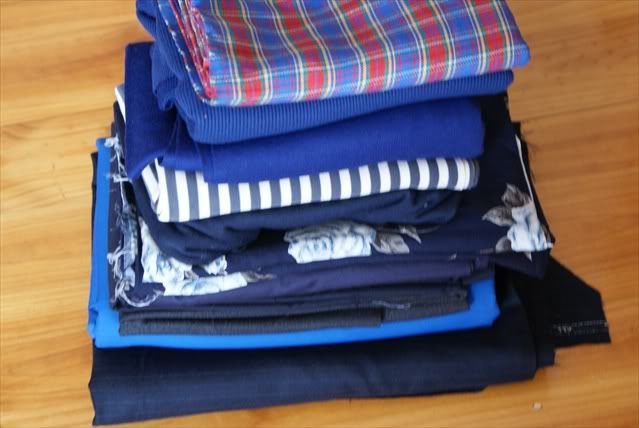
At Lifeline, I stumbled on a treasure trove of fabrics. It's not often that you find fabrics at opshops. Maybe 1 out of 6 opshops will have them? I got at least 20 maters of fabric for AUD20.
[caption id="" align="alignnone" width="639" caption="My New Stash"]
 [/caption]
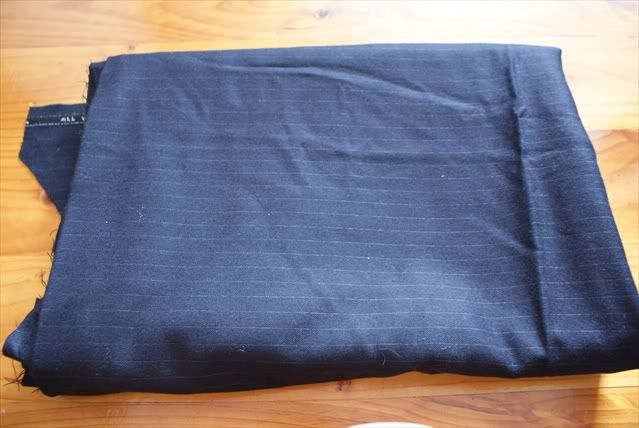
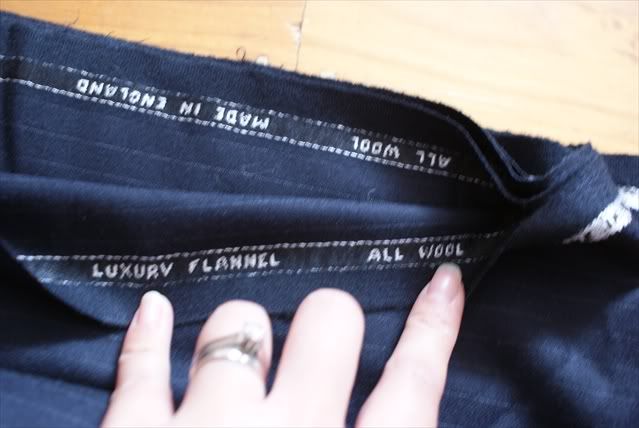
I was extremely happy to pick up this all-wool luxury flannel from England, the type for men's suits. There was at least 3 metres of it. I won't quit be able to make a suit out of it I don't think, but defintely a skirt.
[caption id="" align="alignnone" width="639" caption="Beautiful striped wool flannel. "]
 [/caption]
[caption id="" align="alignnone" width="639" caption="All Wool Luxury Flannel"]
 [/caption]
It's been cut into, but there's still a substantial yardage of it. Yay!
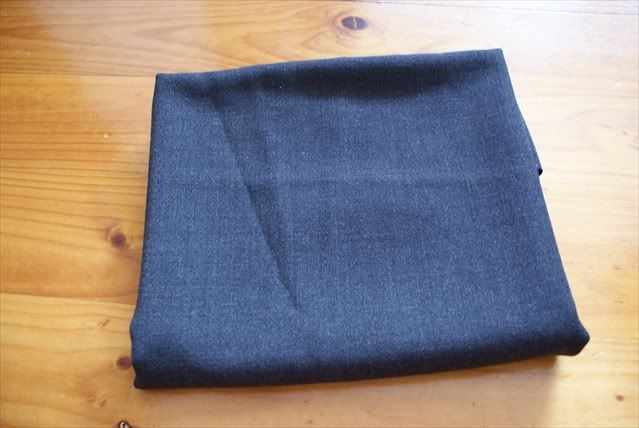
This was another piece of fabric that I picked up-I'm pretty confident it's a wool, though not as high quality as the one above.
[caption id="" align="alignnone" width="639" caption="Another wool material"]
 [/caption]
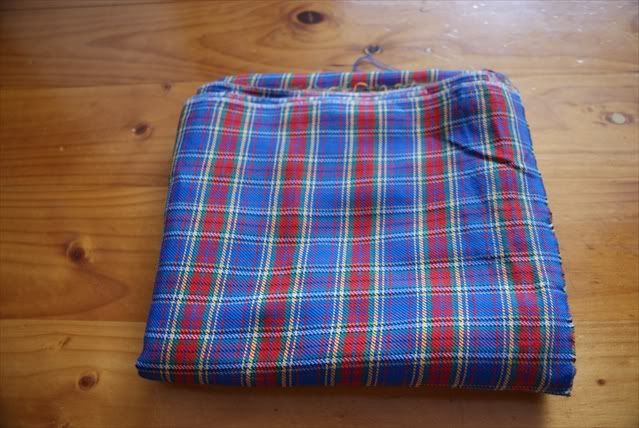
[caption id="" align="alignnone" width="639" caption="A pretty plaid"]
 [/caption]
I thought the plaid would make great little pants for the Little Wyld Man.
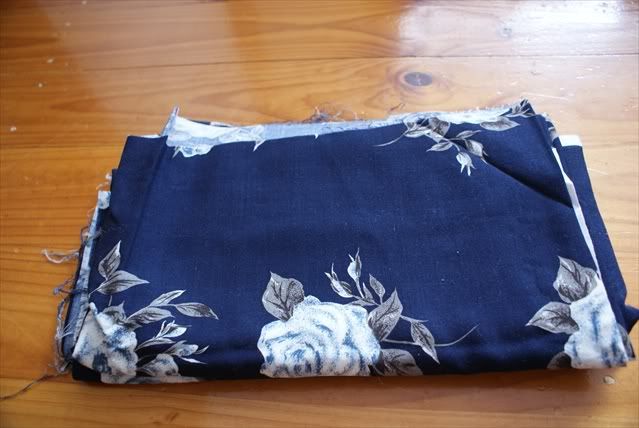
[caption id="" align="alignnone" width="639" caption="A pretty rose cotton print"]
 [/caption]
Really soft. Would make a pretty dress. Pity winter is coming up.
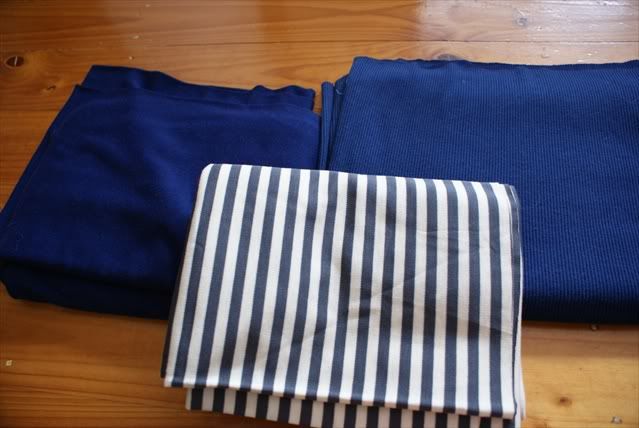
[caption id="" align="alignnone" width="639" caption="Knits"]
 [/caption]
I was also lucky enough to come across a bunch of knits, which are quite expensive retail. I snapped up everything they had available.
I love the opshops at Encounter Bay!
 [/caption]
 [/caption]
 [/caption]
 [/caption]
 [/caption]
 [/caption]
 [/caption]