Blackwood, for those unfamiliar to Adelaide, is south of Adelaide, and situated in the hills. It has 5 opshops within a small shopping radius, the best and biggest being the Salvos one. There are also the Save the Children Opshop, Redcross, Goodwill, and the RSPCA thrift shop. See here for addresses.
I went to the Salvos one first, which was the most famous. Inside was the most organized and appealing layout I'd ever seen in an opshop, being almost boutique-like in a rustic way. That said however, I didn't find anything to buy. There was a trouser press being sold for $60 displayed outside, but I don't iron enough trousers to justify buying it. But if it had been a gravity feed iron/steam generator, that would have been a different story.
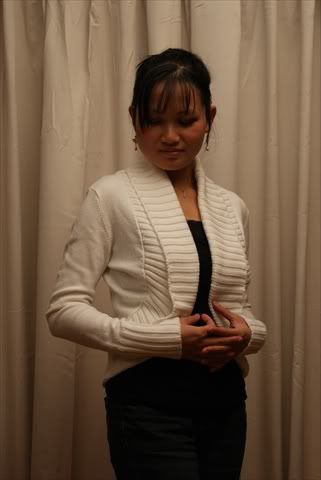
The next opshop I went to was the Redcross one. Here I spied an almost brand new shawl-collared white cardigan which I snatched up.
[caption id="" align="alignnone" width="321" caption="White Cardigan"]
 [/caption]
Originally it had two ties sewn in to tie the front together which I removed. I also tacked the collar in place so that it would stay in that shape instead of collapsing. I've worn it out twice within the last week already. $6.99. Kaching!
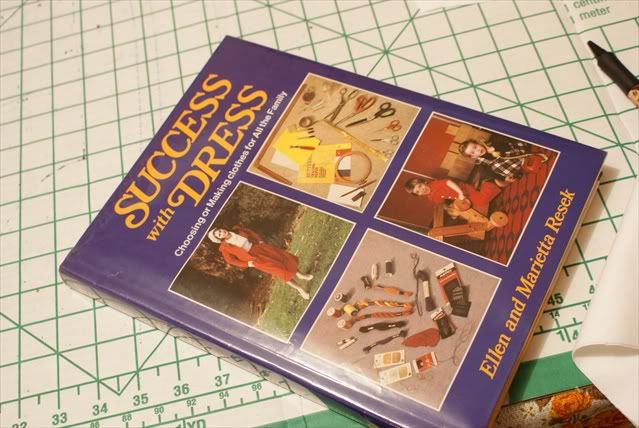
I also found a dressmaking book, Success with Dress by Ellen and Marietta Resek.
[caption id="" align="alignnone" width="639" caption="Success with Dress"]
 [/caption]
I hummed and harred about it, but was sold when I saw that it had a section on drafting patterns.
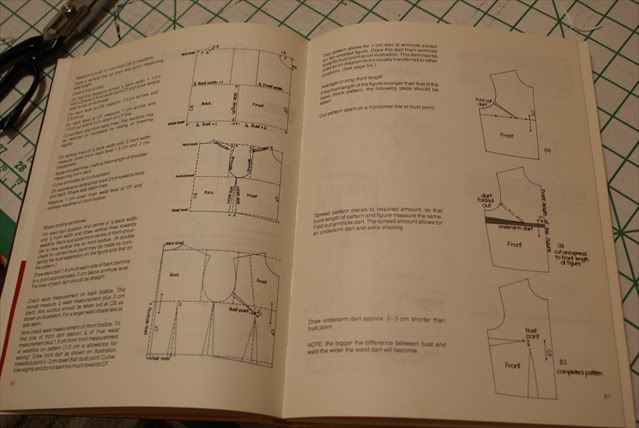
[caption id="" align="alignnone" width="639" caption="Bodice Drafts"]
 [/caption]
This is an Aussie book, and very well written. Every chapter starts with a cute little rhyme, and it covers most of the basics in dressmaking. The sleeve draft was good, being an assymetrical sleeve. (Sleeves shouldn't look the same front and back, the front of the sleeve has less material, and the back has more-some books get it wrong). I have an earlier book by the same authors called Successful Dressmaking, which I posted about here. $3.
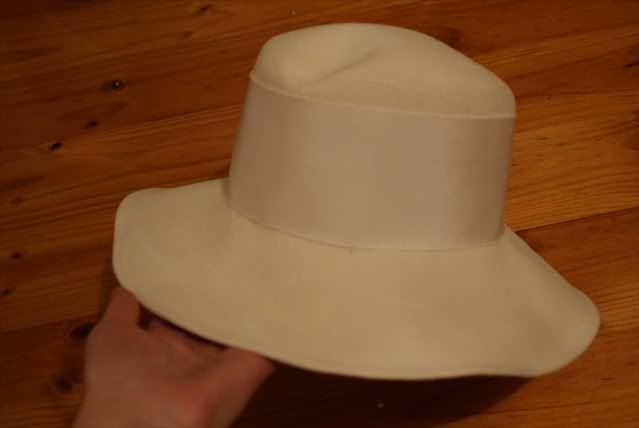
I went to Save the Children Opshop next, and here I picked up some fabrics-a nude and a red tricot fabric, perfect for petticoats and lining knit garments. I also found a nice wool felt hat in cream.
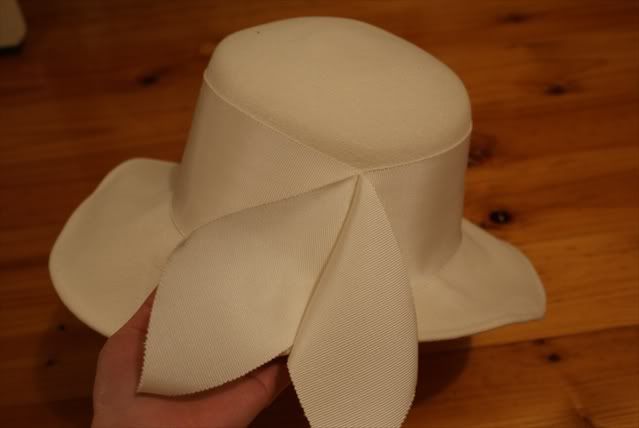
[caption id="" align="alignnone" width="639" caption="Cream Felt Hat"]
 [/caption]
This is a back view.
[caption id="" align="alignnone" width="639" caption="Back view"]
 [/caption]
I'm not so crazy about the way the grosgrain ribbon trim is finished at the back. I think it needs something more. I haven't decided what to do about it yet. $4.99
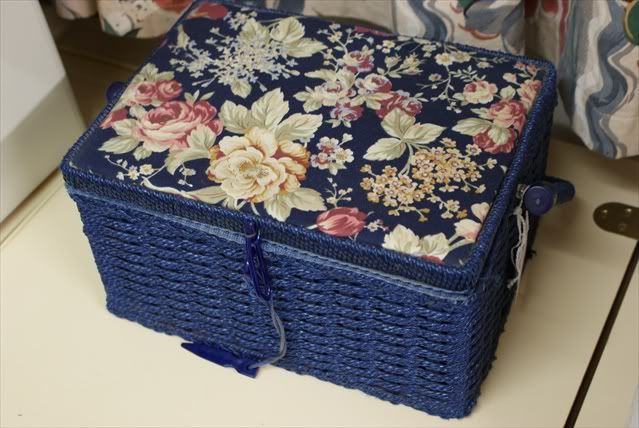
I also found a sewing box for $9. I thought it was a bit steep for an opshop, but I really wanted and needed one, and Spotlight sells them for $20. I've been sewing out of a Tupperware container, so I'm glad to have this.
[caption id="" align="alignnone" width="639" caption="Sewing box"]
 [/caption]
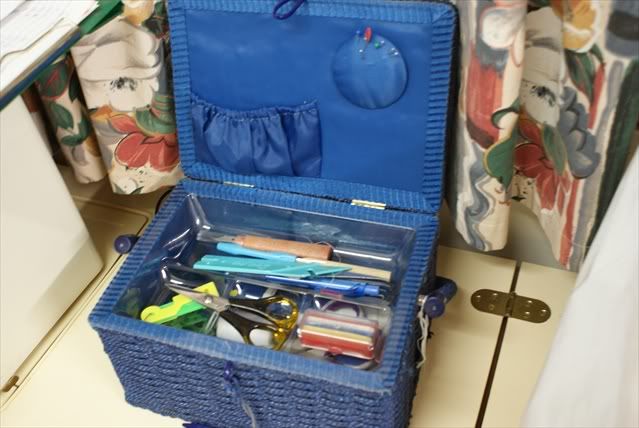
[caption id="" align="alignnone" width="639" caption="Inside peek"]
 [/caption]
No, it didn't come with tools and notions. *pout*. Wyld Man says it looks almost exactly like his mother's.
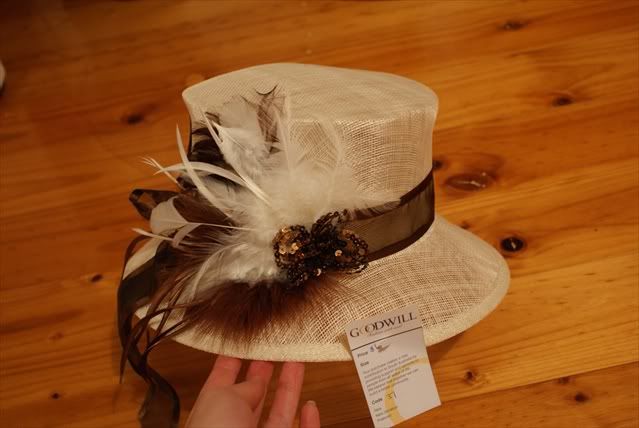
The last stop was at Goodwill. I didn't find anything that I liked until I was almost leaving and then I saw this.
[caption id="" align="alignnone" width="639" caption="Buckram hat with feathers"]
 [/caption]
I really, really liked it. However, the feathers were a little scraggly, and the ribbon wasn't glued on properly. I bought it, and I'm going to refashion it one of this days. This is a hat for spring, while the other one was a wintery one. $6.50.
So that's all from Blackwood. I didn't go to the RSPCA one because my friend/tour guide said it wasn't any good, and I also wanted to get back to Little Wyld Man. I needn't have worried though, he was very good and didn't miss me at all!
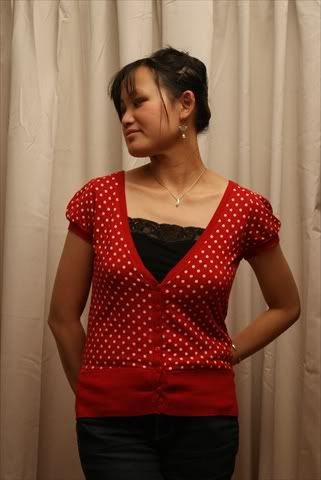
And while I'm posting about all things opshop, I found this little top at the St Agnes Save the Children Opshop some weeks ago and loved it.
[caption id="" align="alignnone" width="321" caption="Red Polka Dot Top"]
 [/caption]
Makes me feel like Minnie Mouse! Love it! $3. The camisole came from an opshop too. Can't remember where from now.
What did you find at the opshops?
 [/caption]
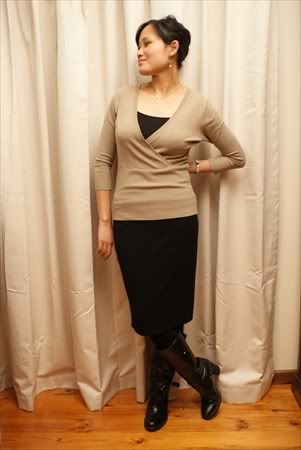 [/caption]
 [/caption]
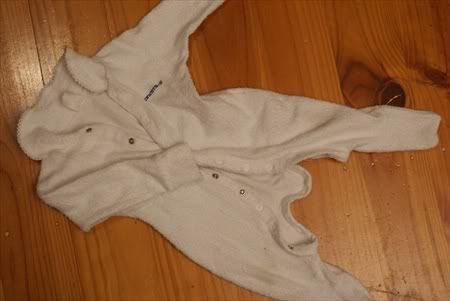 [/caption]
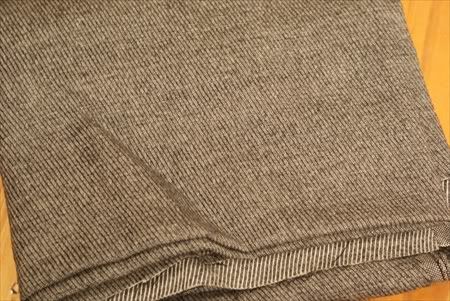 [/caption]
 [/caption]
 [/caption]
 [/caption]
 [/caption]
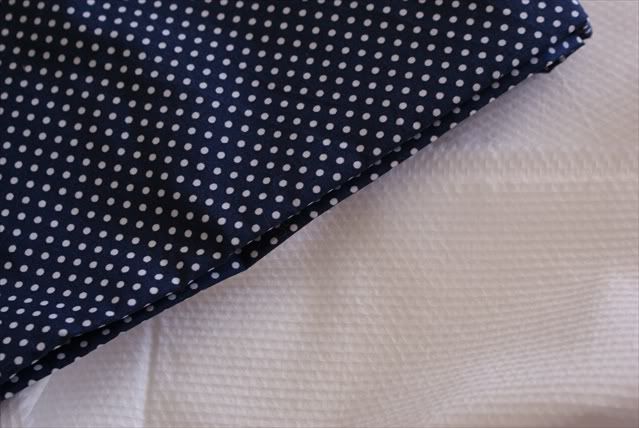 [/caption]
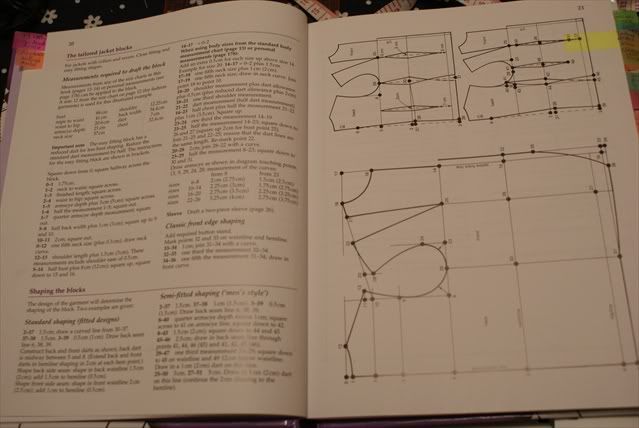 [/caption]
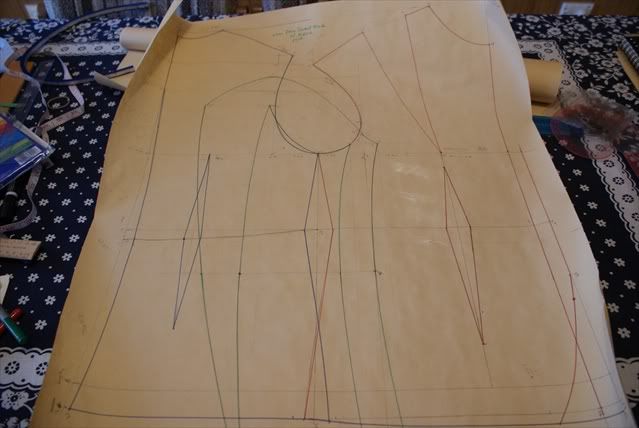 [/caption]
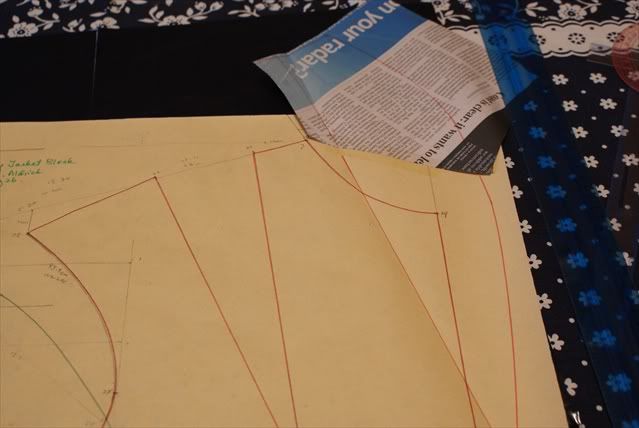 [/caption]
 [/caption]
 [/caption]
 [/caption]
 [/caption]
 [/caption]
 [/caption]
 [/caption]
 [/caption]
 [/caption]
 [/caption]
 [/caption]
 [/caption]
 [/caption]
 [/caption]
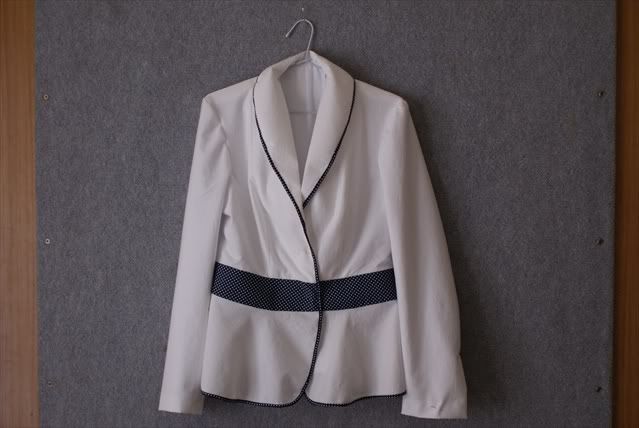 [/caption]
 [/caption]
 [/caption]
 [/caption]
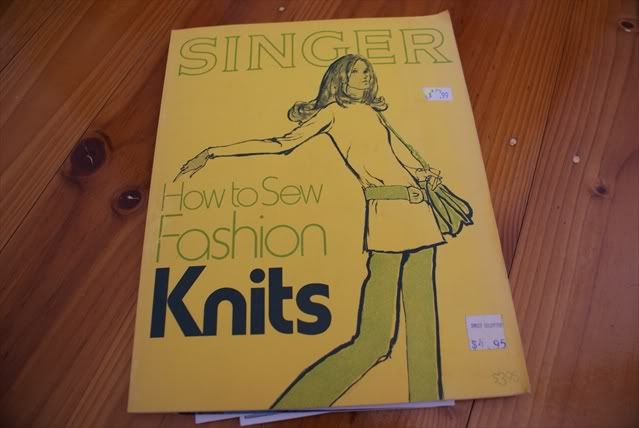 [/caption]
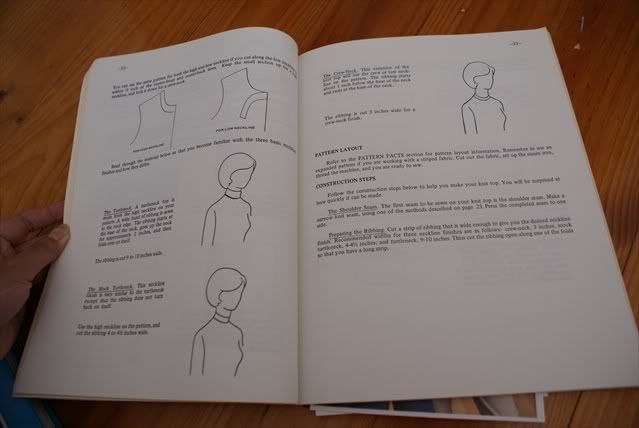 [/caption]
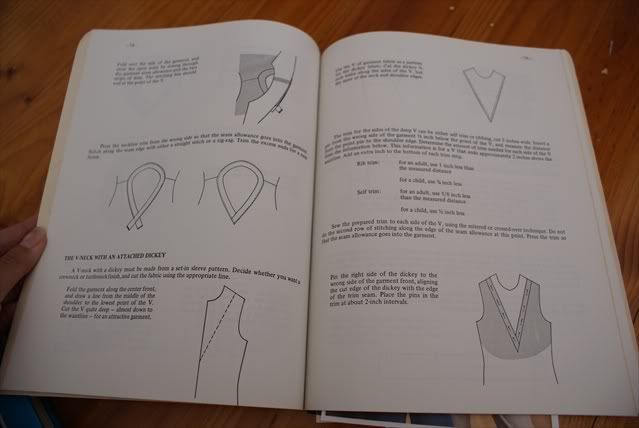 [/caption]
 [/caption]
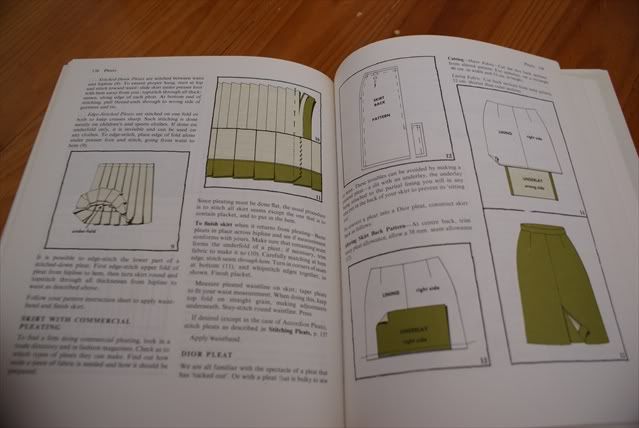 [/caption]
 [/caption]
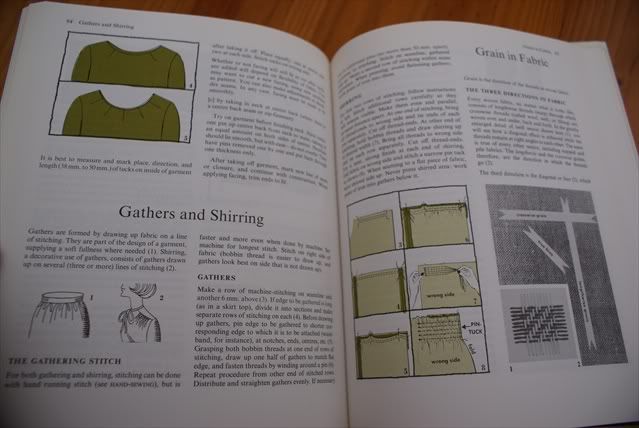 [/caption]
 [/caption]
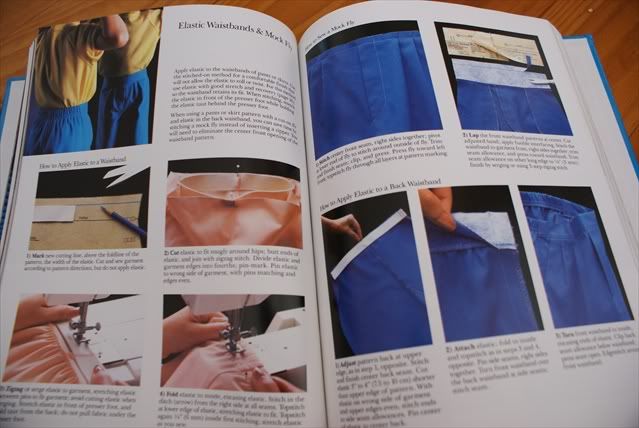 [/caption]
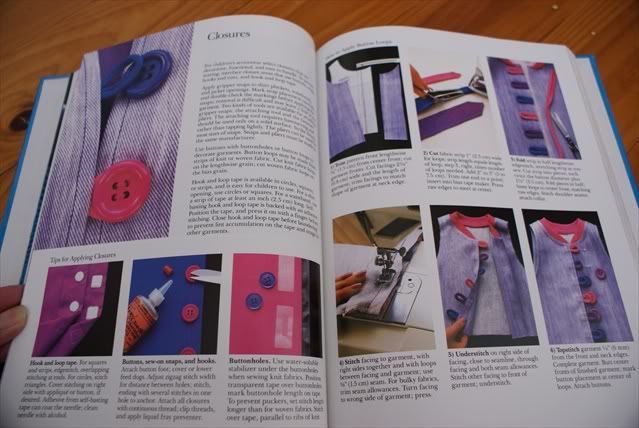 [/caption]
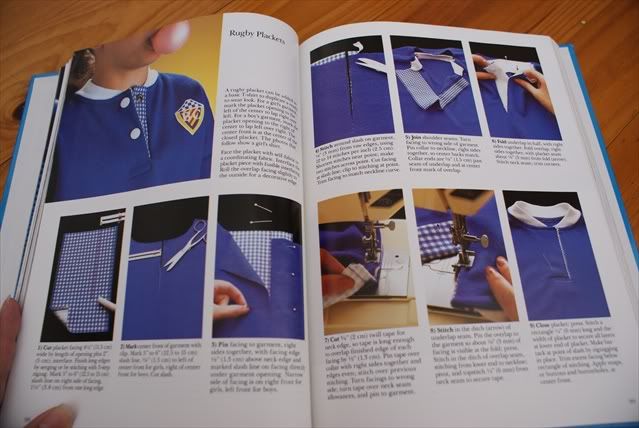 [/caption]
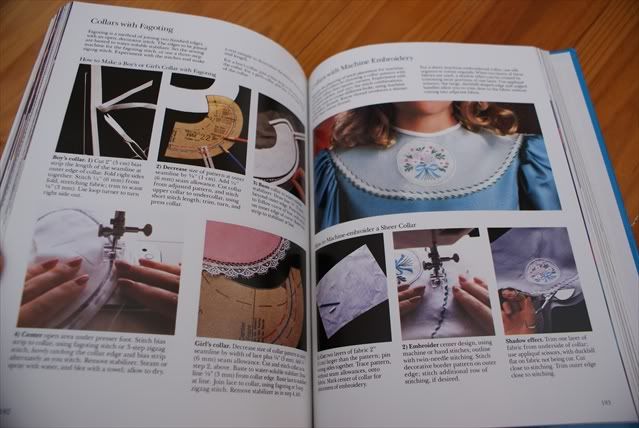 [/caption]
 [/caption]
 [/caption]
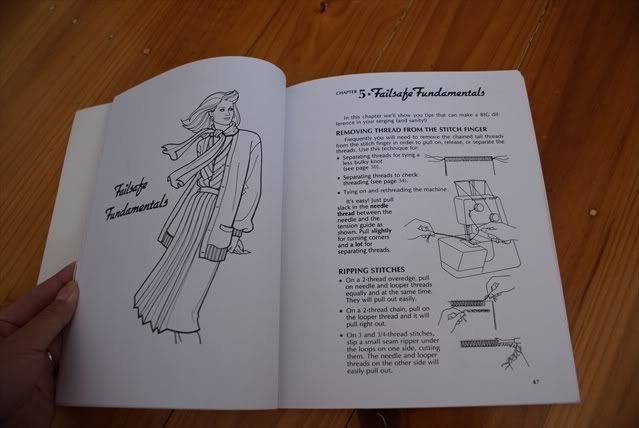 [/caption]
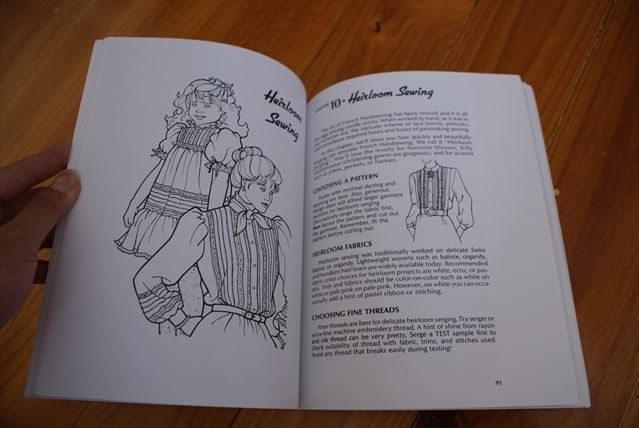 [/caption]
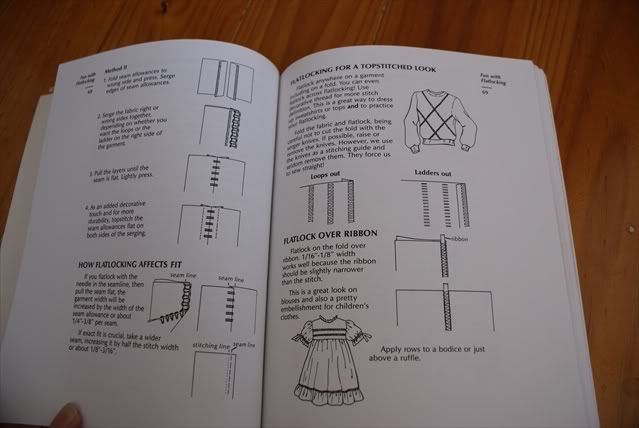 [/caption]
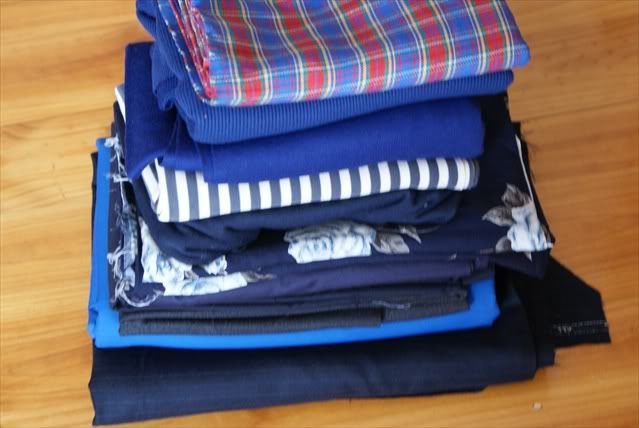 [/caption]
 [/caption]
 [/caption]
 [/caption]
 [/caption]
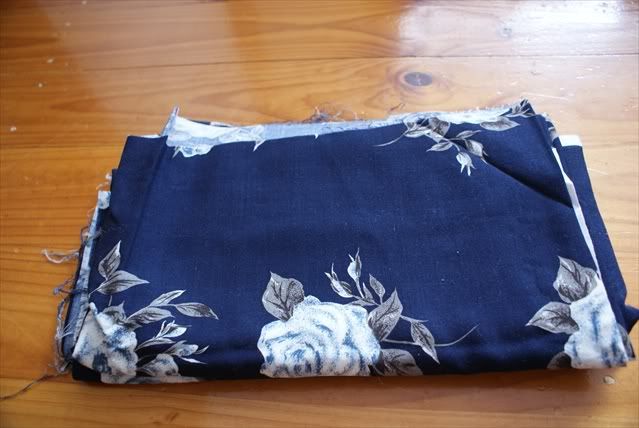 [/caption]
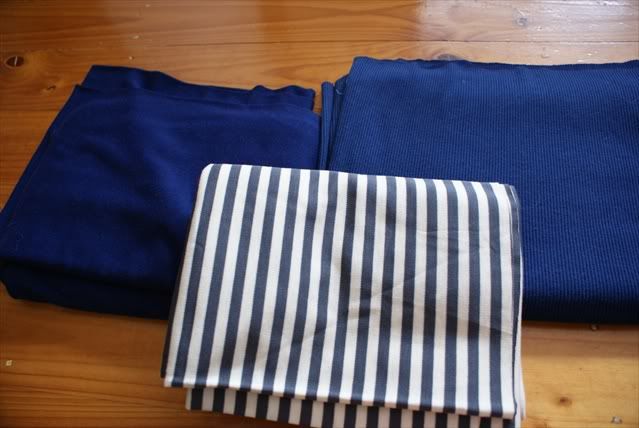 [/caption]