[caption id="" align="alignnone" width="639" caption="Fashion Sketch"]
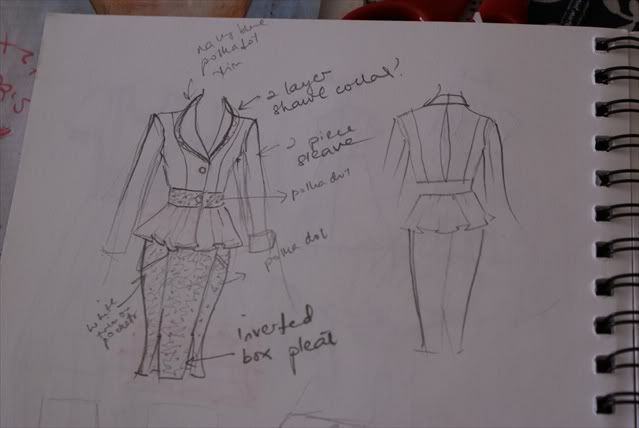 [/caption]
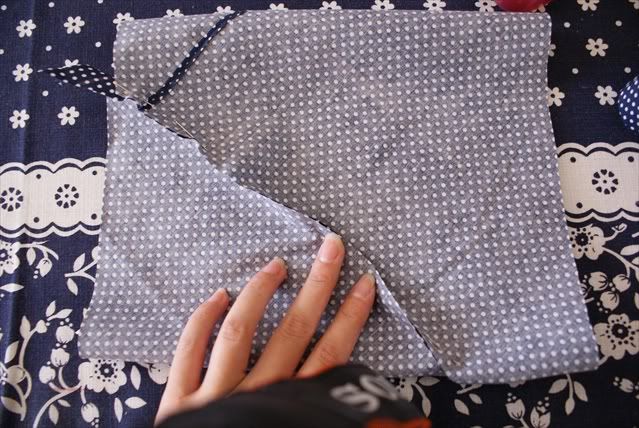
It would have a shawl collar, and bias bound with the navy blue polkadot trim, with a sewn in belt feature, accompanied by a pencil skirt in the same polkadot fabric.
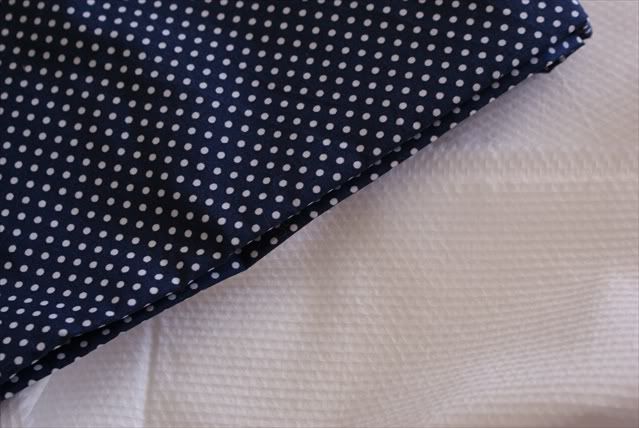
[caption id="" align="alignnone" width="639" caption="The chosen fabrics"]
 [/caption]
This would be the first time I attempted a jacket, as well as make my own bias binding. I've always been intimidated by the jacket, with its facings, sleeve vents, linings and collars-but I decided to take the plunge this time.
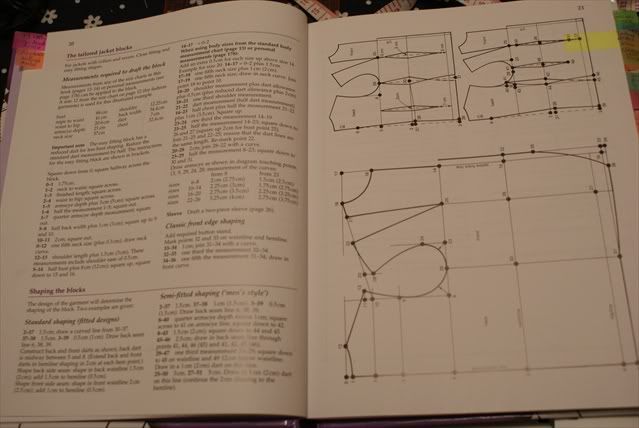
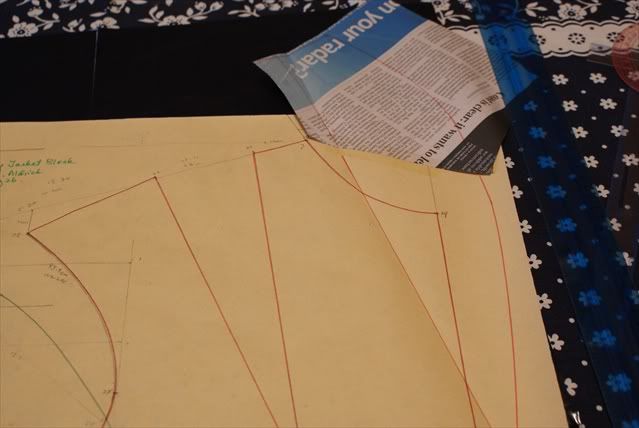
I drafted a jacket block from Winifred Aldrich's Metric Pattern Cutting for Womenswear.
[caption id="" align="alignnone" width="639" caption="The Jacket Draft instructions"]
 [/caption]
[caption id="" align="alignnone" width="639" caption="My personal jacket draft"]
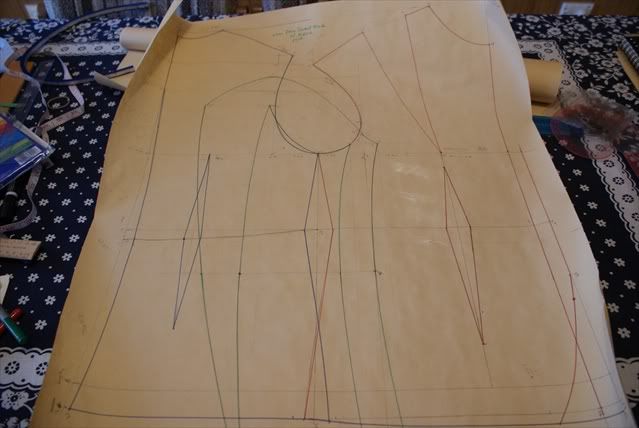 [/caption]
The shawl collar had to be drafted separately on another piece of paper and attached to the main jacket block.
[caption id="" align="alignnone" width="639" caption="My shawl collar piece"]
 [/caption]
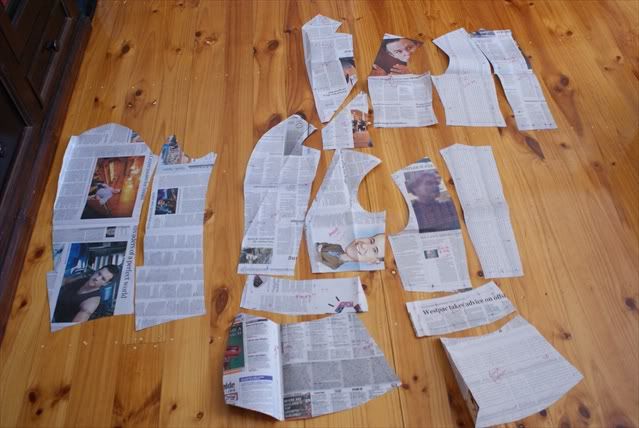
I decided where I wanted my style lines to be and marked them on the main block with pencil, and traced them out onto newpaper with seam allowances.
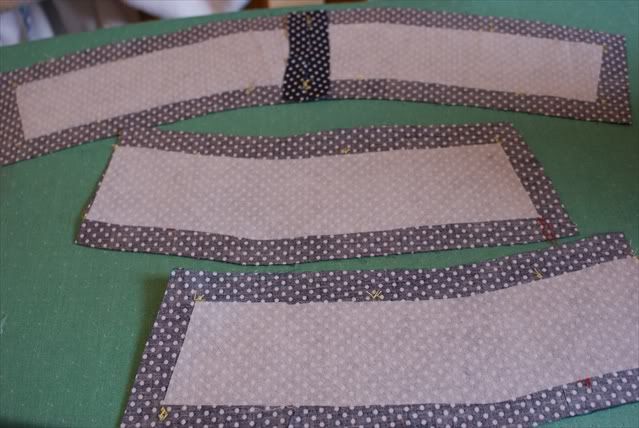
[caption id="" align="alignnone" width="639" caption="My cut pattern pieces"]
 [/caption]
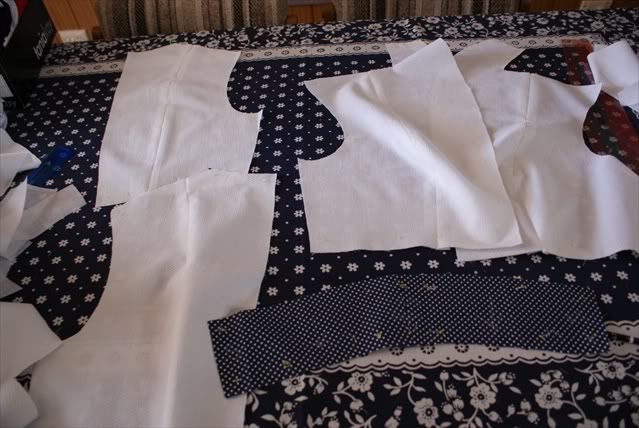
[caption id="" align="alignnone" width="639" caption="Laying out my pattern pieces on fabric, ready to cut."]
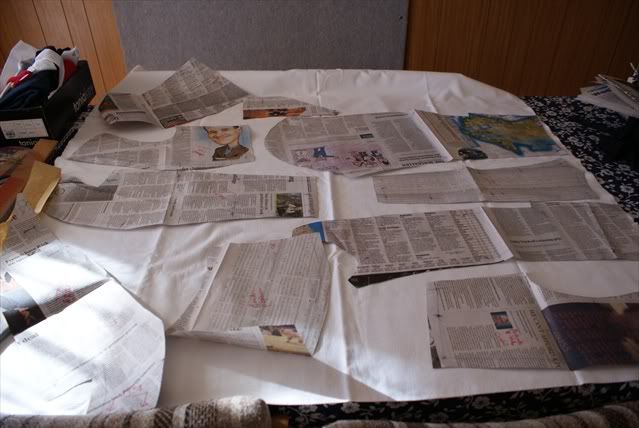 [/caption]
[caption id="" align="alignnone" width="639" caption="The cut fabric "]
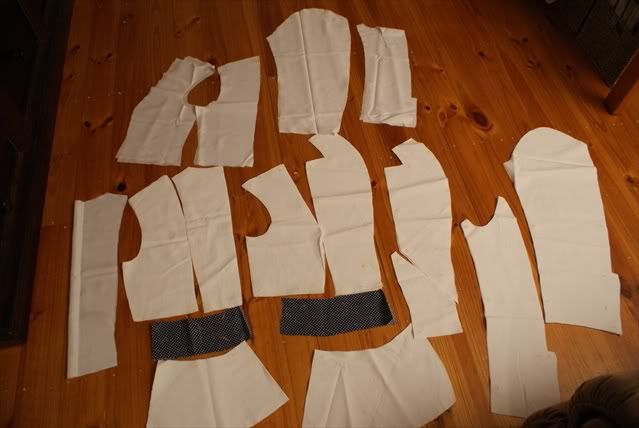 [/caption]
I also cut my interfacing for the jacket facing and the belt.
[caption id="" align="alignnone" width="639" caption="Interfacing pieces"]
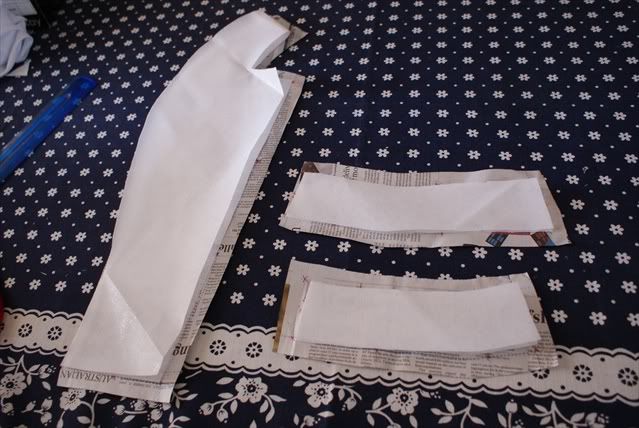 [/caption]
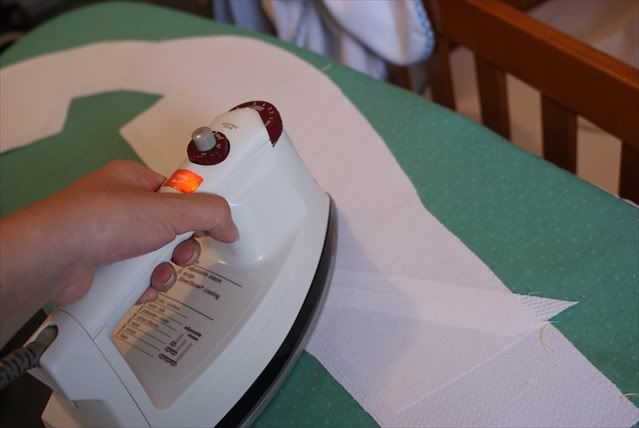
Next up was the bias binding. I used the continous binding method to make a long chain of binding. I estimated that I needed around 3.5 m of 2.5cm wide binding to go around the jacket. 2.5cm x350cm=875 cm squared, square root of 875 =29.5cm. So I cut a square of polkadot fabric 35cm by 35 cm, and marked 2.5cm intervals on the bias with tailor's chalk.
[caption id="" align="alignnone" width="639" caption="Fabric square marked on the bias with chalk every 2.5 cm intervals. The marks are not visible here."]
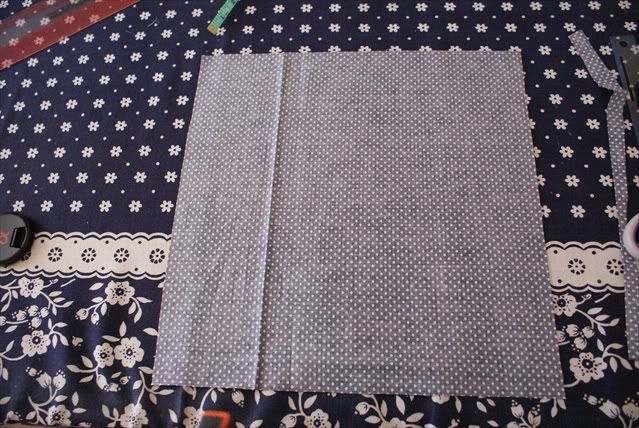 [/caption]
[caption id="" align="alignnone" width="639" caption="I cut the square into half at a 45 degree angle across the bias"]
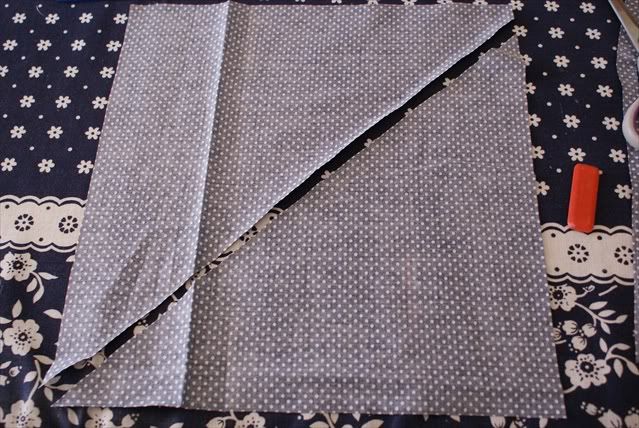 [/caption]
[caption id="" align="alignnone" width="639" caption="Now place one half of the square on the other side-making a rhombus like the picture. Match all the chalk marks"]
 [/caption]
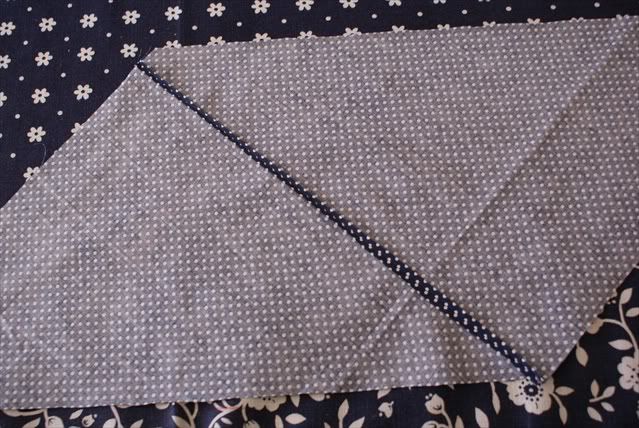
The rhombus has to be rolled into a tube and joined together, matching all the chalk marks again. This feels very counter intuitive because it feels like the fabric is twisted.
[caption id="" align="alignnone" width="639" caption="The rolled tube of fabric"]
 [/caption]
Now I just cut the fabric into one long strip following the chalk marks I made.
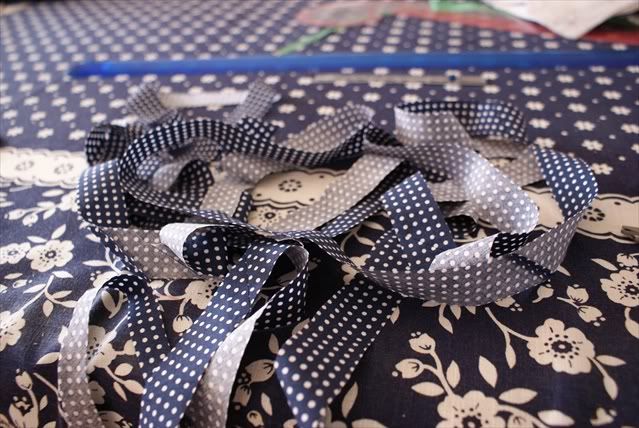
[caption id="" align="alignnone" width="639" caption="My bias strip"]
 [/caption]
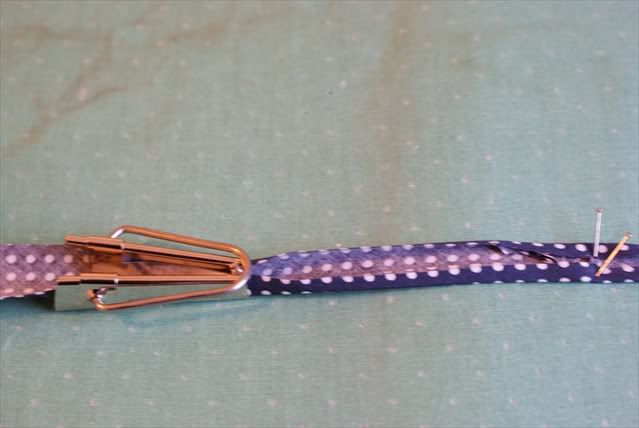
To make it suitable for binding, like bias binding you buy in a package, I use my bias tape maker.
[caption id="" align="alignnone" width="639" caption="Pulling the strip through the bias tape maker and pressing as I pull it through."]
 [/caption]
[caption id="" align="alignnone" width="639" caption="My bias binding all pressed and ready to go"]
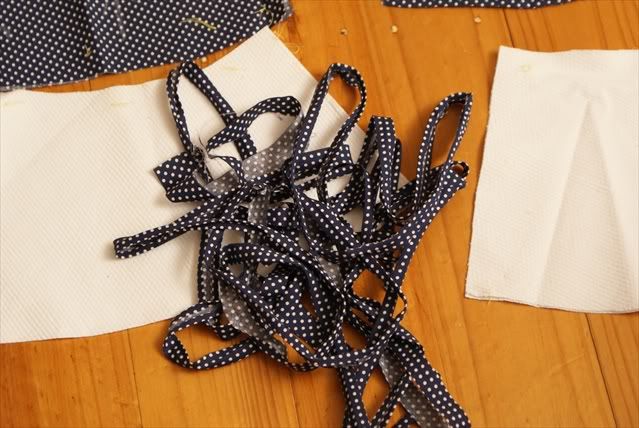 [/caption]
It was rather satisfying to make that loooong strip of bias tape.
Before I started sewing, I did all the other incidentals like fusing the interfacing into place.
[caption id="" align="alignnone" width="639" caption="I fused the interfacing to the jacket facing."]
 [/caption]
[caption id="" align="alignnone" width="639" caption="My interfaced belt pieces"]
 [/caption]
I sewed the lining pieces together first-to prevent sewing fatigue. You know how you've finished the main garment, then look at your lining and sigh-wishing that you didn't have to do it after all? Well, making the lining first prevents that problem.
[caption id="" align="alignnone" width="639" caption="The lining pieces"]
 [/caption]
I started sewing all the main garment pieces together and didn't take pictures because I was in a hurry to finish the jacket. I sewed the binding all around the jacket by hand which took me the better half of two days.
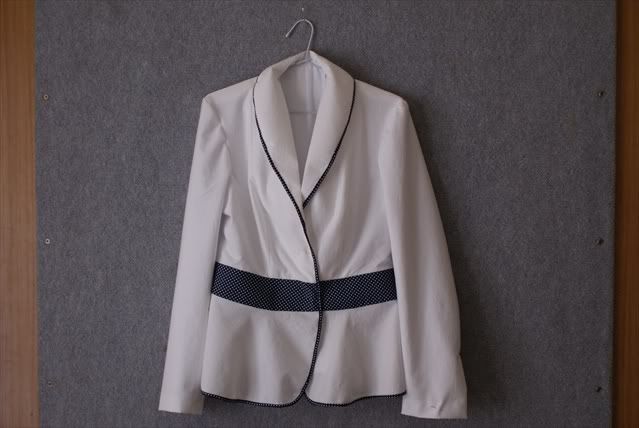
This was the finished jacket.
[caption id="" align="alignnone" width="639" caption="Finished jacket"]
 [/caption]
HOWEVER- I tried it on. And boy was I disappointed. It didn't fit!!!! Well. It fitted well enough in the shoulders, and had the jacket been a standard design with no in-built belt, it would have fitted beautifully. But, I didn't make a muslin, and didn't anticipate that the draft being a looser fit with standard jacket ease built into it would not carry my design well. My design needed an extremely fitted jacket, with the belt sitting and wrapping the waist precisely. This jacket billowed at the back. And it has so many seams that was I to make the alteration to fit, I'd need to recut the belt piece, as well as take out every seam at the waist, where I counted at least 8 seams. It's such a pity because I loved the colour combination-it's so pretty! Grgh! And because it didn't fit, I haven't the motivation to finish making the buttonholes nor put in buttons. And now it's officially an UFO-UnFinished Object. Sigh. I haven't the heart to make my polkadot pencil skirt either. That'll teach me to make a muslin next time I make a new draft of something.
No comments:
Post a Comment
I love hearing from you! Please leave your comments here: