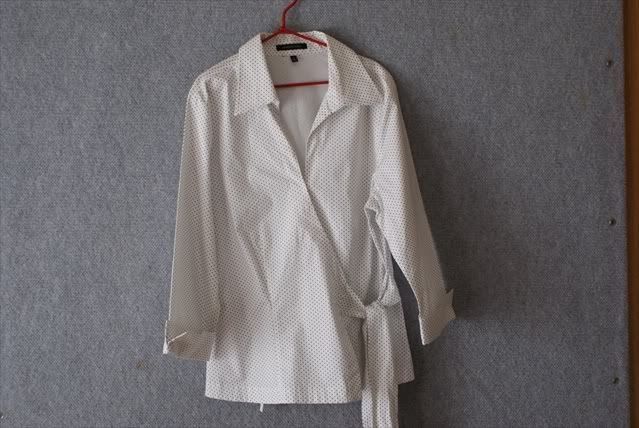
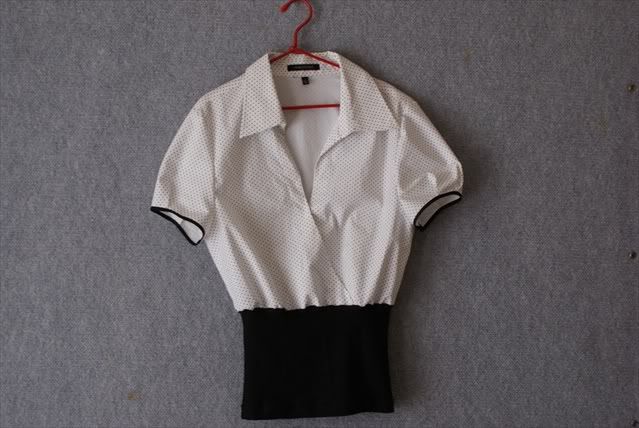
This is what it looks like before.
[caption id="" align="alignnone" width="639" caption="The Polkadot Wraparound Shirt"]
 [/caption]
It makes me think of a nurse's uniform somehow. The bow would never sit right and it felt that the sleeves were an awkward length on me.
I decided to recut the whole shirt to fit me better- at the sleeves and armholes, and at the side seams. And as in my other two refashions, to cut off the midsection and substitute with black stretch knit.
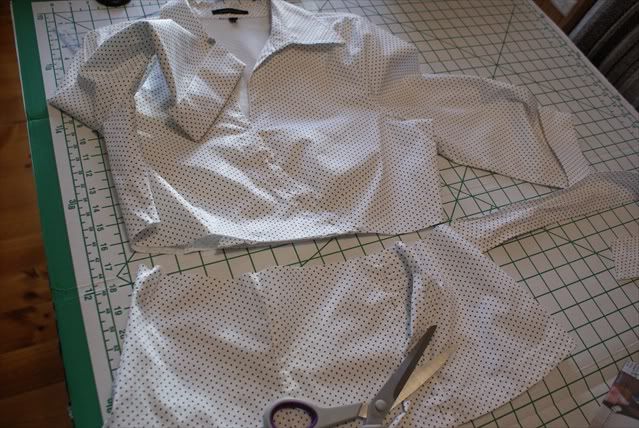
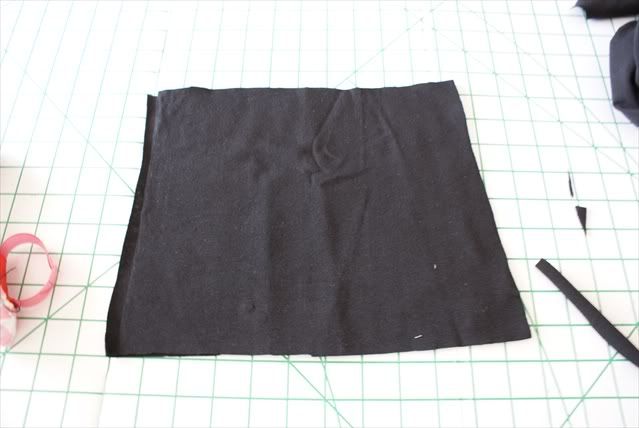
I cut off the midsection first-just folded the shirt in half and eyeballed it. I didn't really measure anything this time. I pinned the wrap fronts together before I started cutting.
[caption id="" align="alignnone" width="639" caption="Cutting off the midsection"]
 [/caption]
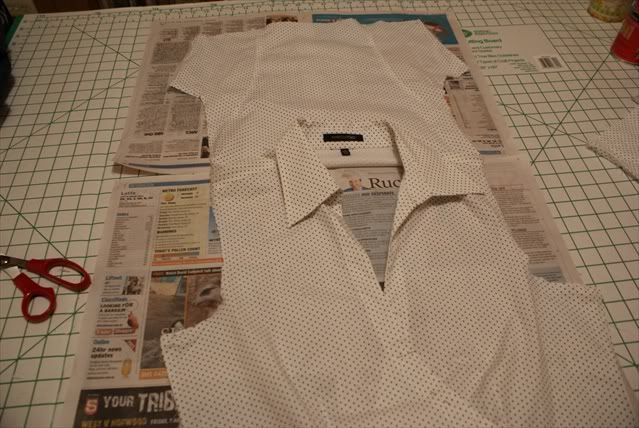
Next, I unpicked the side seams and the armhole seams and removed the sleeves.
[caption id="" align="alignnone" width="639" caption="The unpicked shirt"]
 [/caption]
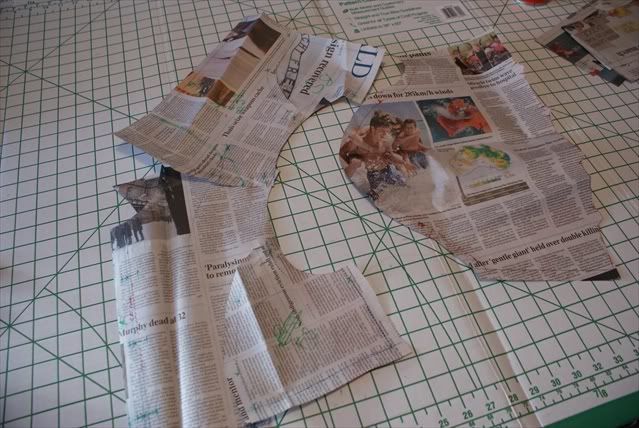
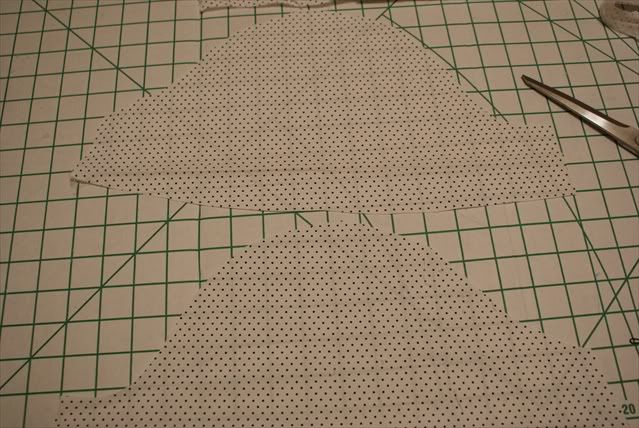
To recut the armholes and the sleeves, I use my existing personal patterns as a guide to cut around.
[caption id="" align="alignnone" width="639" caption="My newspaper patterns"]
 [/caption]
I wanted short sleeves with a black binding with tiny pleats built into it.
[caption id="" align="alignnone" width="639" caption="My new cut sleeves"]
 [/caption]
[caption id="" align="alignnone" width="639" caption="Plain ol' bias binding"]
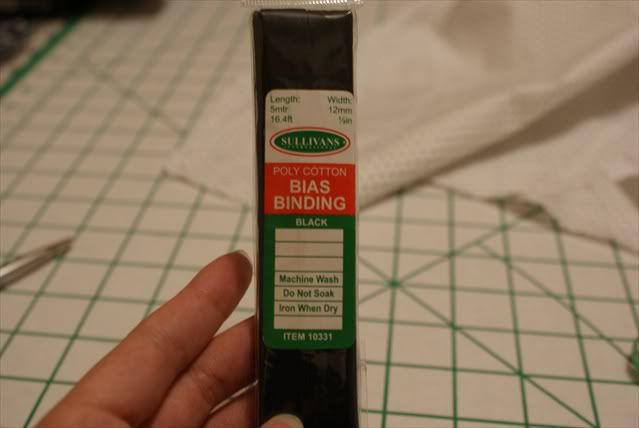 [/caption]
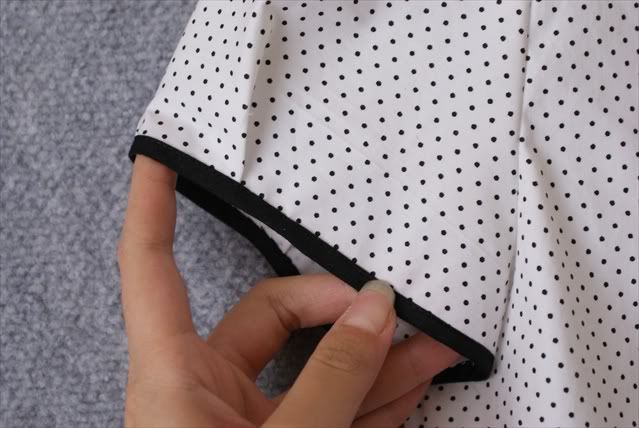
I was so absorbed in making the sleeves I forgot to document the process. What you see next is the finished sleeve.
[caption id="" align="alignnone" width="639" caption="I love bias binding"]
 [/caption]
I love the new sleeve. It looks so much younger, instead of 3/4 length sleeves.
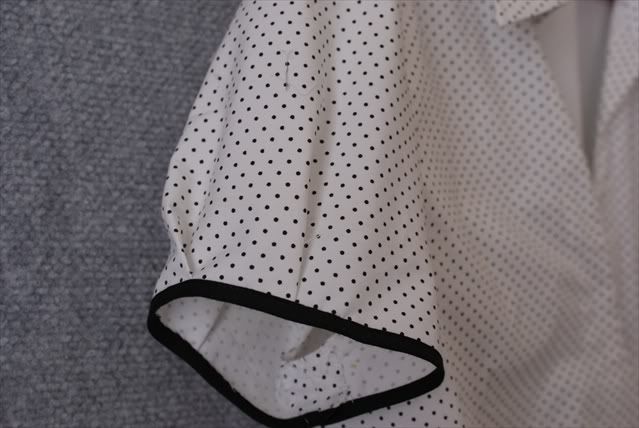
Here's another view of the sleeve. I really like my sleeve. Can you tell?
[caption id="" align="alignnone" width="639" caption="Another view of the sleeve"]
 [/caption]
Coming back to the missing midsection. I cut out 2 separate pieces of black stretch knit in a vaguely waist-like shape, the front piece one inch wider than the back, the total measurement, about 3/4 my waist measurement.
[caption id="" align="alignnone" width="639" caption="The missing midsection"]
 [/caption]
I overlocked the side seams together, forming a tube. Then I joined it to the main garment, right sides together.
[caption id="" align="alignnone" width="639" caption="Pinning the two pieces together at quarterly intervals"]
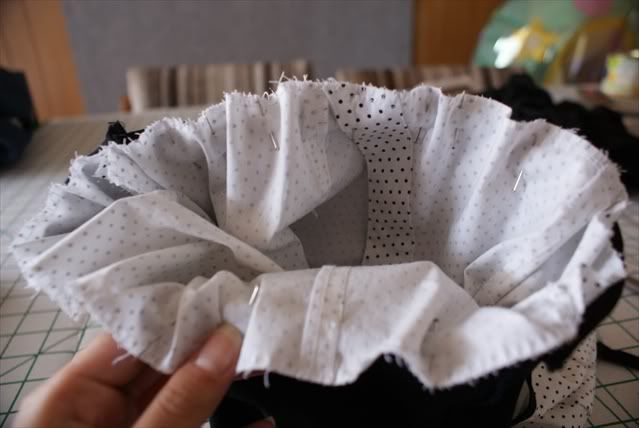 [/caption]
Then I hemmed the bottom with a twin needle.
[caption id="" align="alignnone" width="639" caption="The finished product"]
 [/caption]
Doesn't it look soooo much better? I love the new shirt!
so much better! How stylish! I wish i can see you wearing it :)
ReplyDeleteStay tuned!
ReplyDelete