However, the room that was to be the dining room was covered in awful 70's fake wood panelling, which we thought we'd rip out one day and redo with new gyp-rock. So we left it as it was, because we didn't have time nor money then to have it fixed. The said room looked really seedy, with a bare hanging bulb, and a huge carpet-covered pinboard which hid two large holes that once housed an air-con and a heater. The wall panelling was bowing out in places and ready peel off the wall because the glue had perished. The ceilings had a yellowed, aged look which made us suspect that they were smokers and all that smoke had nowhere to go but up. So, we hated the room but bore with it.
Then last weekend, when Wyld Man was still on his last week of holidays, we decided (well...Wyld Man maintains that I decided and roped him in to do it) that it was time to do something about the darn room. And we had a deadline. Not only was that the last week of holidays, we were having our housed blessed by our priest on the coming Saturday (yesterday), and he was staying for dinner. So that clinched it. We had a week to do something about it, and we had to have it done by Saturday.
Now, I've always maintained that the fake wood panelling could be painted over for a quick and cheap fix, instead of having everything ripped out and replastered. But Wyld Man had to be persuaded-he was of the old school and didn't believe that it could be painted until I showed him some pictures online of rooms which had the same thing done with great results. He did agree in the end-phew! Now I had to come up with a concept. I had a rough idea of what I wanted, but we couldn't decide nor agree on colour. So we proceeded to prep the walls, but without a clear idea of what colour scheme to go with.But I did know that I wanted red curtains, and a certain mirror from Ikea.
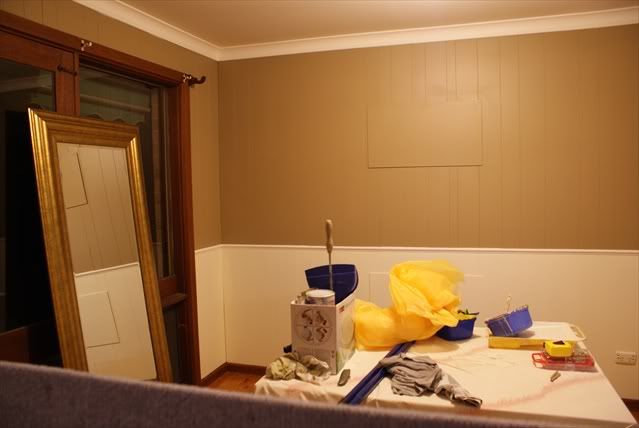
The first thing we did was to get rid of the old pinboard-(the very one which I've using to showcase some of my earlier creations-you can go back to earlier posts to have a look). Wyld Man unscrewed it off the wall, and we discovered two large ugly holes, and a wood panel missing. Which was a big inconvenience. Here it is in all it's glory.
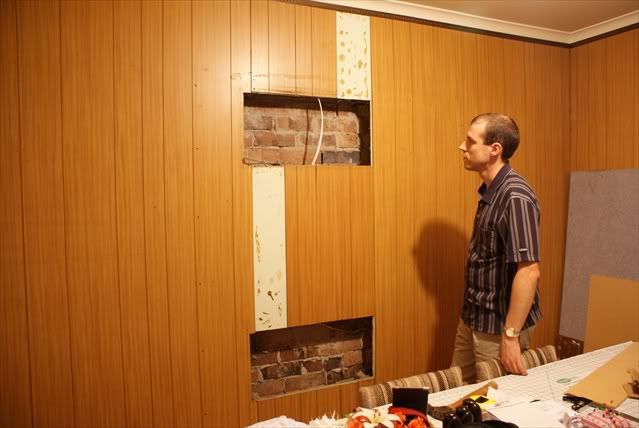
I don't have a proper before picture, but you get the idea from here.
Wyld Man decided to get a BIG, SCARY circular saw and use it to cut a couple of square panels to fit over the holes, and to cover the wood panel. I love a man with power tools. *sigh* There's something primal about it.
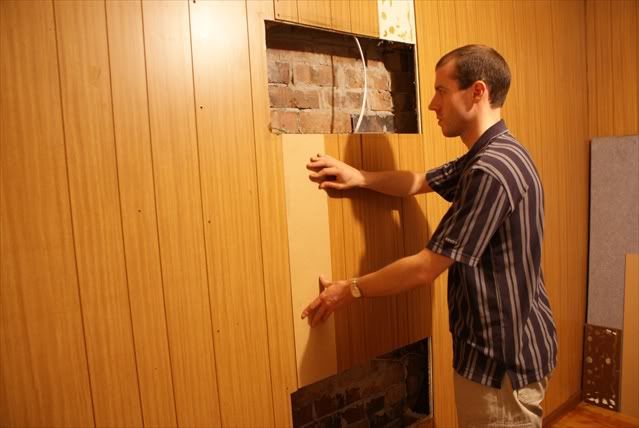
That's one problem covered.But I should have taken pictures of Wyld Man with his circular saw. Darn.
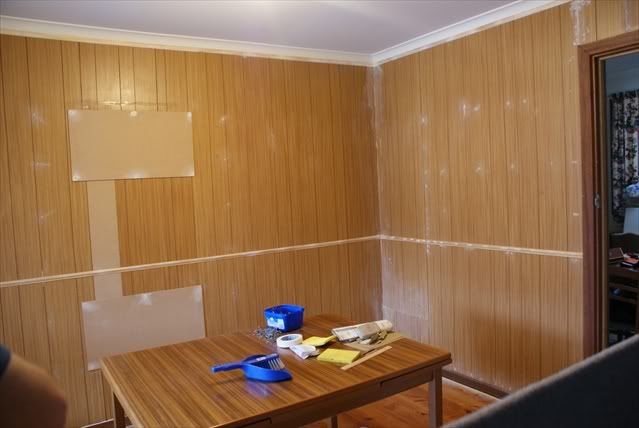
Because one wall had the panelling bowing out rather severely, Wyld Man thought it would help if he nailed in a waist height decorative moulding, which would also give a colour break between the walls, giving us more options. This wasn't in the plan in the beginning-but we thought it was a good idea.
The next picture shows both holes covered, and all the nail holes, imperfections, scratches and what-nots puttied up and sanded down by yours truly. You can see the moulding along the walls and the ceiling.
Next up, the walls had to be washed once with Sugar Soap and then that washed away with water. Sugar soap is powerful stuff-it strips off 20-year-old adhesive marks on the walls, dirt, grime and grease with not much elbow grease needed.I also taped around all the edges and over frames and skirting boards with masking tape and newspaper.
Then we had to prime the walls with a special primer-one that would adhere to the vinylly wood panelling without peeling off. The hardware store recommended Zinsser Primer, which you can use on anything- laminates, plastics, even glass. However, we neglected to prime the ceiling, which in hindsight we should have, because it gave us lots of problems.
We started ripping things down on Monday, but we had lots of false starts and delays, lots of prep work, getting hand and power tools, so only got to priming on Thursday, by which time we were freaking out that we weren't able to get it finished in time for Saturday. We'd left the colour decision till Friday, because we couldn't agree on a colour. I wanted something like a muted-beige-brown-green, which Wyld Man said doesn't exist. And I wasn't hot on his colour choice either. In the end, we settled on a compromise-Dulux Stonecrop, which is a sort of khaki brown.
On Friday morning, I started to do the cornices while Wyld Man went to get the Stonecrop paint. For the rest of the paintwork, we decided to use some leftover paint from when we first bought the house, Wattyl's Ceiling White on the ceiling, and Ivory Vapour on the lower walls. However, we ran out of ceiling white because I had to do the cornices 4 times before we were satisfied, by which time there wasn't much left for the ceiling, which needed another 2 coats at least. And we realised that if that was the case, we'd have to get another colour for the lower walls, because the Ivory Vapour we had definitely wasn't enough. That meant another colour run to the hardware store, and I made a quick decision from the same series that Stonecrop came in, Shell White for the lower walls, and Fair Bianca Half for the ceiling. And yes, we had to do the ceiling and cornices one more time.
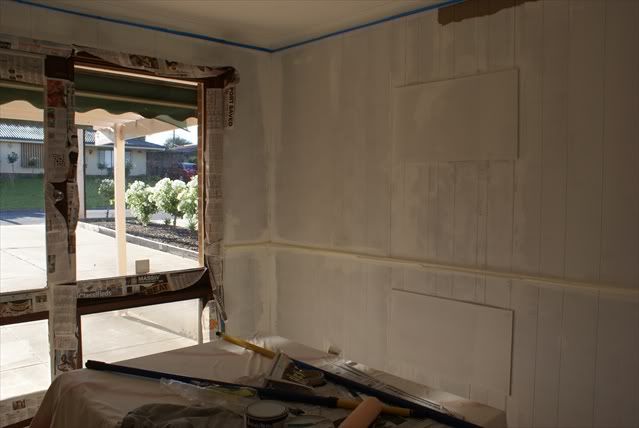
When I came back from getting more paint, Wyld Man had edged in the Stonecrop which you can see above. And. I. Was. Not. Very. Pleased. With. It. It was a very odd colour, I thought. But it was too late now go back. I don't think they take returns on tinted paint cans. We forged ahead, hoping for the best.
We worked and worked into the night-at 2 am, we had finished painting. Finished! Finally!
On Saturday morning, I went to Spotlight to get my curtains, and Wyld Man put up the mirror and the light fittings.
Drumroll please....
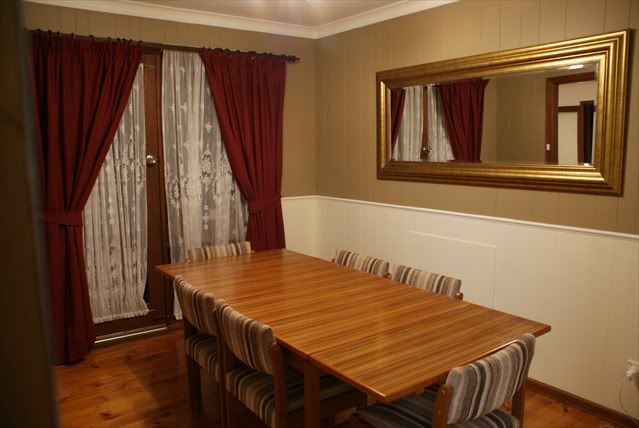
Another view.
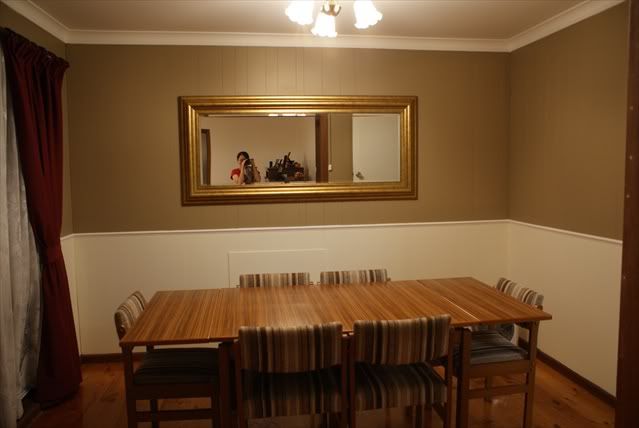
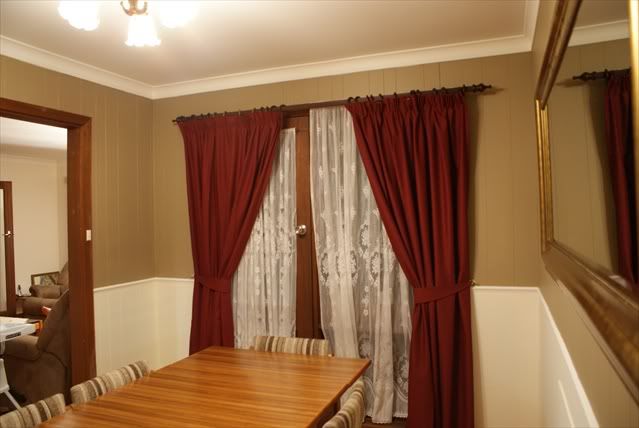
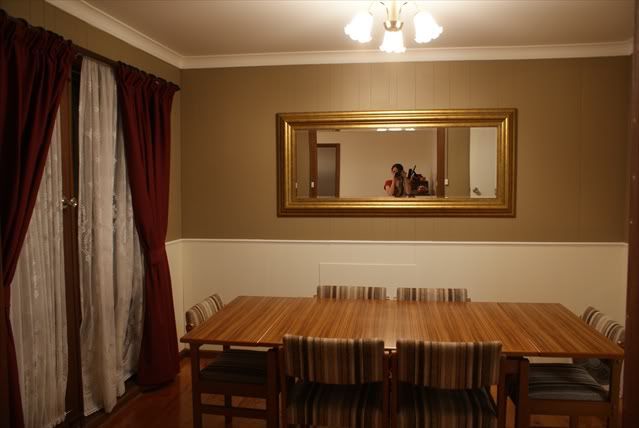
The colour didn't come up too bad after all! It was almost what I wanted, and it went beautifully with my red curtains and gold Ikea mirror (Levanger).
All in all, it costed us around $600 for the makeover, and that's including the mirror and the curtains. Pretty good effort I'd say. And Wyld Man got to keep his power tools too!
I'm in love with my dining room. Now, if only we can get the rest of the house to match it....
So we had Father over for the blessing and dinner. Here are some photos of the house blessing.
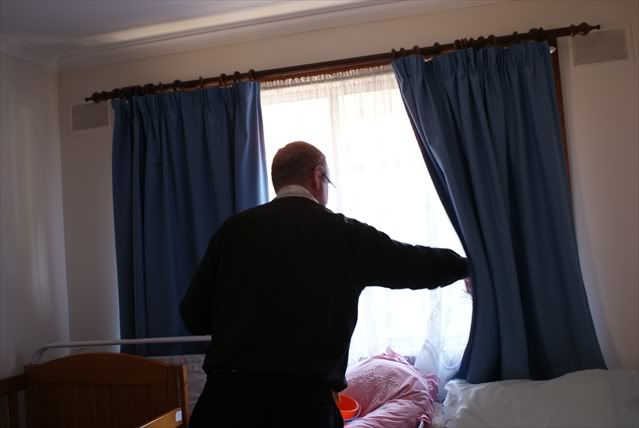
Father went around to all the rooms and used Epiphany water to draw a cross on all the windows whilst saying the prayers.
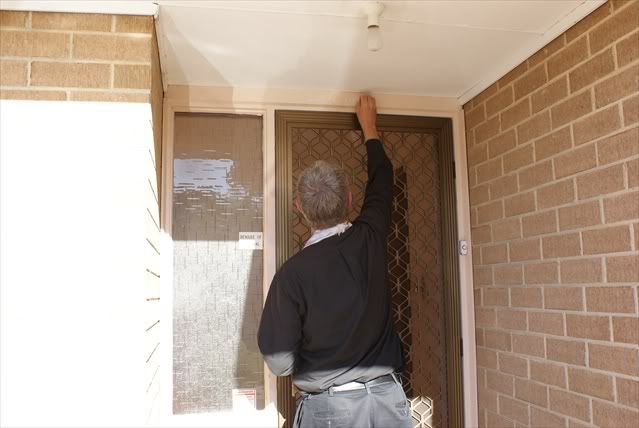
And on the entrance he wrote with blessed chalk the words "20+C+M+B+11", which is the current year and the names of the three Magi: Caspar, Melchior and Balthazar. It also has a double meaning in latin, with C+M+B standing for "Christus mansionem benedicat", and in English " May Christ Bless this house". The blessing can be done every year, hence the incribing of the current year on the doorway, and unlike most blessings, can be performed in the absence of a priest by the father of the house. More on the Epiphany blessing here.
Well, Wyld Man is back to work tomorow, so back to the normal grind it is for the both of us. Hope you had good holidays too!
