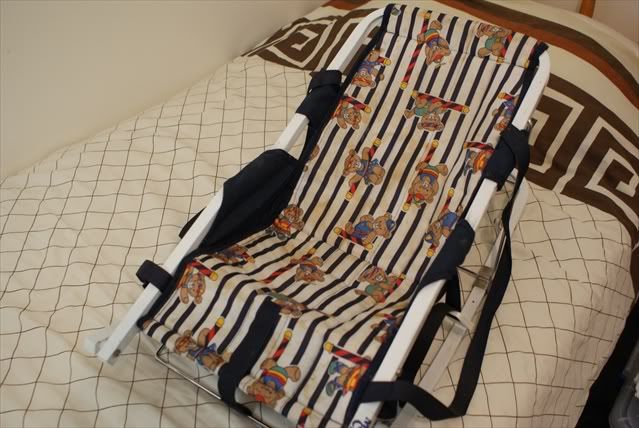
[caption id="" align="alignnone" width="639" caption="It looked rather old and stained."]
 [/caption]
The fabric was sewn into the frame of the rocker, so couldn't be taken out and washed.
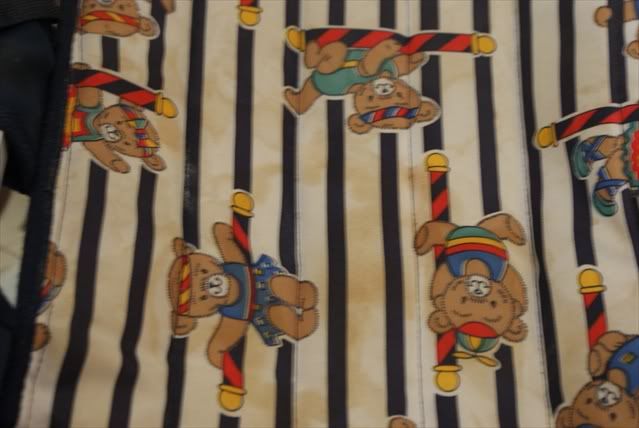
[caption id="" align="alignnone" width="639" caption="I wasn't crazy about the dirty teddy bears"]
 [/caption]
But it was a good brand-Mother's Choice, and a freebie is a freebie. So I decided to give it a facelift.
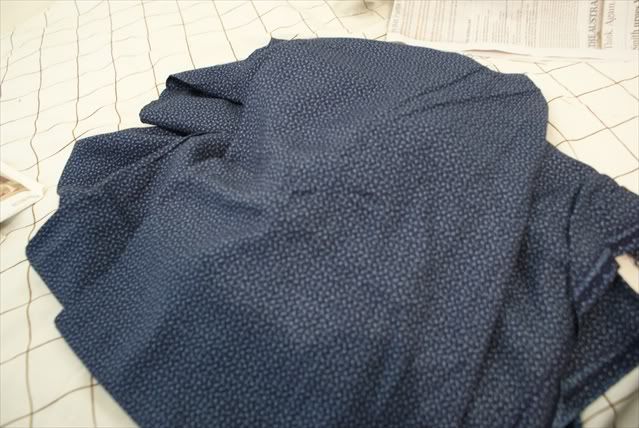
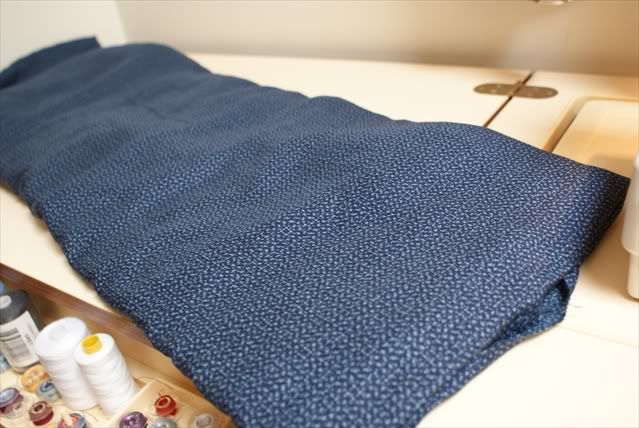
I had some really soft cotton that I picked up at the opshop that I decide would look really good as a cover.
[caption id="" align="alignnone" width="639" caption="Some blue cotton fabric from the op shop"]
 [/caption]
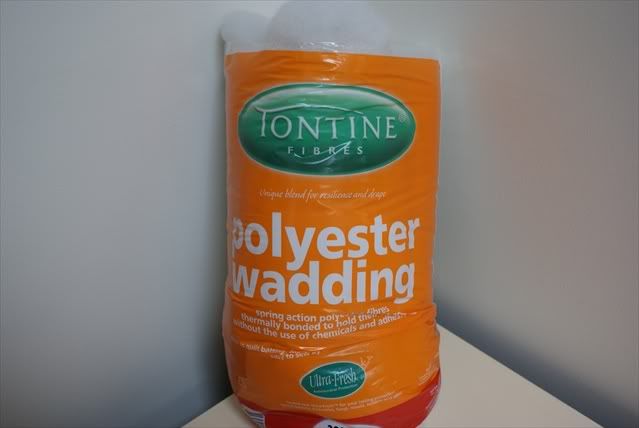
I also went to Spotlight today and picked up a metre of prepacked polyester wadding.
[caption id="" align="alignnone" width="639" caption="Polyester Wadding"]
 [/caption]
But before I did anything, I wanted to make sure that the fabric would look right on the rocker.
[caption id="" align="alignnone" width="639" caption="A mock up of what the final product will look like."]
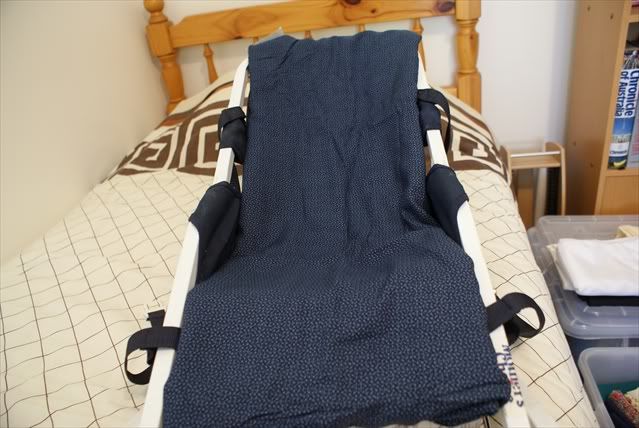 [/caption]
Looks just fine. So, I proceeded to make a pattern with newspaper.
[caption id="" align="alignnone" width="639" caption="Using newspaper to make a pattern."]
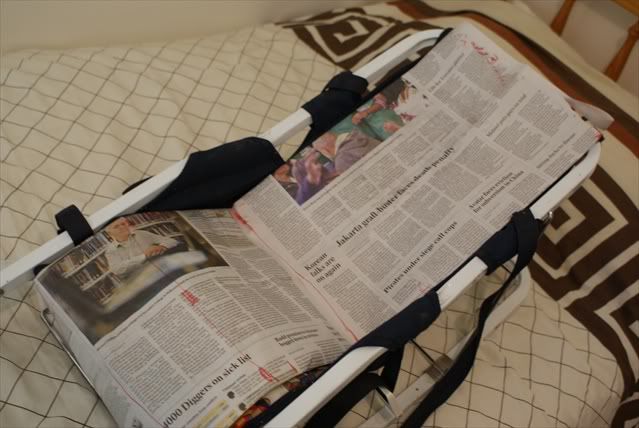 [/caption]
[caption id="" align="alignnone" width="639" caption="Marking all the spots on the newspaper"]
 [/caption]
[caption id="" align="alignnone" width="639" caption="Cutting out the fabric with the newspaper as a guide and adding seam allowances."]
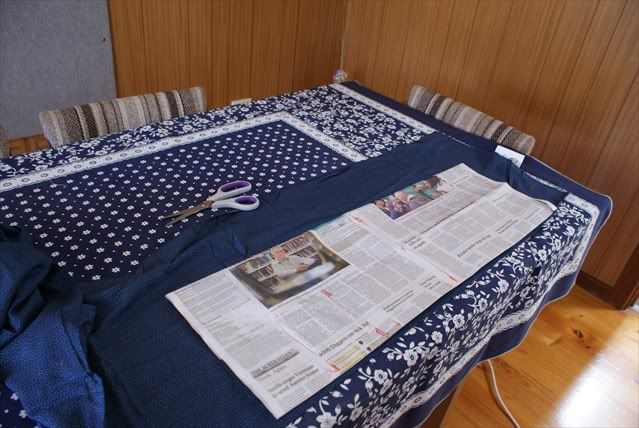 [/caption]
[caption id="" align="alignnone" width="639" caption="Laying the wadding on newspaper."]
 [/caption]
[caption id="" align="alignnone" width="639" caption="Cutting the wadding without seam allowances"]
 [/caption]
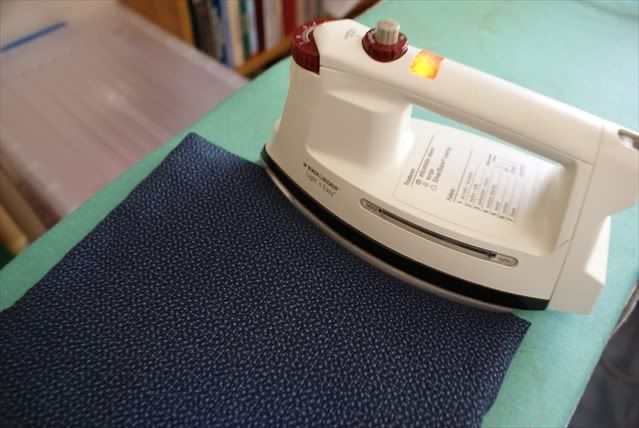
[caption id="" align="alignnone" width="639" caption="Pressing the fabric flat to prevent puckers when sewing."]
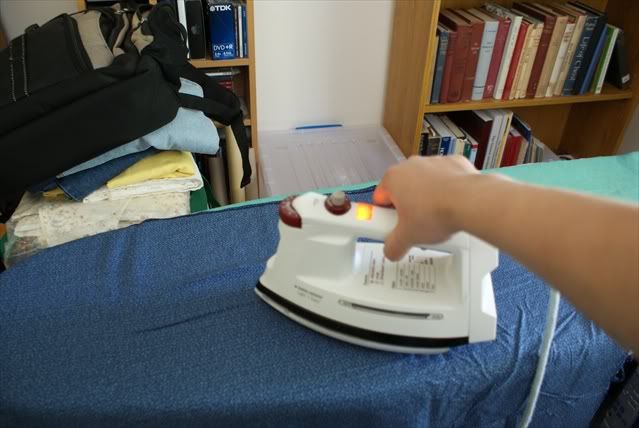 [/caption]
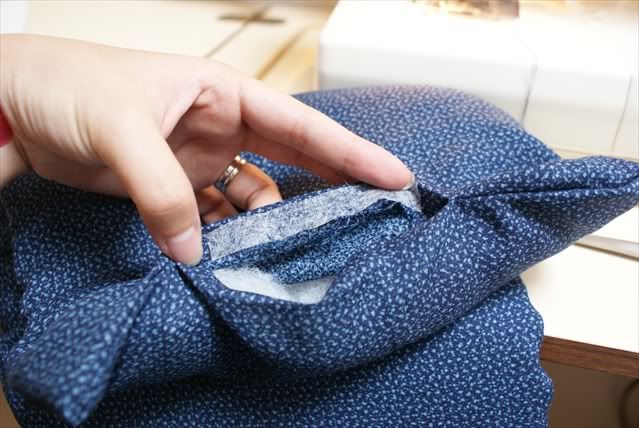
I planned to sew the wadding onto the wrong side of the fabric, and then turning it inside out. So-I pinned the fabric rights sides together, with the wadding on top of the wrong side.
[caption id="" align="alignnone" width="639" caption="Pinning the wadding on the wrong side of the fabric"]
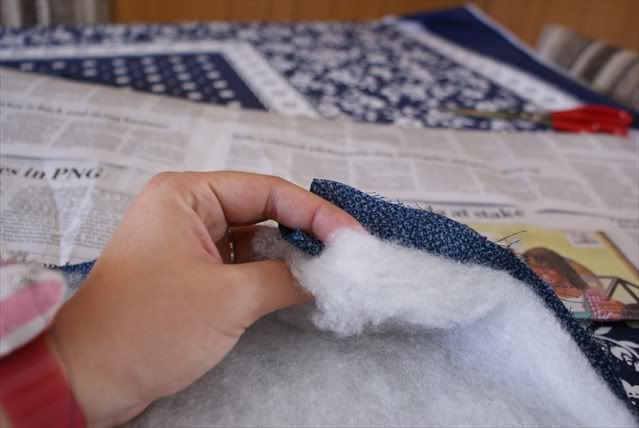 [/caption]
[caption id="" align="alignnone" width="639" caption="I sewed directly onto the wadding all around the sides."]
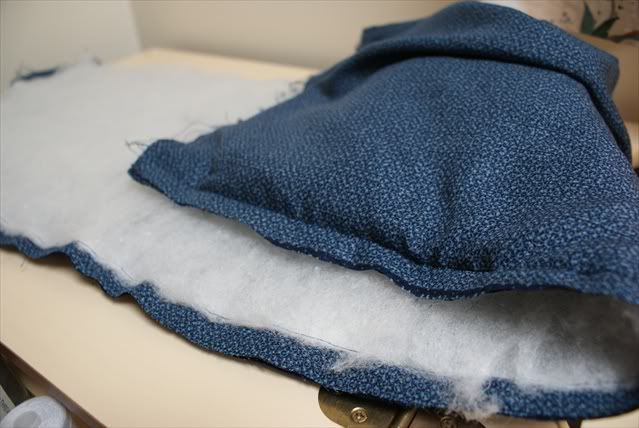 [/caption]
However, I left a hole in one of the short sides for turning the cover inside out.
[caption id="" align="alignnone" width="639" caption="The Hole"]
 [/caption]
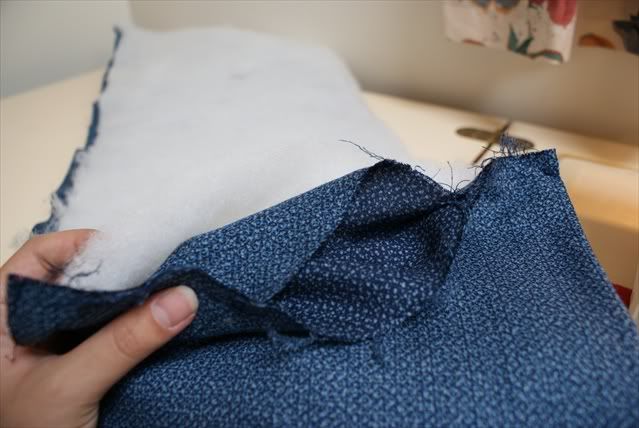
[caption id="" align="alignnone" width="639" caption="I anchored the four ends of the wadding unto the fabric before turning inside out"]
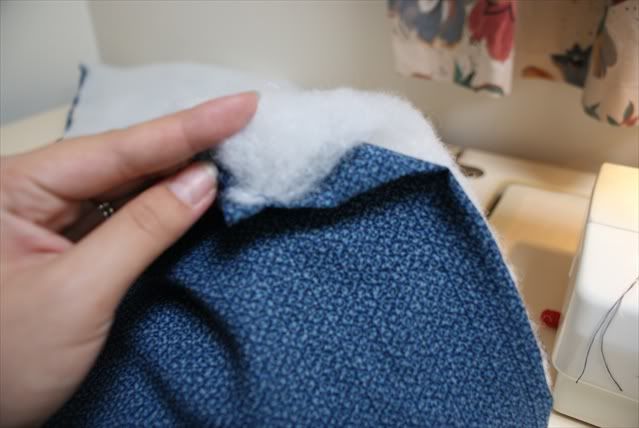 [/caption]
Then I proceed to pull the fabric and wadding through the hole.
[caption id="" align="alignnone" width="639" caption="This is what it looks like the right way up. See that little hole?"]
 [/caption]
I'm going to close it up with iron-on hemming tape.
[caption id="" align="alignnone" width="639" caption="Inserting hemming tape into the hole"]
 [/caption]
Iron-on hemming tape is a fusible adhesive which bonds 2 pieces of fabric together when heat is applied. It is usually used for making invisible hems. I only discovered it in Adelaide-I'm not sure if I've come across it in Malaysia.
[caption id="" align="alignnone" width="639" caption="Ironing the hole with the fusible hemming tape in it."]
 [/caption]
The original rocker seat has a strap sewn unto it to hold the baby in. I wanted to transfer it to the new cover. So I cut it off. Snip snip.
[caption id="" align="alignnone" width="639" caption="Cutting off the safety strap"]
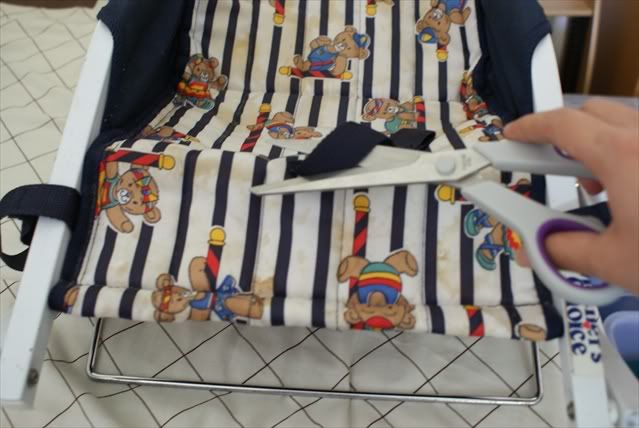 [/caption]
I wanted the cover to have a quilted look, so...
[caption id="" align="alignnone" width="639" caption="Here I transfer all the markings from the newspaper to the cover. "]
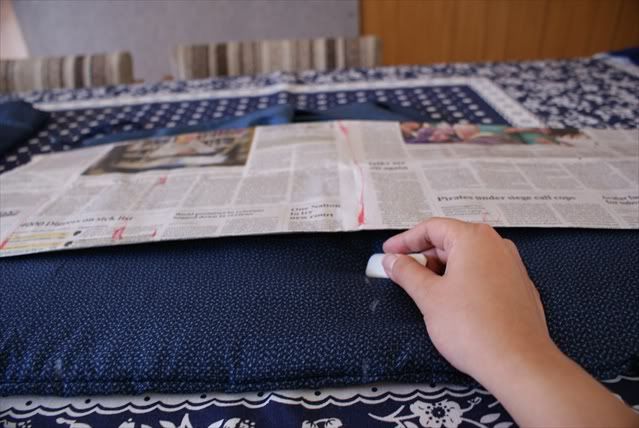 [/caption]
[caption id="" align="alignnone" width="639" caption="I sewed along those markings to define the seat of the cover"]
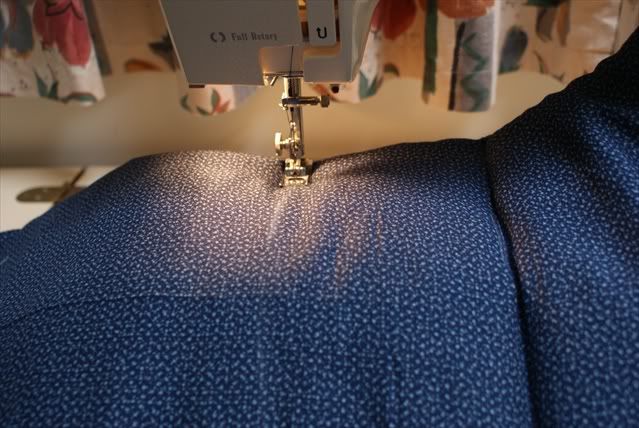 [/caption]
[caption id="" align="alignnone" width="639" caption="I sewed a curvy line down the length of the cover"]
 [/caption]
[caption id="" align="alignnone" width="639" caption="Here I used the quilting bar to guide the second line of stitching"]
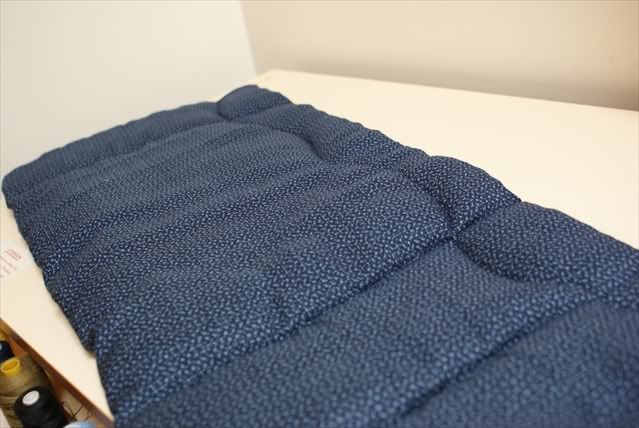
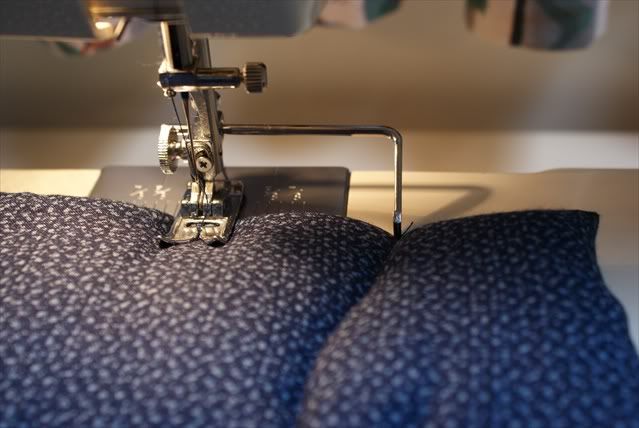 [/caption]
[caption id="" align="alignnone" width="639" caption="The quilted look"]
 [/caption]
[caption id="" align="alignnone" width="639" caption="Sewing the safety strap on with a bartack stith"]
 [/caption]
[caption id="" align="alignnone" width="639" caption="I handsewed snaps on black tape on all four corners to anchor the cover into position."]
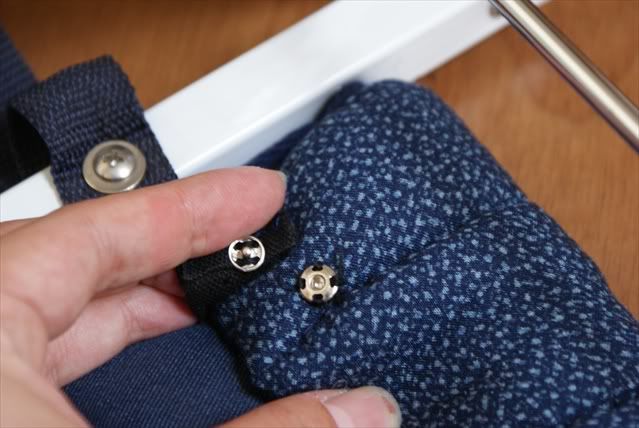 [/caption]
[caption id="" align="alignnone" width="639" caption="Tadaa!"]
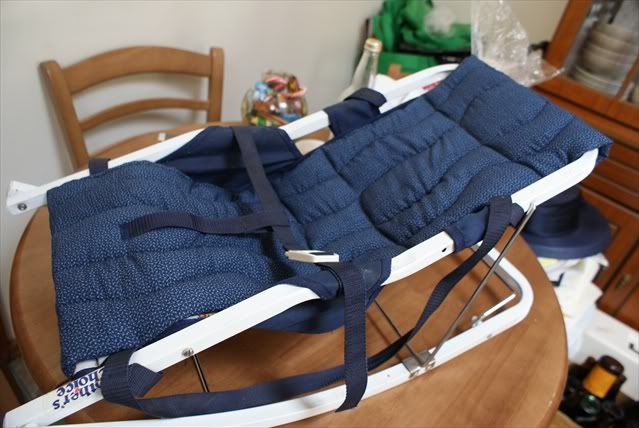 [/caption]
[caption id="" align="alignnone" width="639" caption="I also made a little padded holder for the straps. "]
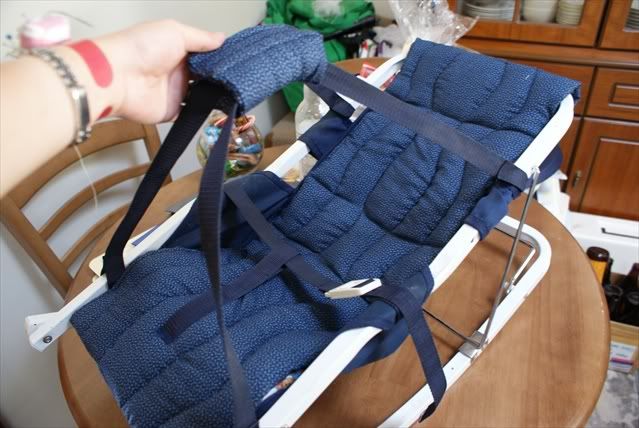 [/caption]
This was a very quick and rewarding project-no precision needed, yet the finished product looked quite professional.
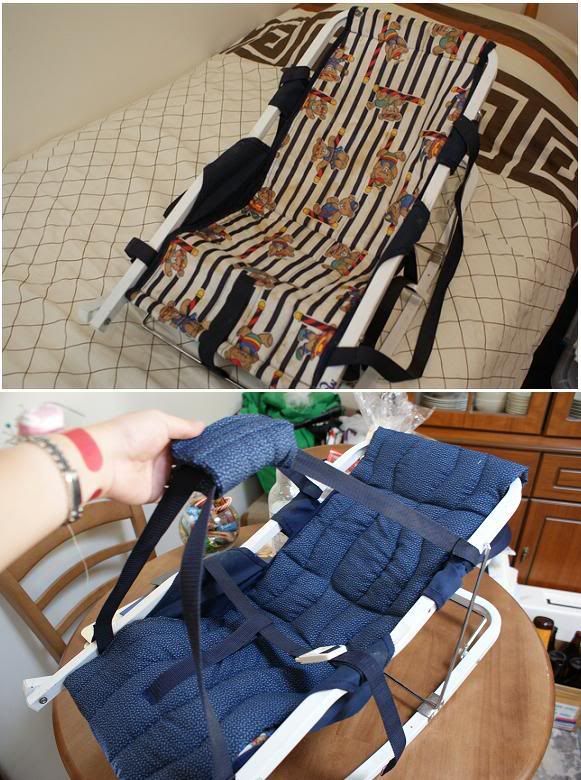
Here's a before and after picture.
[caption id="" align="alignnone" width="581" caption="BIG improvement!"]
 [/caption]
No comments:
Post a Comment
I love hearing from you! Please leave your comments here: