Nursing Cocktail dress
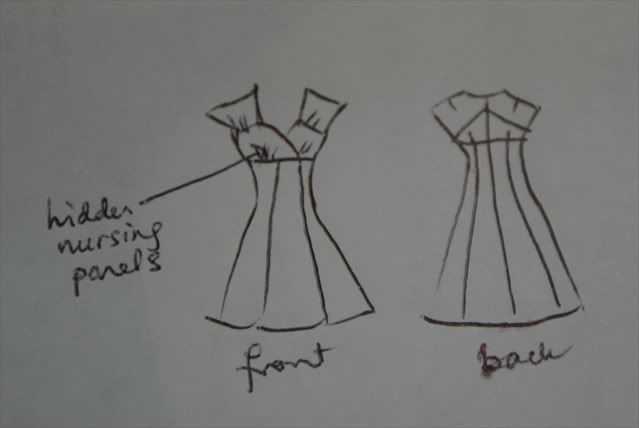
The dress was to have an empire waist, princess seams, a crossover front with gathers, within which there was to be a hidden opening for nursing access.
Because this was a woven material with a tiny bit of stretch, but I wanted a form fitting dress, I decided it would be a good time to take my Gladwrap pattern and use that to make the pattern of this dress.
Gladwrap pattern
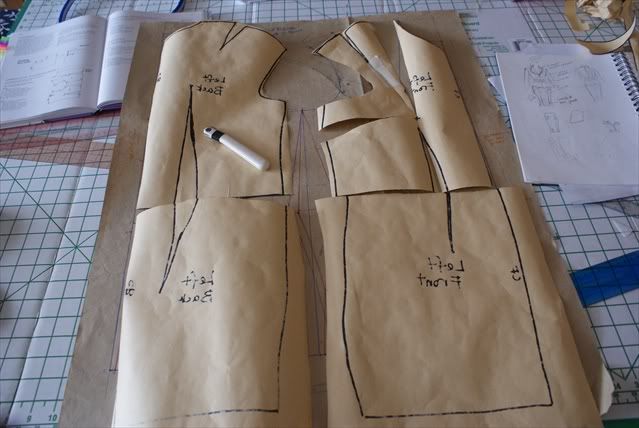
I traced around onto a new sheet of paper and cleaned up the lines. I made two test garments before I was satisfied with it. This was the finished pattern.
Gladwrap sloper
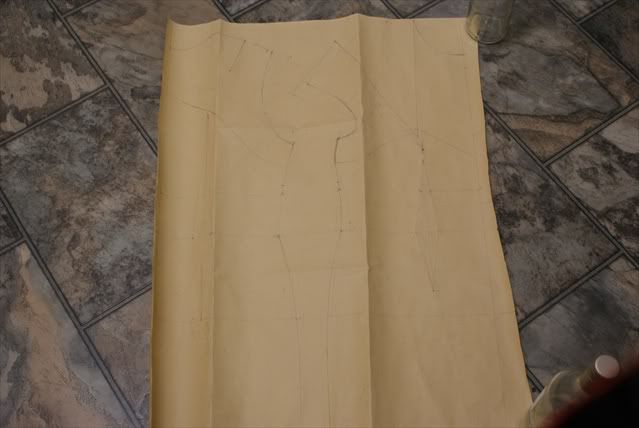
I discovered that I have a swayback, and forward shoulder. A swayback is when a person's back curves inward more than usual, requiring a deeper dart in the back waist.
I wanted a dress that was fully lined, with a combined arm and neck facing. Here are my pattern pieces and fabric all cut out.
Pattern and fabric pieces
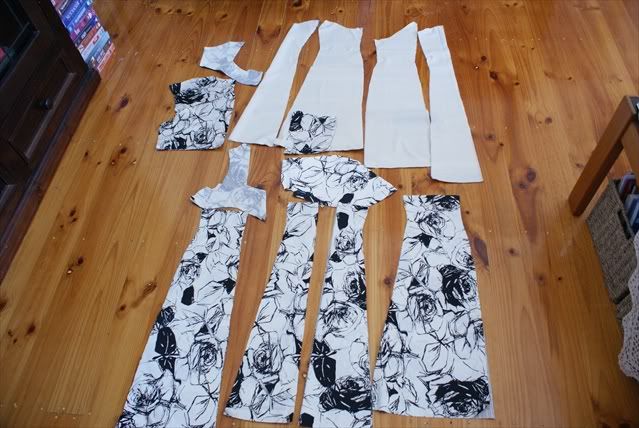
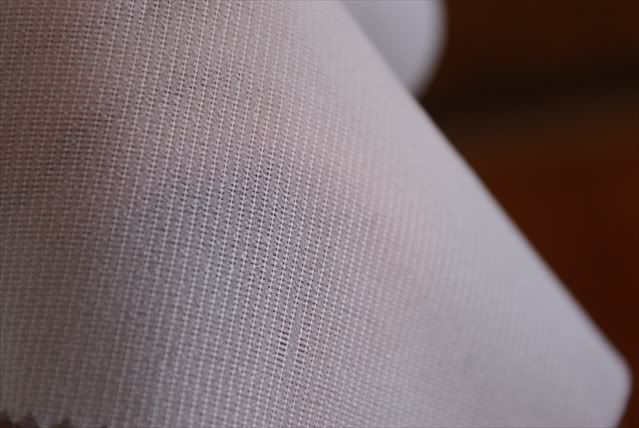
Above you can see the facing pieces has already been interfaced-I block fused the interfacing to the fabric before cutting it out. I used a fusible warp-knit interfacing which was really light, had some stretch, and was almost plush on the non-fusible side. It was perfect for this fabric-I also tried it on a twill and a crepe and it still draped beautifully without changing the hand of the fabric.
Warp-knt interfacing
I also interfaced the front bust crossover pieces, as it needed some structure and stabilizing for the nursing access. I marked the bust point on the piece and slashed it to 3 cm above and then overlocked the slash-like this.
Nursing access
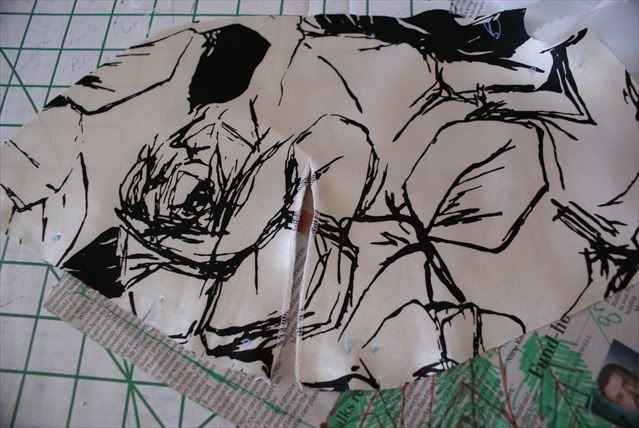
I was also careful to mark all the important points with either notches or tailors tacks. The blue thread you see above marked the triple folds on the bust piece. The folds were done in such a way that it hid the nursing access in a pleat-see below.
Front shoulder and bust panels joined
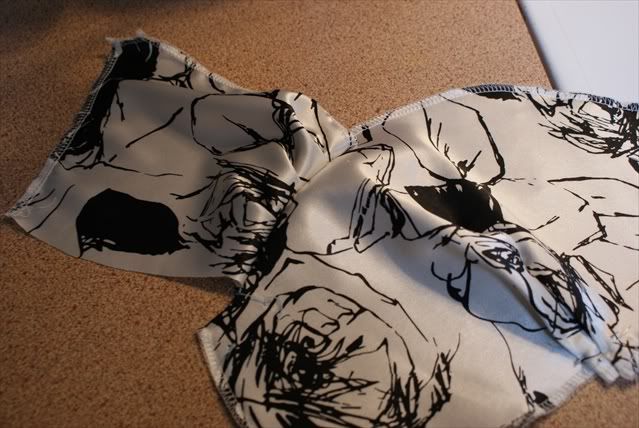
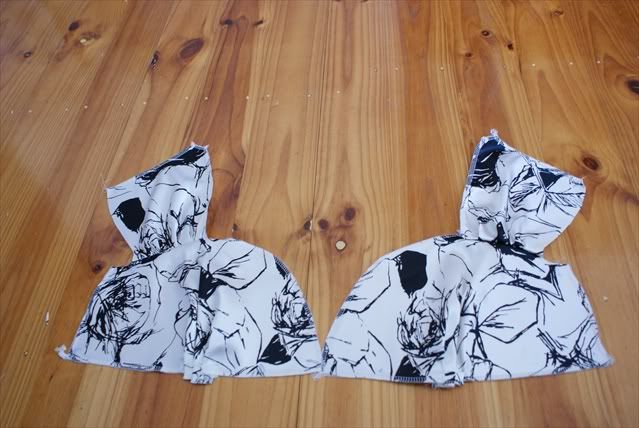
Here I've made the folds in the shoulder piece and joined it to the bust panel. These need to be joined to the back shoulder panels. Then I stitch all the princess seams in the front and back but do not join them to the top panels yet as I need to stitch in the neck facing and lining first.
Front princess seams
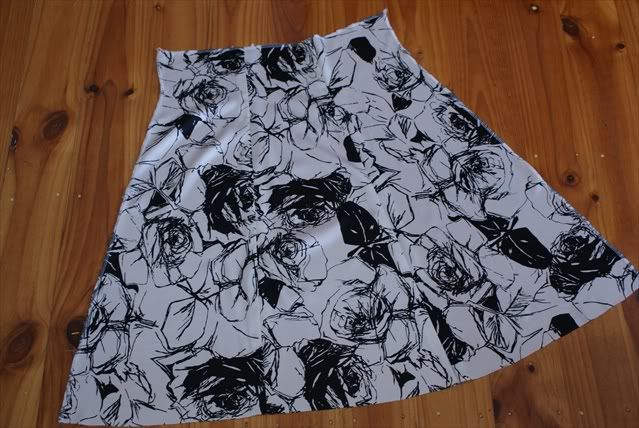
Bust and shoulder panels
Next I work on the facing and lining pieces, joining them all together except at the side seams.
Facing and lining pieces
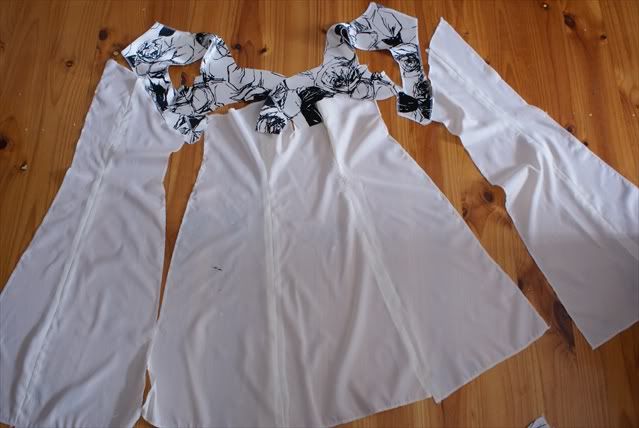
Here the join at the neckline facing and lining get a little tricky. If you look closely, I made a slit in the center top on the front lining, thinking that it would be necessary to accomodate the crossover at the bust. I found later that the slit wasn't necessary at all.
Next I joined the neckline facing to the front bust panels.
Joining the front to the facing
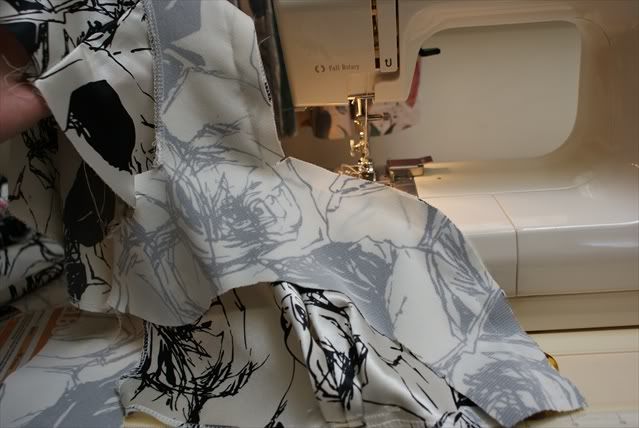
I graded the seam allowance to reduce bulk, then turned and understitched the facing and seam allowances together. After this, I sewed the bust panels to the princess panels, and then all the side seams.
I marked the nursing slit length on the lining and opened it up.
Nursing access in the lining
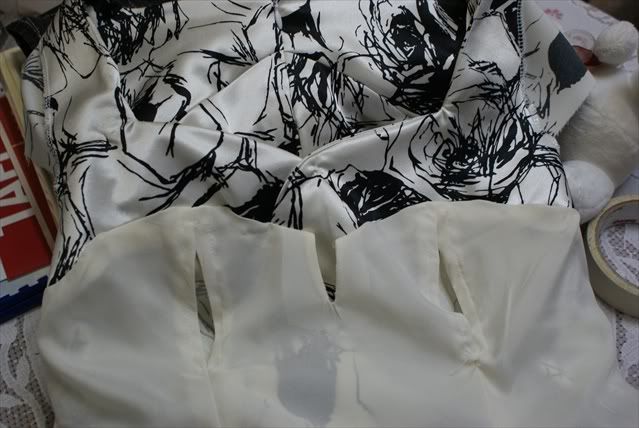
Here I inserted an invisible zipper, sandwiching the zipper between the right sides of the lining and the shell, and handbasting first. I don't think its the correct way to insert an invisible zipper into a garment with the lining, as the zipper can get caught in the lining. I had to redo the zipper twice before I was satisfied with it. Next time I'll set the lining away fron the zipper.
I had left the armhole edges on both the lining and the shell raw, so I did a rolled hem on the armhole shell with black thread. I overlocked the lining armhole, and used the overlocker to cut away 1cm all around the armhole so that the lining wouldn't show.
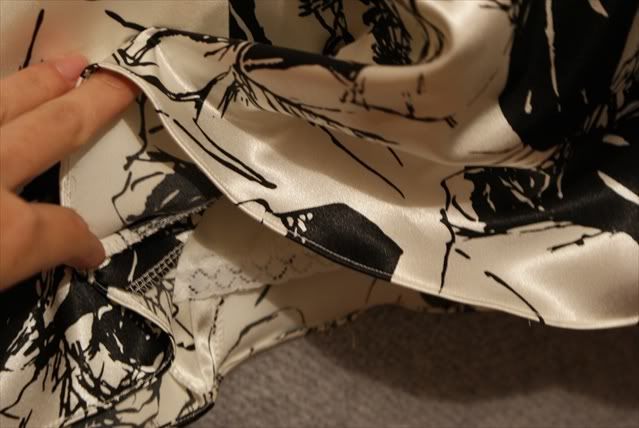
I did a rolled hem with a narrow hemmer on my machine for the hem. For the lining hem, I overlocked the edges to trim away any longerbits, and then I sewed some lace for a couture touch. I love that only I know that it's there.
Lace on the lining hem
And finally....

Here's a back view.

It looks a bit rumpled because it just travelled to Melbourne and back again. I wore it almost the whole day at my friend's wedding.
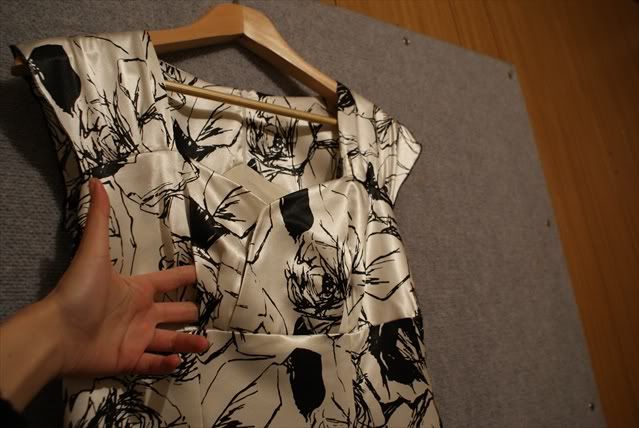
Here's a view of the nursing access.
Hidden nursing access
The dress was an amazing fit. Using the Gladwrap to make a personal sloper is a fantastic idea. No need to keep making fitting changes or multiple test garments. I highly recommend making one.
Here's a final picture of me at Claudia and Kaiwin's wedding.
Silvia, Manchee, Claudia, me, and Chok Fung

Wow Joyce! You Wyld Wonder Woman. You really have become inspired by the Pioneer Woman in your spare time. Hope you enjoyed the wedding trip and congratulations on your skillful creations! I'm impressed. Can't believe I've only just found my way to your site. Missing you. Much love x
ReplyDeleteThanks for reading Bets!! Miss you too! XOX
ReplyDelete[...] My, it’s been a while. And 2 days till Christmas! I’ve been busy busy busy-tidying up house, getting rid of unused things, doing some spring cleaning, running after my Little Wyld Man, who isn’t so little anymore. And also, I’m pregnant again! In between getting all of these done, I managed to pull together a simple smock from a Burda magazine, using some left over material from my maternity/nursing cocktail dress. [...]
ReplyDelete