Thursday, May 26, 2011

Ponte Knit Maternity Skirt Part III

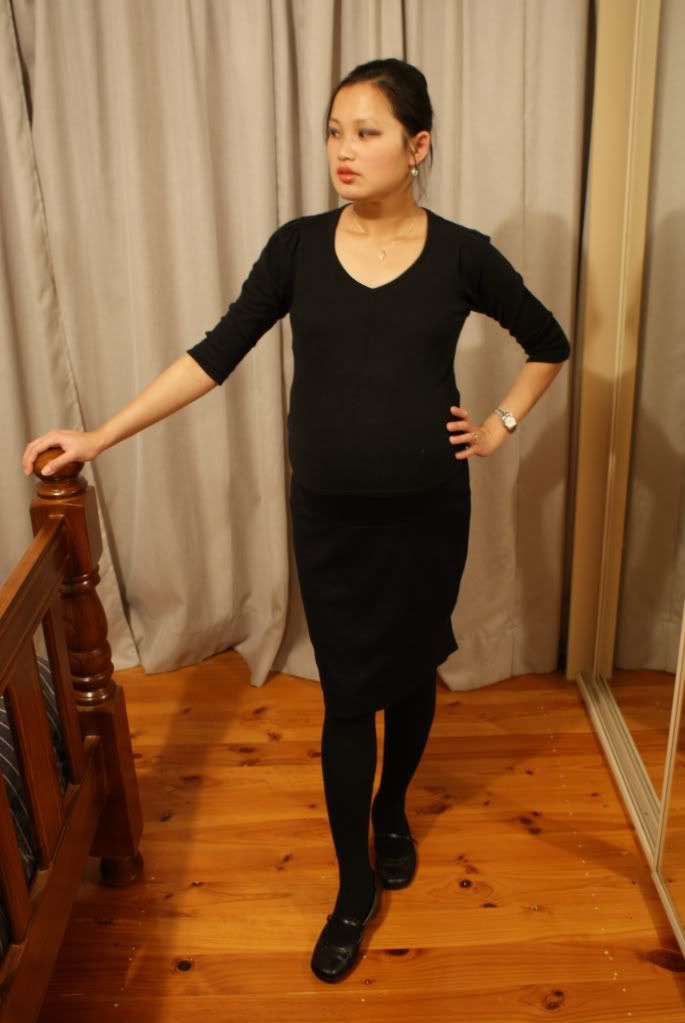
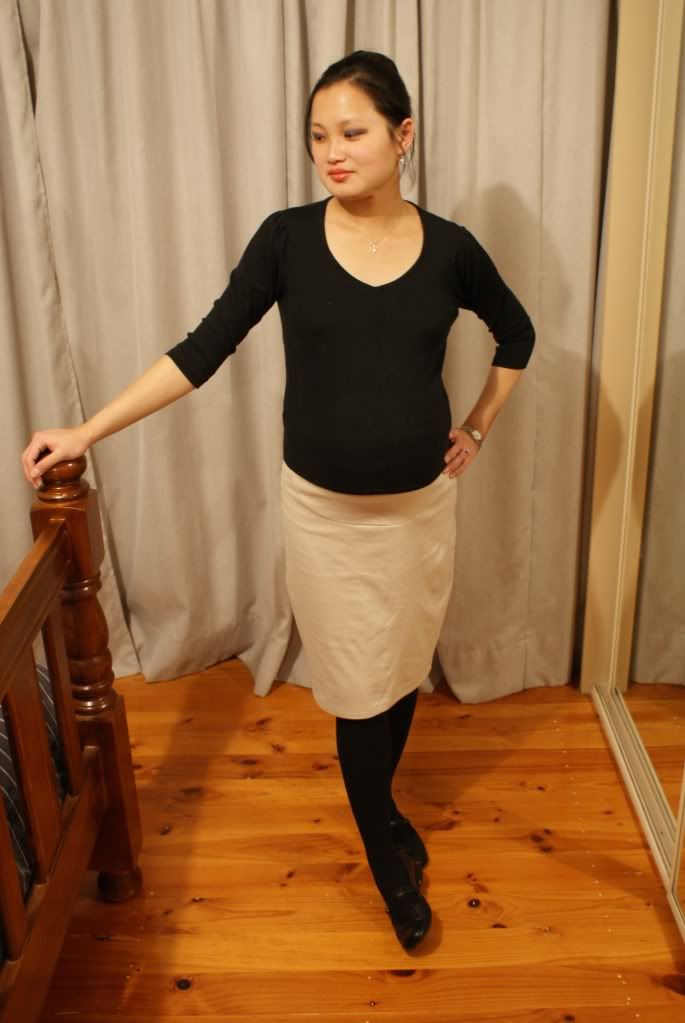
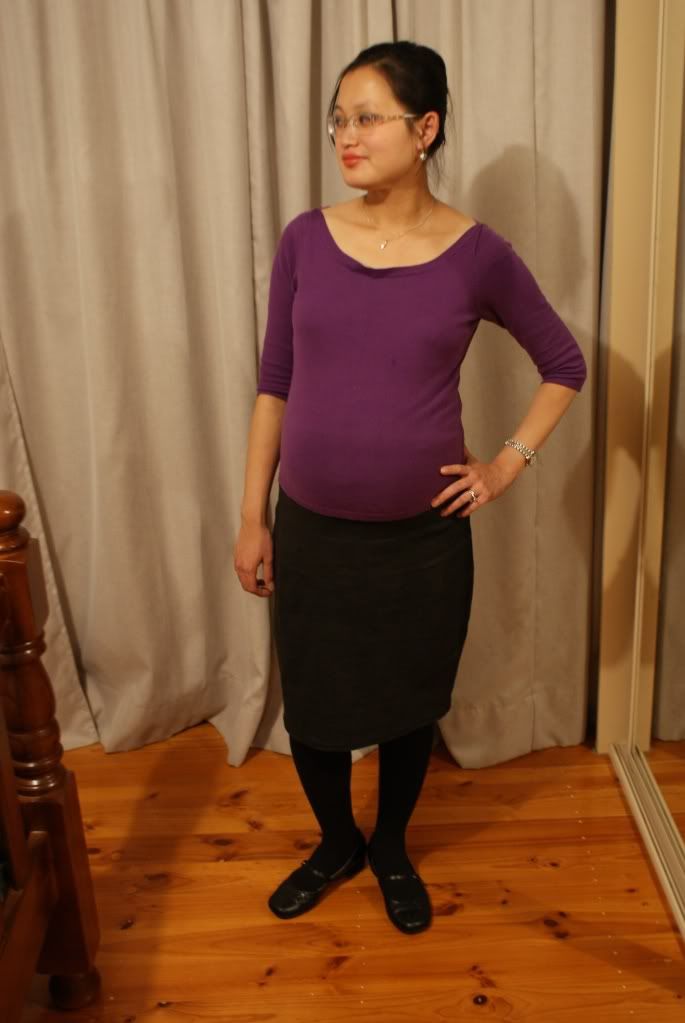
I finally have pictures of me wearing all the five maternity skirts I made over the last 3 weeks. I only have about 2-3 weeks to wear them, but all in all I'll have worn them every single day for probably 40 days. And I can always use them for the next baby or sell them.

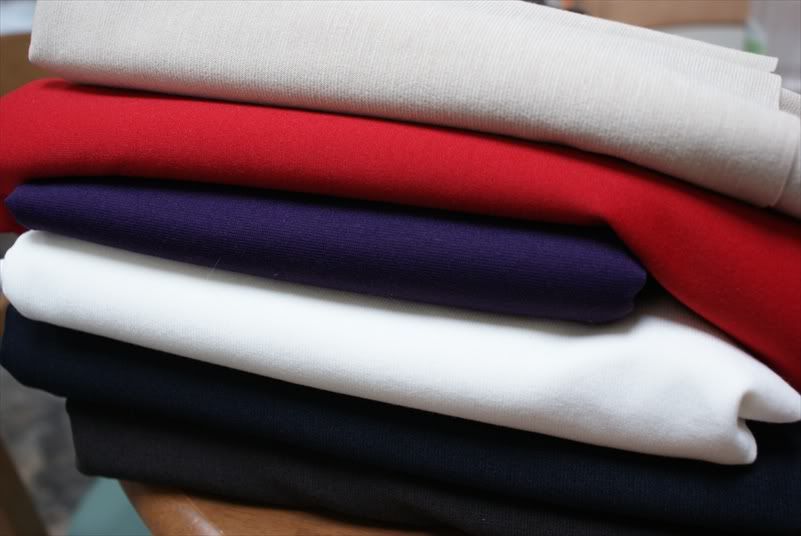
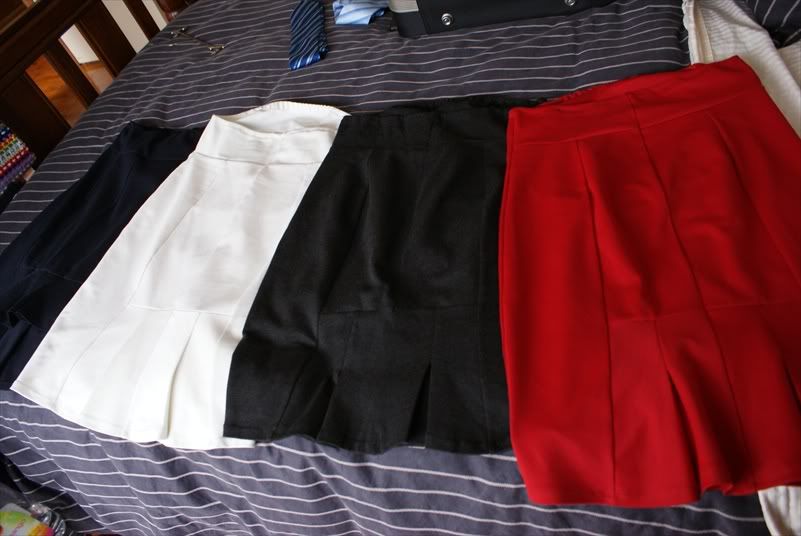
I made the skirts in blue-black, ivory, red, charcoal and fawn. They are all the same except the blue-black one which has two flounces at the back (with sligthly different order of construction).

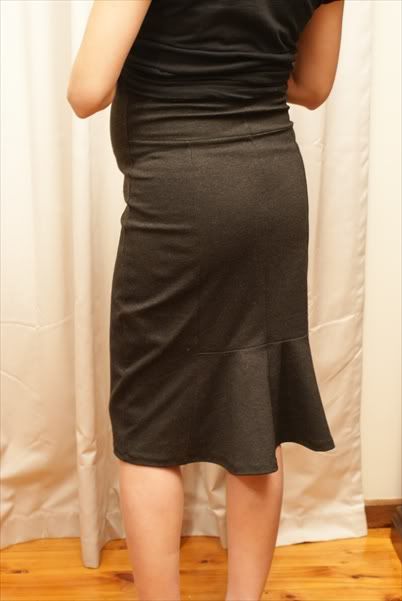
This is the charcoal skirt. I made this one first in super ponti, which I paid $24.50 a metre for (too much!), but I do love it. And it was so easy to put together that I decided to go out and buy more!


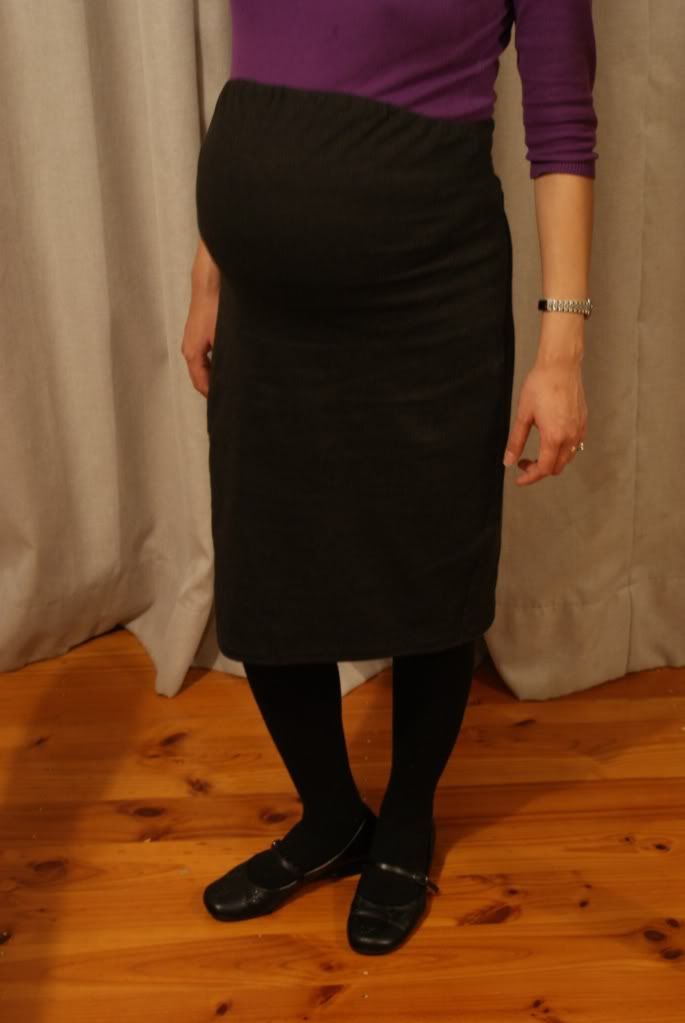
Below you can see how it sits over the whole tummy. This is what makes it so comfortable. And I can wear anything over it without fearing that my tummy will hang out!


However, with this first skirt, I didn't realise that the super ponti was too stiff for the original flounce design, which turned out looking like rudders behind me *eek*!


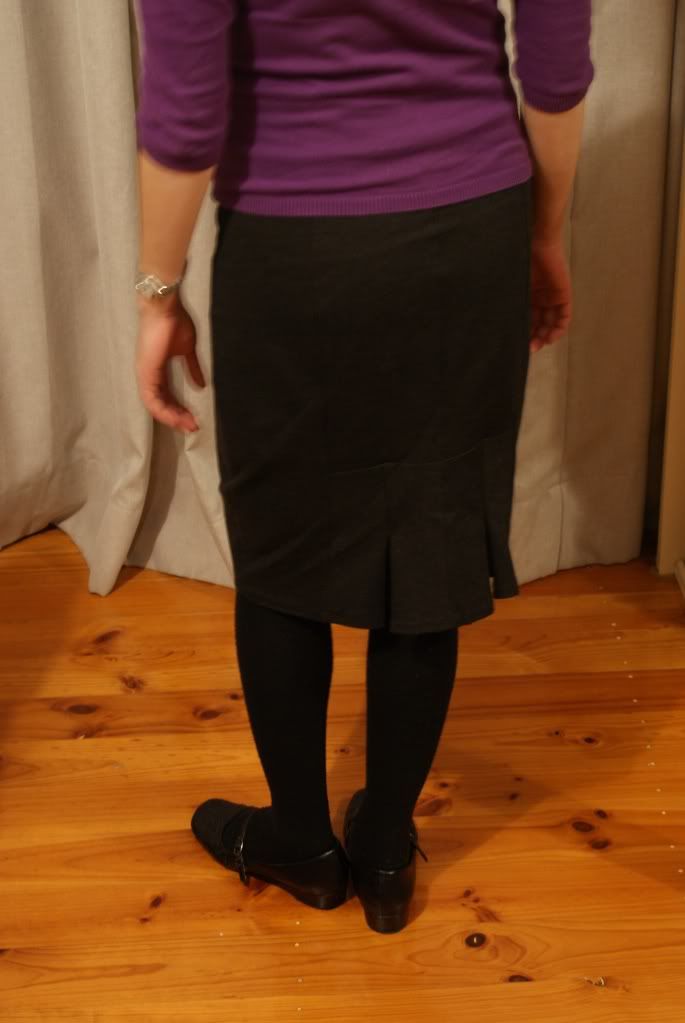
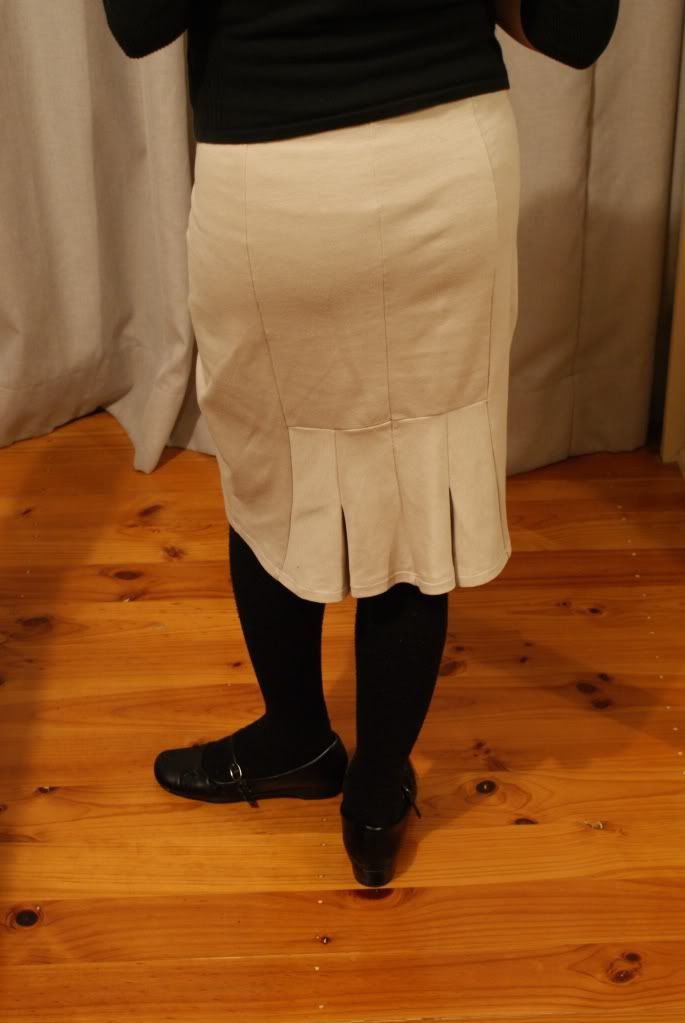
I was rather dishearterned with this, and sat on it a day or two to think about how to fix it. And I hit on the idea to sew half the flounce down into a pleat. It worked beautifully! And I used this little correction on the rest of the skirts which were already cut out.

 Here is how the back looks like after.


I much prefer how it looks now. 
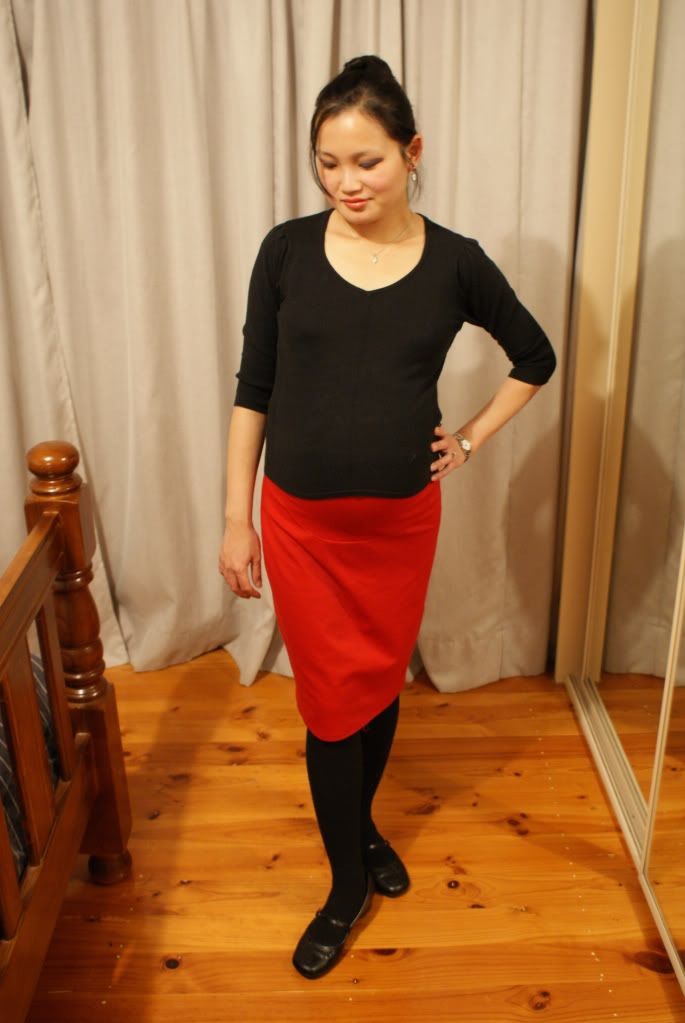
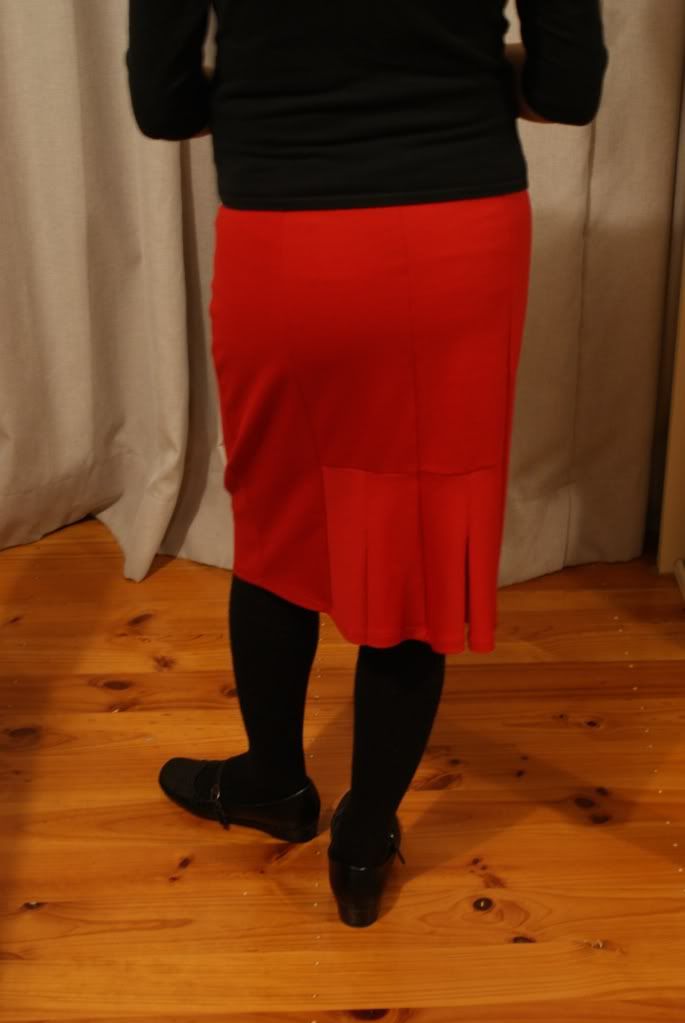
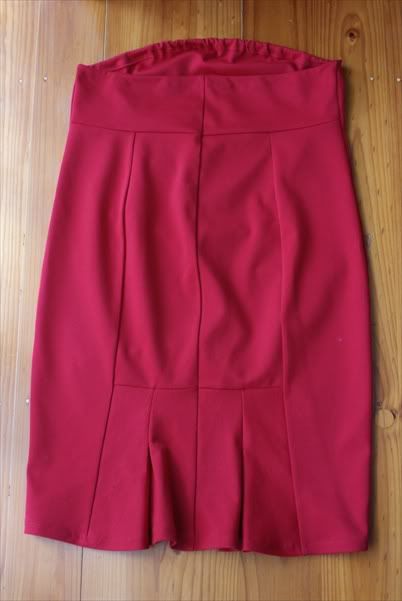
Here it is in red.


The ivory skirt is lined with flesh coloured nylon tricot, which was the only colour I had in my stash that was remotely suitable. I didn't want to go out and spend more, so I made do. Turned out all right.
This blue- black one has two flounces in the back. The skirt looks black in some lights, but is actually blue. I really liked the double flounce, but decided do only do one skirt like this and keeep the rest simple.


And I made this fawn one last week.


I've got loads of maternity stuff now!

Saturday, May 21, 2011

Constructing The Knit Maternity Skirt Part II

This is Part II of the Ponte Maternity Skirt series. For Part I, see here.

My post yesterday showed me cutting out some charcoal grey super ponte (or ponti-I've seen both spellings). But I actually bought a lot more ponti knits after that, in purple, red, fawn , ivory and blue-black.


In this post, I will be constructing the skirt in red. One, because I was in a hurry to finish the charcoal grey skirt (which was the first attempt), and two, because red photographs better.

By the way, I finished sewing my fawn coloured ponti knit skirt last night-took me three hours to knock it up, thats including all the overlocking and pressing I had to do. But I already had it all cut out from two weeks ago. Now I've got five go-anywhere, goes-with-anything maternity skirts! And they have been all that I've been wearing the past 2-3 weeks since I made it, and I've still got about 4 weeks to go before my due date. All the different colours keep them from being too boring, although still classic and neutral.

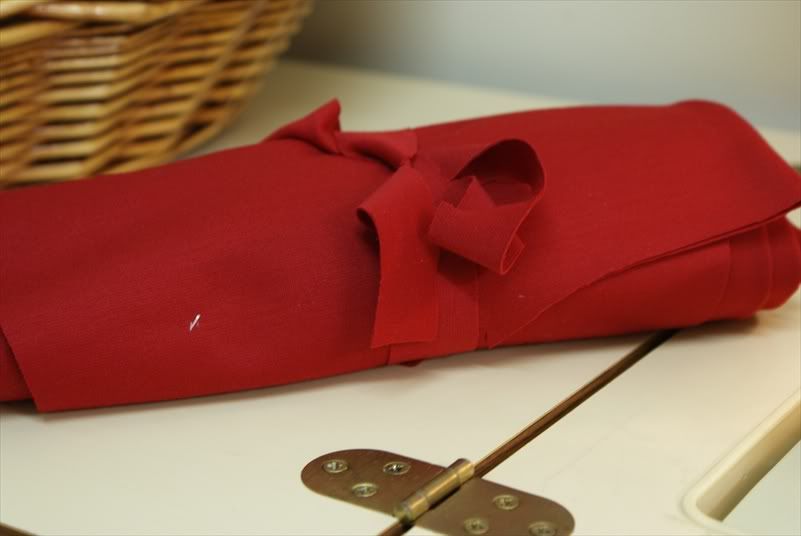
This is my neatly tied up roll in glam red.


This is the order of construction. As far as possible, I sew as many pieces together whose seams do not cross, and then press the seams. So if  it seems that the order of construction jumps from the front garment pieces to the back pieces randomly, it's because I chose to do as much sewing as possible before I go and press them.

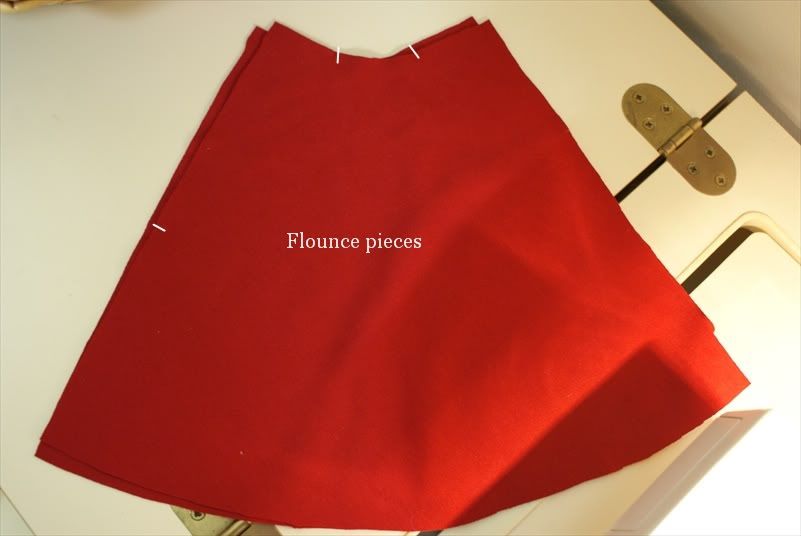
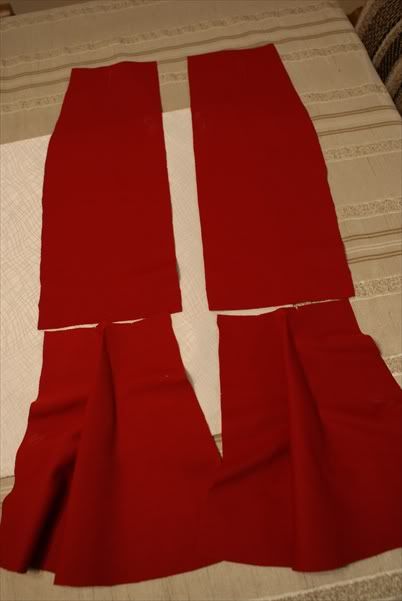
First I dealt with the flounce. Now, in my sketch, I've drawn the flounce free flowing as it should be, but I found that after I sewed the grey ponti, the fabric was too stiff to drape the flounce nicely, so I 'fixed' it by sewing down the flounce and making it into an inverted pleat. So I did the same for the other skirts.

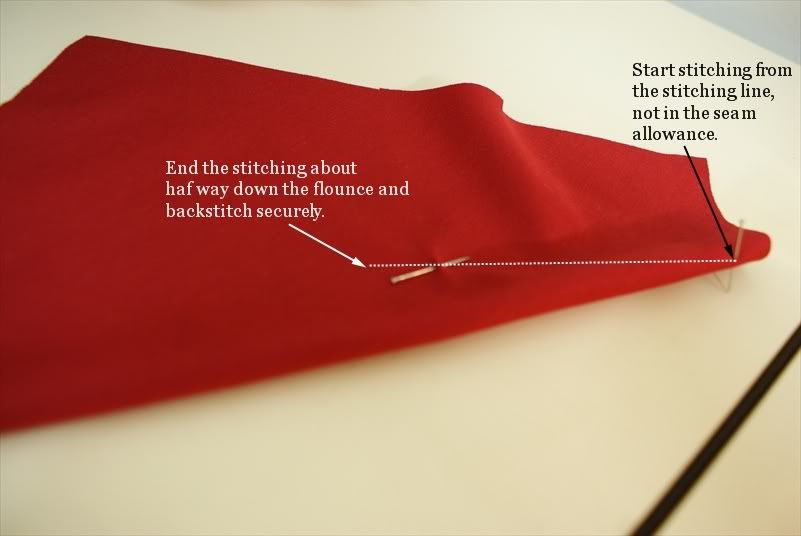
If your fabric is a drapey knit, you can ignore this bit and just sew the flounce to the back centre panel. To make a pleat in the flounce, I folded the flounce in half, then sewed from the stitching line at the top of the flounce, (not the cutting line), down 3.5 inches and 1.5 inch in from the fold. Backstitch so that the pleat does not open up.


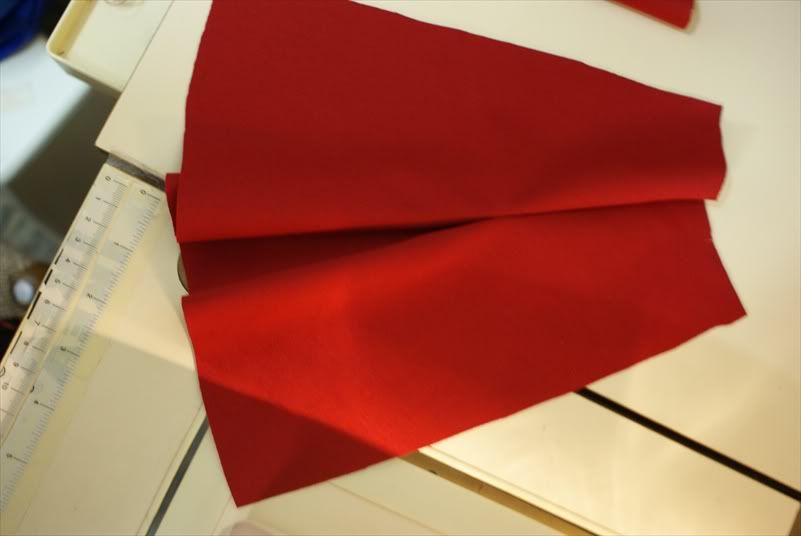
This is what it looks like.


Looks like an inverted box pleat, but it isn't really. This pleat needs to be pressed flat, but it depends on the look you're going for. If you want a sharply pressed pleat, press the whole piece. If you want to preserve a softer flouncy look at the bottom, press to the end of the stitching in the pleat, but don't press the bottom  half of the flounce piece.

Now to join the flounce pleats to the centre back panels.


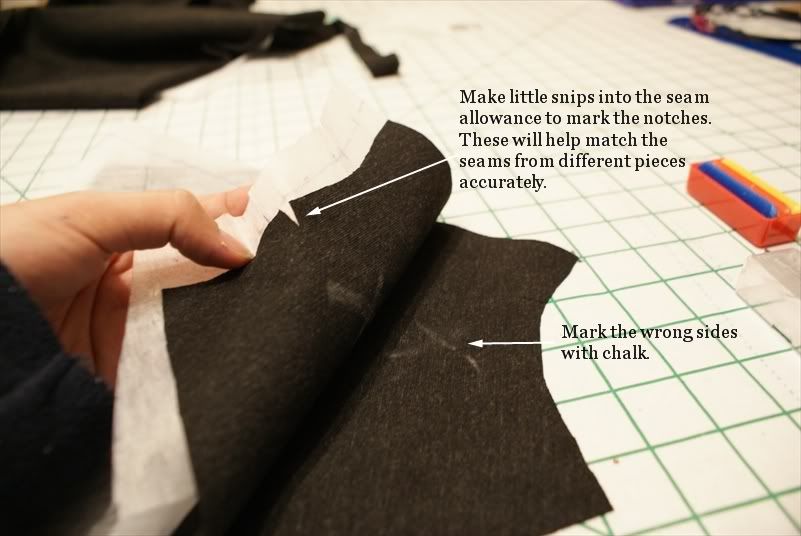
Be careful not to switch left or right sides. This is where the 'X' chalk marks on the wrong sides come in handy. Match the snipped notches to the seamlines.

I could have overlocked the seams straightaway, but I sewed the seams in place with the sewing machine, on a zigzag stitch before I overlocked it with a four-thread overlock. I feel that the overlocker is harder to control and if you get it wrong, there is no going back after the knife trims off the seam allowances. I did this with all the seams, and then pressed them to one side.


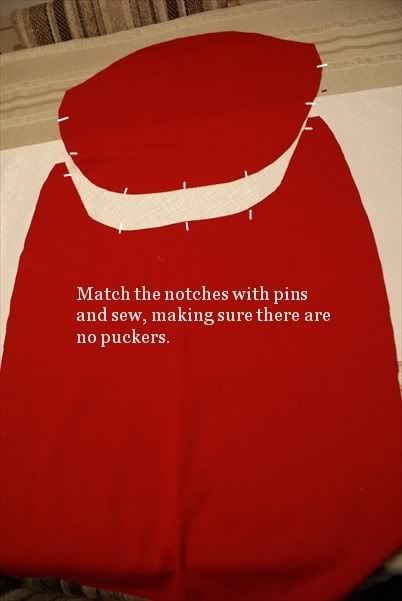
Next I pinned the maternity panel to the front piece, matching centre notches and then pinning at quarterly intervals. I sewed with a zigzag and then overlocked it.


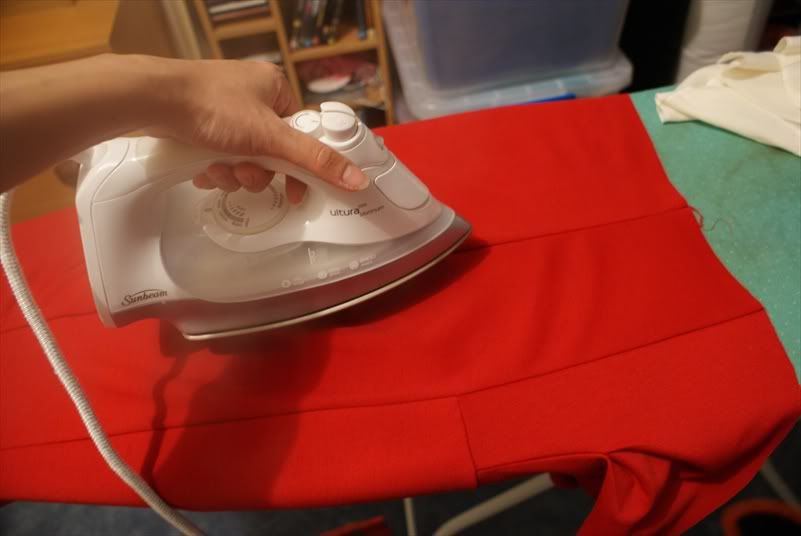
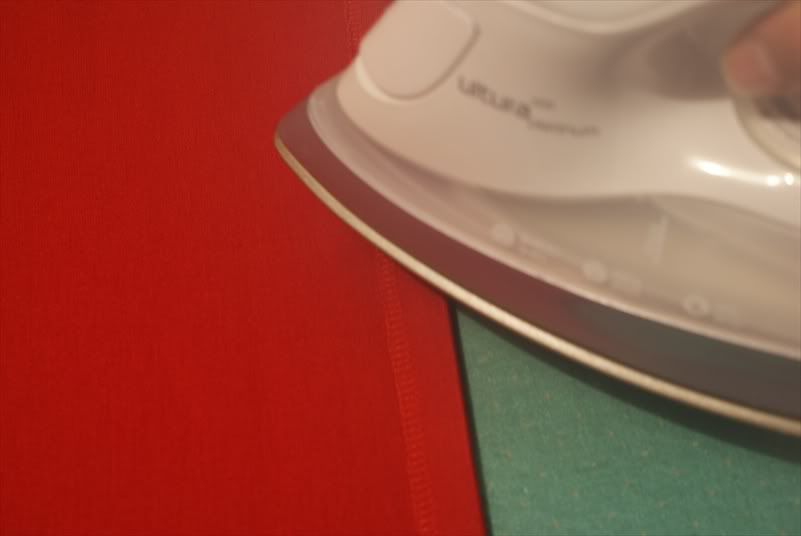
Once the seam is pressed, those puckery lines will smooth out. Be sure to use a press cloth with ponti knits as they tend to shine if the iron is too hot.

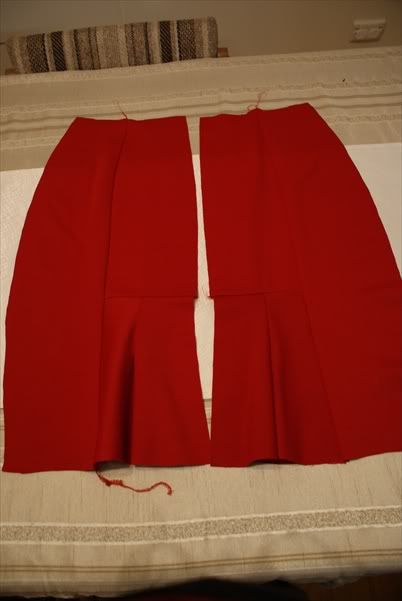
All the pieces above can be pressed one go at this stage, before we construct the back pieces again. Once the centre back panels and flounce pieces have been pressed, it's time to sew and overlock the back side panels. Again, the seams will have to be pressed before the back waist is stitched on.


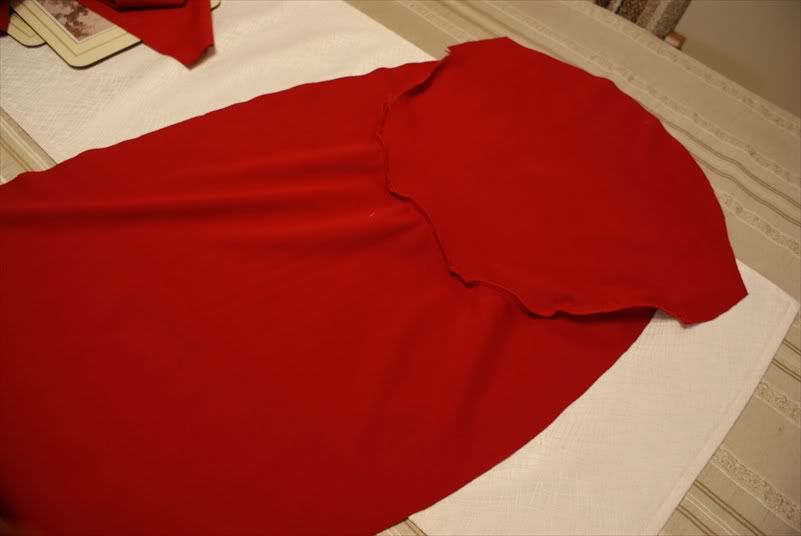
Here I've stiched the back waist panel onto the bottom pieces. We are very close! Just need to do the centre back seam now!


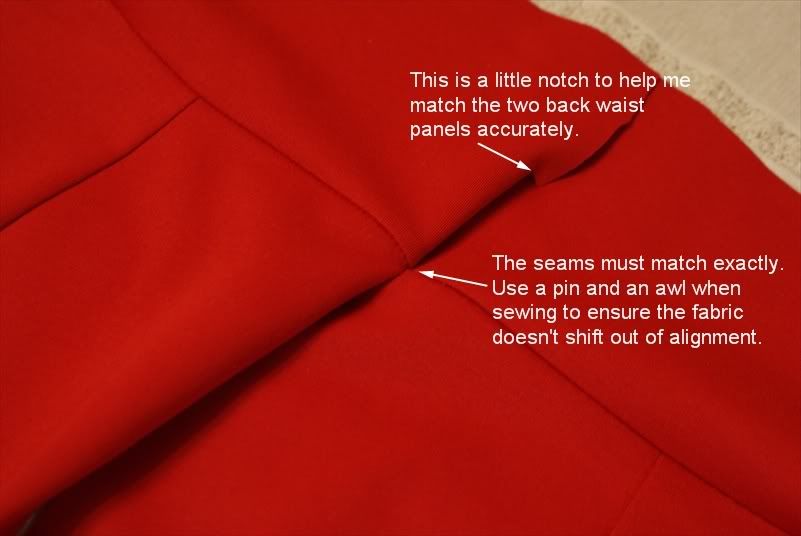
Pin the two panels together, matching notches. There is an intersecting seam in the picture below which must match exactly. Knits stretch, and can distort when sewing, no matter how accurate your pinning. So do the pinning accurately, and stitch slowly over the seam. Use a tailors awl or stiletto to guide the fabric. This is why I prefer to sew knits with the sewing machine first before overlocking.


The back piece is done! We'll just need to join it to the front piece, pinning and matching notches again, sew and overlock....
 

And press...


All that's left is to sew down the casing at the top of the skirt all around the maternity panel and back waist. And the hem! To do the former, I pressed the casing down 1 cm with the iron to form a nice pressed fold, which will help guide me when sewing. You can choose to overlock the top of the skirt at the casing, or leave it. I prefer to overlock everthing as it gives a more RTW finish.


Sew the elastic casing with a zigzag stitch, leave about 1-2 inches unsewn, and insert elastic. I used whatever I had in my stash that fitted in the 1cm casing. Pull it snugly but comfortably around the waist approximately where the skirt would sit. Stitch the two ends of the elastic securely, and stitch the casing opening shut.

Fold the hem up 1 inch and press all around the skirt. Topstitch with a twin needle. Press the hem flat again.

And voila! The finished product.

The front.


The back.


The other skirts I made within 2 days!


These skirts a super comfy and so versatile! I can wear a normal T-shirt or blouse over it and my belly doesn't hang out!
I haven't taken pictures of myself modelling the skirts since Wyld Man is not home, but stay tuned!
Friday, May 20, 2011

Drafting the Ponte Knit Maternity Skirt Part I

In my last post I talked about making a maternity skirt as I was getting desperate for something comfy to wear in the third trimester. Well, I actually made it within the week, and I made 4 at once. But I only got around to posting about it now. I'm going to save the actual pictures till another post. This post will be about drafting a knit maternity skirt.


I already knew what fabric I wanted-which was a ponte knit from Spotlight, so this pattern is drafted like a woven except for the maternity panels. I wanted a tailored look and a maternity panel when went all the way over the belly to the underbust. Can't stand maternity skirts you get from stores because they must have been designed by somebody who was never pregnant before! The waistband, although elastic, starts at the middle of the belly, or under, but very seldom cover the belly, which either makes you look fat, or cuts off your circulation when it starts to cut into the underbelly.

By the way, ponte knits are the bees' knees! I went to Spotlight the first time and got a super ponte, which I over paid for (see my last post), and the second time I went there they had a 30% off already reduced fabric sale! And there were red, brown, fawn, ivory and blue-black ponte-de-roma knits!!! I bought 1 metre of all the colours they had available at about $5.60 per metre. I love ponte knits now because they feel quite substantial, especially the super ponte, which was very stable and quite thick, and they sew like a dream.

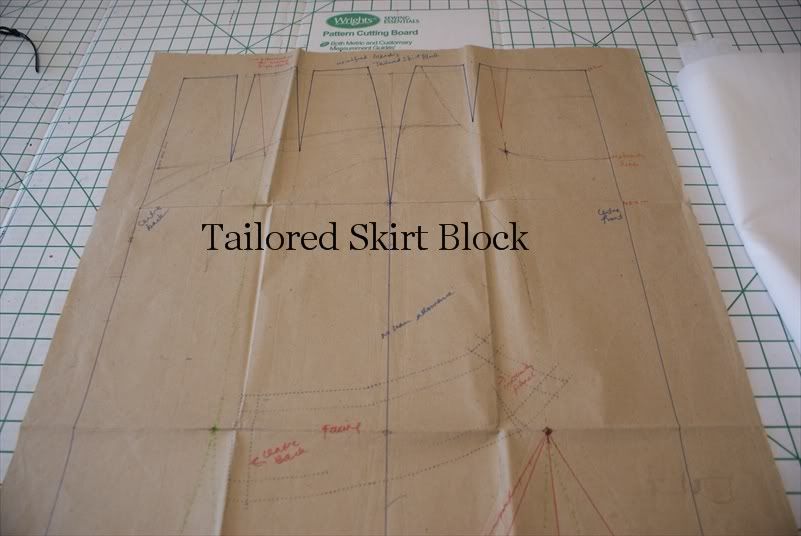
Anyway, I started with a tailored skirt block. Make your own personal sloper/block from Gladwrap (see here), or use this Burdastyle Skirt Draft Tutorial to make the block. I used my pre-pregnancy sized block to draft this skirt.


First, draw in the stylines according to the sketch. (I've drawn the maternity parts in red coz that's the interesting part!) I've also added notches (in red) to guide me when the pieces are cut apart later. Be sure to alway transfer the notches whenever the pieces are cut away and seam allowances added to it-it makes life so much easier!

Cut the panels apart. Now comes the best parts of pattern drafting.


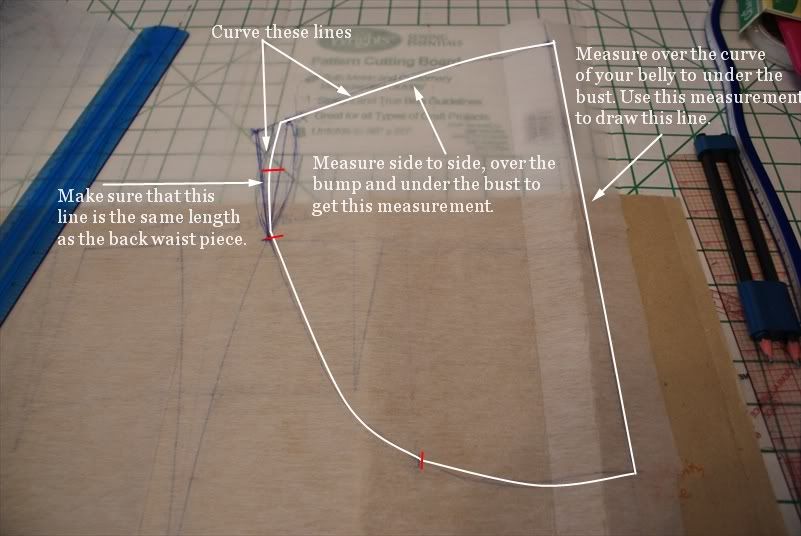
Estimate where the curve of the bump started  (below the waistline) and draw it into the block. Then measure over the belly from the underbust to the pubic bone, use this measurement to draw a straight line on the centre front upwards (in red).

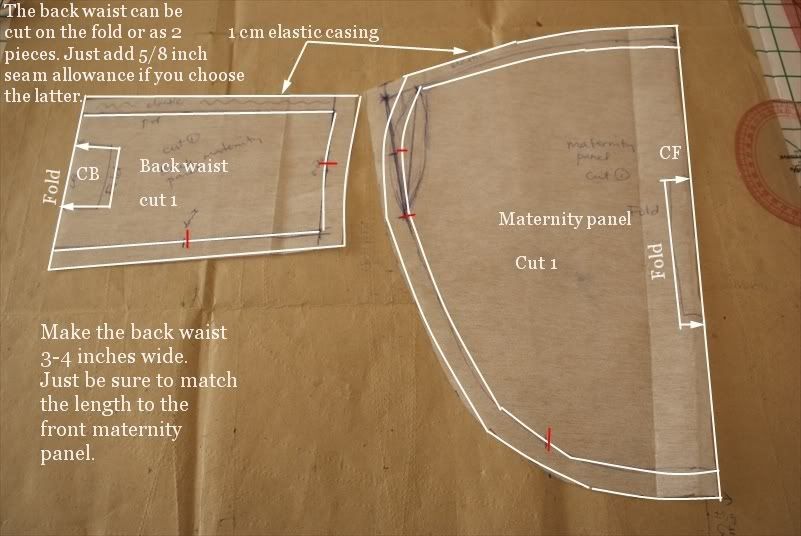
Also decide how wide the back waist band is going to be, mine was about 4 inches wide, and draw a straight line 4 inches up from the centre back line. The side seams should curve in, and match lengthwise to the maternity panel.

Draw a curved side seam 4 inches wide for the maternity panel, as well as a curved line from centre front to side seam. 


Add 1cm allowance for the elastic casing to the front maternity panel and the back waist. The back waist can be cut on the fold if you have enough material. I drafted it to be cut on the fold, but found later that I had to omit the seam allowance on the centre back and cut 2 pieces to be joined because I didn't have enough material.


Be mindful that the back waist band must equal the length of the centre back panel and the back side panel, minus the dart width.

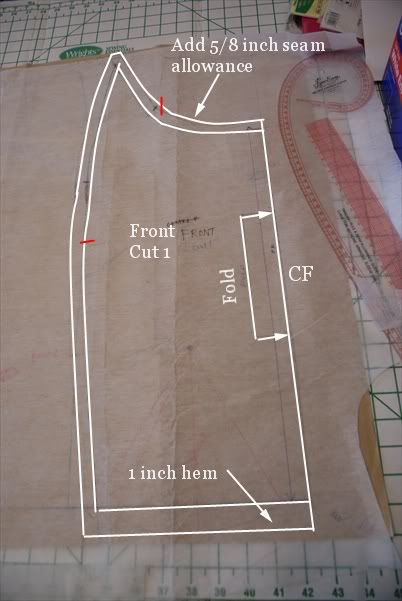
Take the front centre panel and add hem and seam allowances and transfer notches.


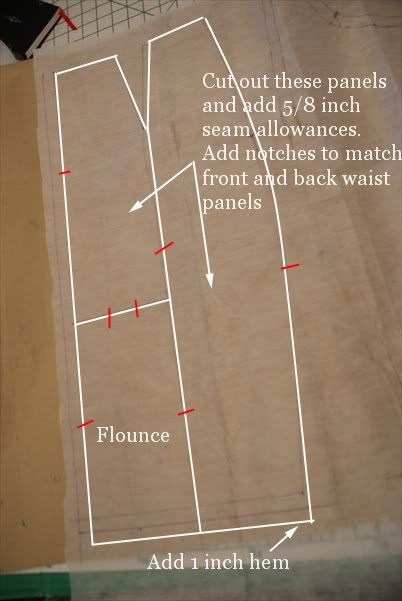
 Do the same for the centre back and back side panels.


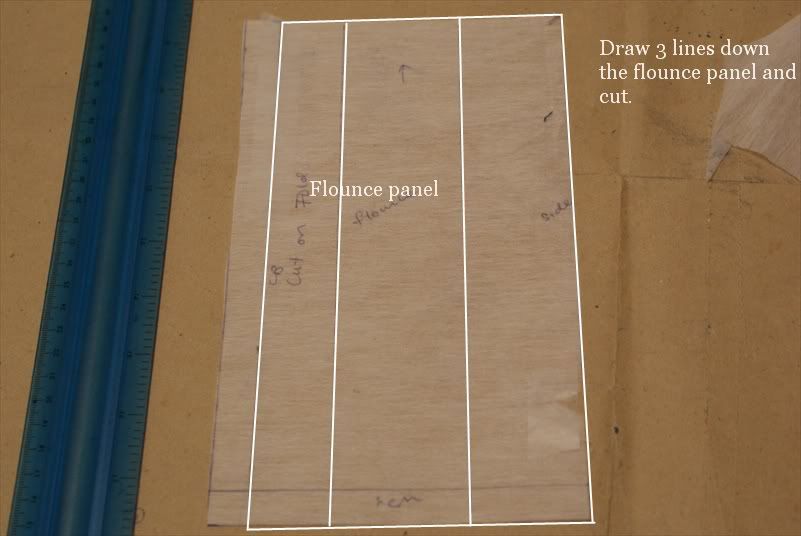
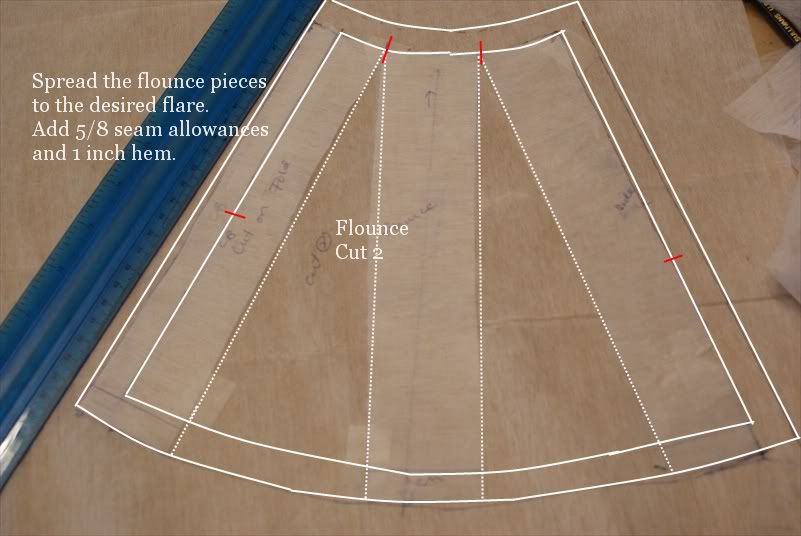
 To make the flounce, cut out the flounce and divide into three pieces.


Spread the flounce to the desired flare. Add seam allowances and notches, as well as an 1 inch hem.


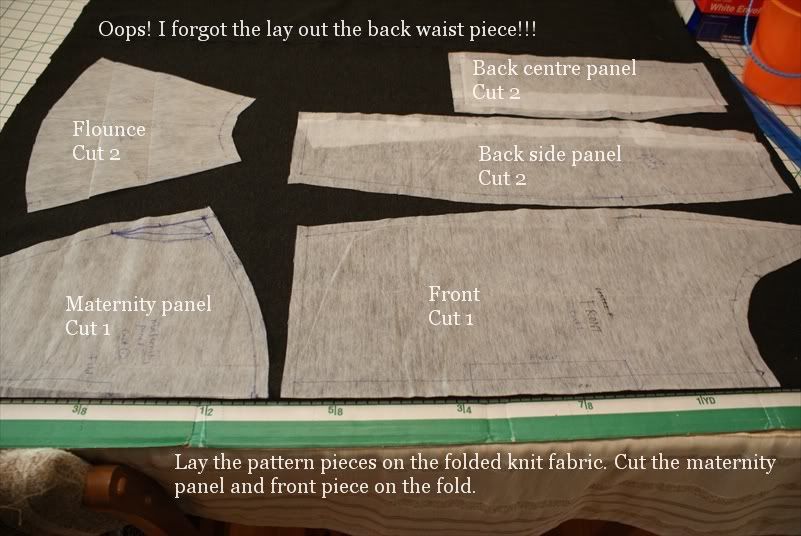
And that's all the drafting done! All we need to do is to lay it out, cut and mark the pieces.


Ponte knits are a breeze to cut because they are so stable, just be sure that they are on grain.

Remember those little notches? Make little snips in the seam allowances to mark each notch. It helps you match seamlines accurately. Also, ponte knits are double faced, which means that you won't be able to tell which is front or back. Choose a wrong side and chalk it with "X". 


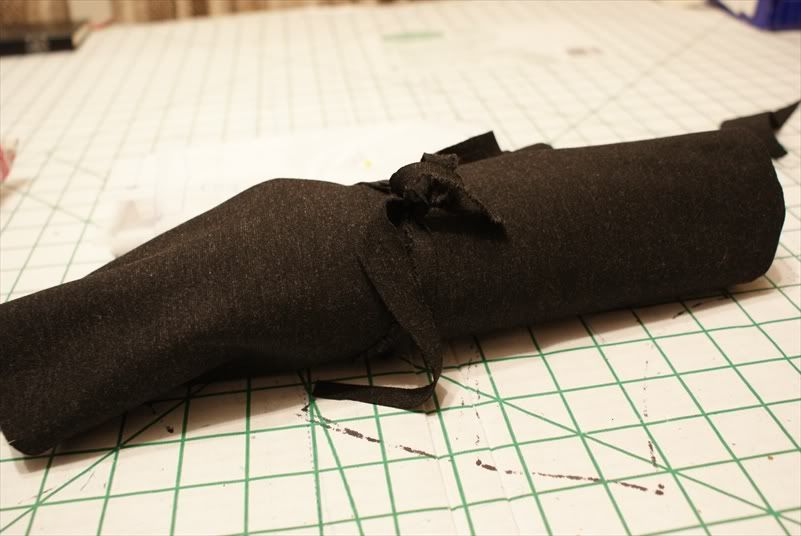
Put all the cut fabric pieces together and roll it up! We'll start the sewing journey tomorow!


I love the little tied-up roll. So neat!!! And so full of potential!

Tuesday, May 3, 2011

Sewing Bargains, Sewing Mojo And Maybe a Maternity Skirt

I've been busy being pregnant. Am now in the 33rd week of my pregnancy and really feeling it. I've been lethargic, tired and listless, but worst of all, I lost my sewing mojo for a couple of months. I've been trying to get back into sewing, but it seems to be just too much work. I stopped reading sewing blogs for a while, and that's probably why I've sort of lost interested in sewing in general for a while. But getting into the third trimester and really balooning out these last weeks, I've realised how desperately I need a maternity skirt. But wait-what about all those maternity skirts I made the last time? Well, I've lost a lot of weight at the beginning of this pregnancy, and I havent really regained it, so all my skirts hang 2 inches below my waist. And altering them seem to be too much work. And those skirts were sort of spring-y things, so I don't really have a winter maternity wardrobe.More about that later.

So what did I do to get my sewing mojo back? I started reading some sewing blogs again last night, picked up some sewing books, and looked at sewing-related books at Amazon, and the sewing bug started to bite again. And while I was browsing Amazon, I typed in "Patternmaking Made Easy (2nd Edition) " by Connie Amaden-Crawford, a patternmaking book I've been lusting over for ages and ages, and found a second-hand one for $67, instead of $95 brand new, and took the plunge and ordered it for myself as a mother's day present. Ever since I read about it somewhere, and seen some preview and read reviews of it, I've wanted one. I don't know why I obsess over patternmaking books so, but I just want more and more of it. I think I'm a patternmaking-book junkie. I've decided that I'd like to own Patternmaking for Fashion Design (5th Edition) by Helen Joseph-Armstrong , Basic Patternmaking in Fashion by Lucia Mors, More Dress Pattern Designing: Classic Edition by Natalie Bray, and Make Your Own Dress Patterns by Adele Margolis too somewhere down the line. Sigh.

Anyway, back to my maternity skirt. I figured that if I posted about making a maternity skirt here, I'll be bound to make it. Yesterday I went to Spotlight looking for a black knit ponti to buy, thinking they were about $12 a metre (which is one of the most expensive fabrics I've ever considered seriously buying), when at the counter, AFTER the one metre had already been cut,  I realised that it was actually $25 blardy dollars, and instead of a normal ponti knit, it was a super ponti. (Not sure what the difference is...) I decided to take it, since it was already cut. But I did feel quite annoyed with myself for spending so much on so little fabric. And it wasn't even really black-it was charcoal black. Ugh. So now,  after having spent that much, I HAVE to make the darn skirt. And soon if I want to wear it before I pop.

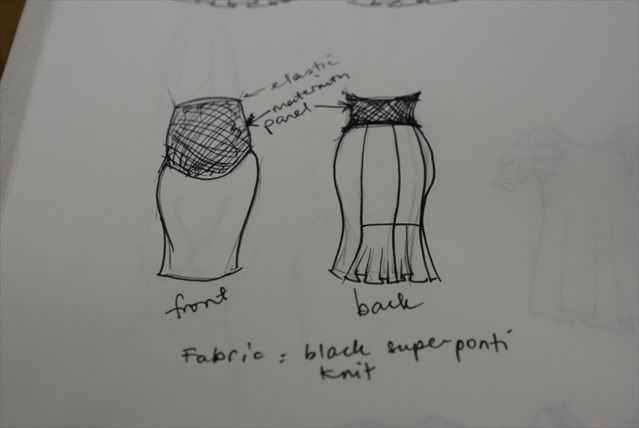
I drew a sketch of what I want the skirt to be.

I don't think I'm as curvaceous as the sketch makes out, but hopefully the skirt will be flattering for a 3rd trimester me. I think that the curved seam under the maternity panel is essential because then the skirt doesn't fall from the bump, but from the hips, which makes a soon-to-be-mummy look slimmer in the last few weeks. I find that when I wear skirts like that, I preserve the illusion that I'm not that big yet. I wanted something fairly plain, so a pencil look was ideal, because it would go with everything. But I also wanted something extra, so I added that little flounce at the back. Just for kicks.

Anyways. Although I lost that sewing mojo for a while, I'm still ever the bargain hunter, and I keep my eyes peeled for sewing-related stuff. I've collected some really good finds over the last two months, and only just got to post them today.

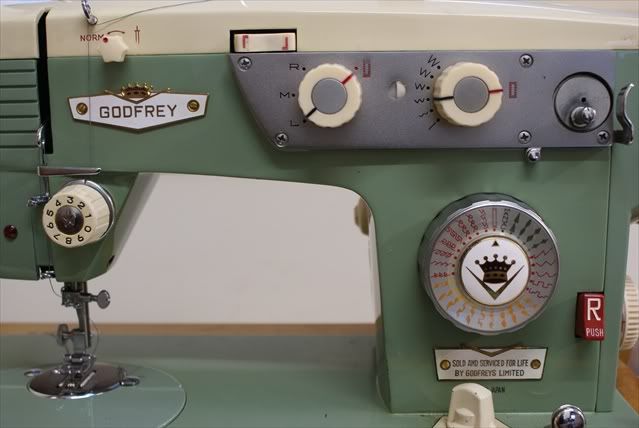
Find No.1: A Vintage Godfrey Sewing Machine in perfect working order.

This is a vintage original Godfrey sewing machine with a Wernard motor it excellent condition which I picked up for $10 at an estate sale in Ridgehaven. The thing is solid metal and weighs an absolute ton. It does. I can't lift it by myself. And guess what. It runs. Perfectly. At first I couldn't get the needle to move up or down, and I called a technician who said it would cost $70 for him to just look at it.  That's pretty good incentive for a person to try and figure it out and make it work. And I did! The motor runs great, the light still goes on, it does straight and zig-zag stitches, and even a one-step buttonhole! This machine must have been space-age for it's time. And I think it's probably 50-60 years old. It doesn't show its age in its innards though-they look brand new, not a speck of rust in them.
Here's a close up of all the stitches it can do.

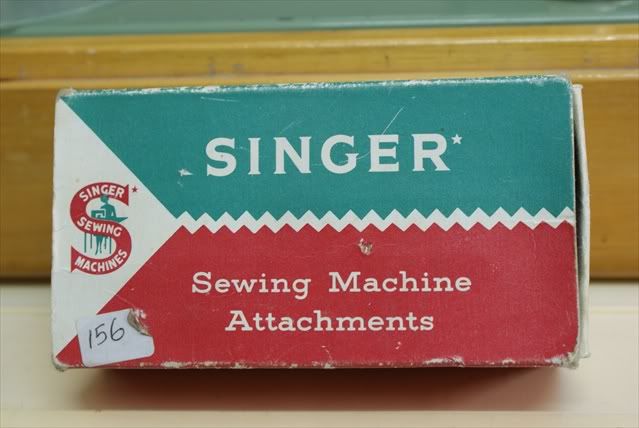
 And there is a bonus-the machine came with a box of Singer attachments.


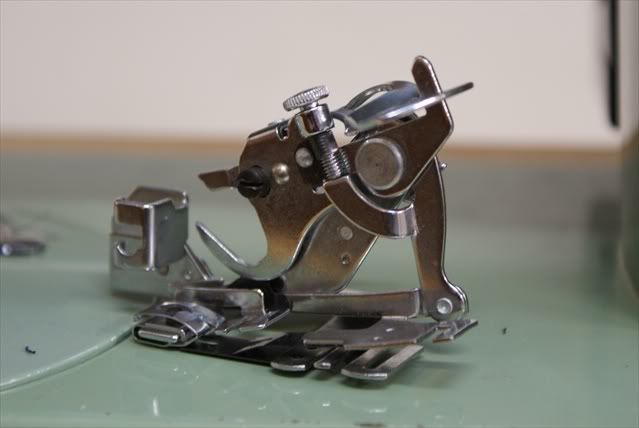
The box of sewing attachments alone are worth more than what I paid for the machine, especially this ruffler foot.

And a binder foot..
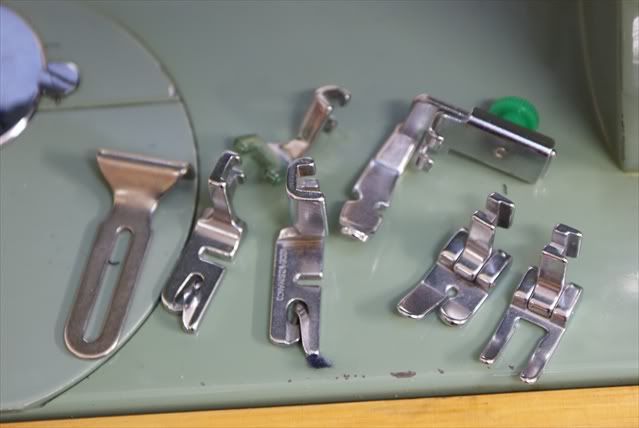
And some other feet as well.


I'm not sure what the first feet on the left is though. If anyone knows, please be kind enough to enlighten me.

I couldn't find much information at all on Godfrey Sewing Machines. If anyone knows any history about them, do feel free to post something in the comments section.

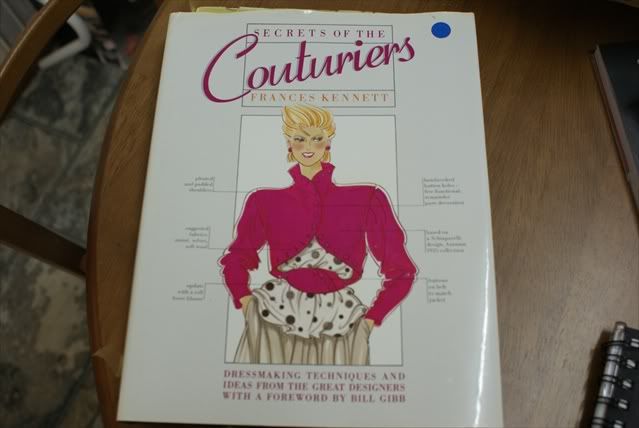
Find No.2 : Secrets of the Couturiers: Dressmaking Techniques and Ideas from the Great Designers


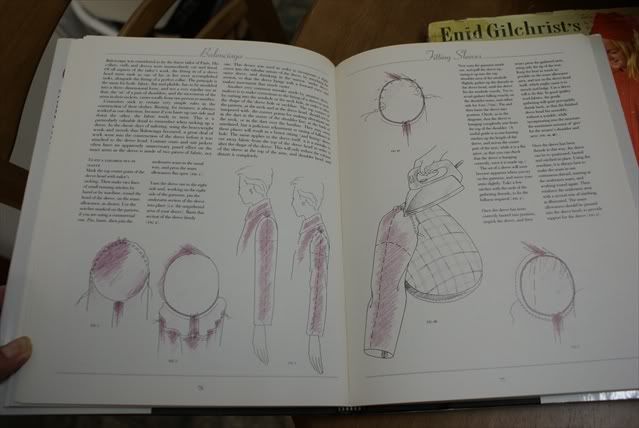
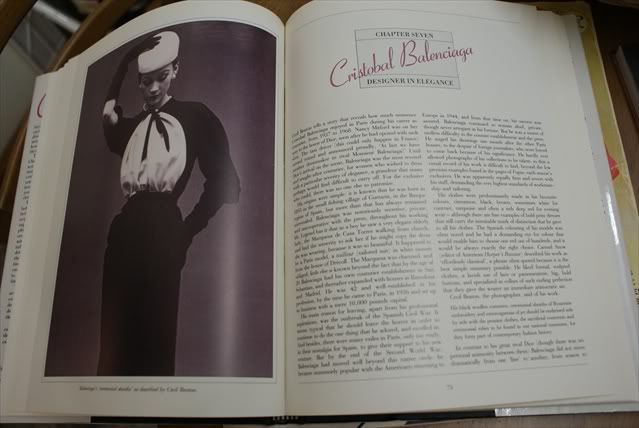
Found this at a book sale. It's an out of print book with chapters on Charles Worth, Vionnet, Schiaparelli, Balenciaga, Cardin etc, as well as some of their favourite couture techniques illustrated.

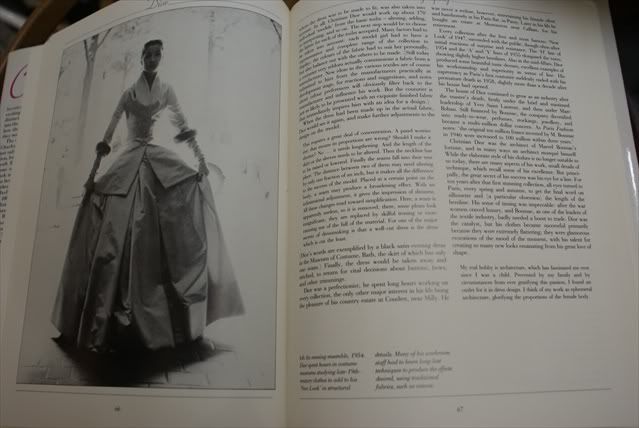
Such a beautful silhouette!


Some information about thread-tracing grainlines on fabric for accuracy in fitting and draping, employed by Balenciaga.


Don't you just love the old modeling compositions? So elegant and timeless. Modern fashion pictures are so stark and angry sometimes, and meant to shock. 

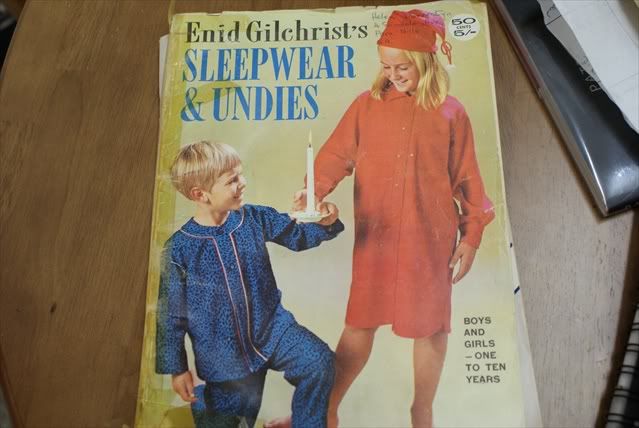
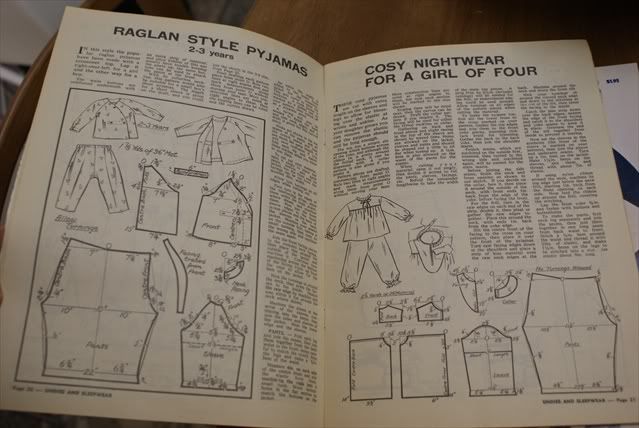
Find No. 3: Enid Gilchrist's pattern drafting book on Sleepwear and Undies


I love Enid's old drafting magazines. They sell on Ebay for about $8-$12 each, but I found this at a Salvos for 50cents I think.

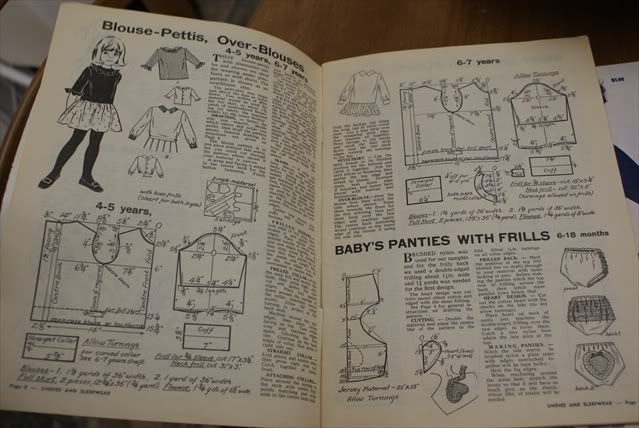
This is why I like it.


Her drafting style is no-nonsense, with a view to save fabric, so a lot of her designs use very little cloth. I don't think I'll get into making clothes for my Little Wyld Man, since opshops have children's clothes a-plenty, and KMart and Target sell serviceable things for $5. But I do love to look at the drafts.

That's all for now. I'll leave you with a picture of my Little Wyld Man, who is 14 months old this month.