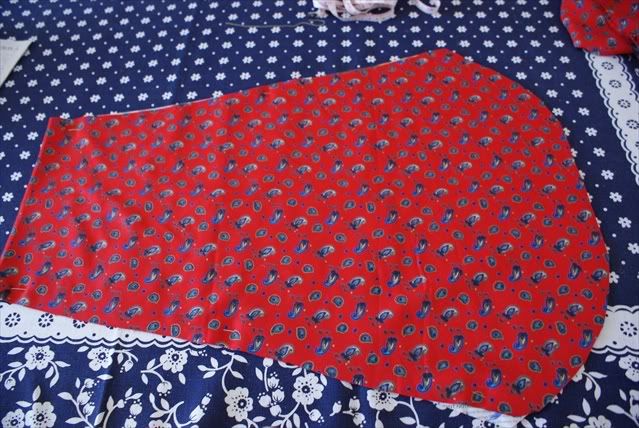
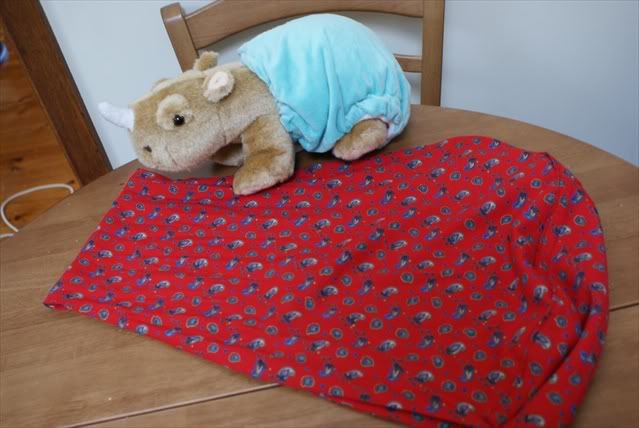
The red fabric that I had was of a 45 inch width, which was perfect folded in half for the project, since you'd need the sling to be reversible and double sided. In total, I used about 1.5 metres of fabric.
[caption id="" align="alignnone" width="639" caption="Red cotton print"]
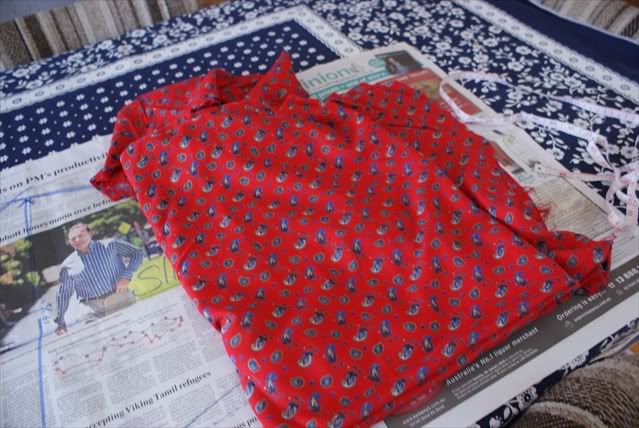 [/caption]
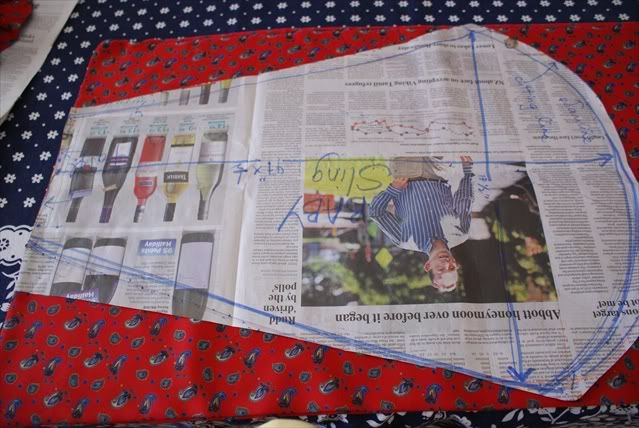
First, I loop a measuring tape over one shoulder and under the opposite arm loosely, maybe adding about 3-4 inches of wearing ease into that measurement. Imagine that the tape measure is a sling, and decide how loose or tight you want it to be. Mine came to 47 inches in length.
I drew a pattern on the newspaper.
[caption id="" align="alignnone" width="639" caption="It looks like a misshapen kite. "]
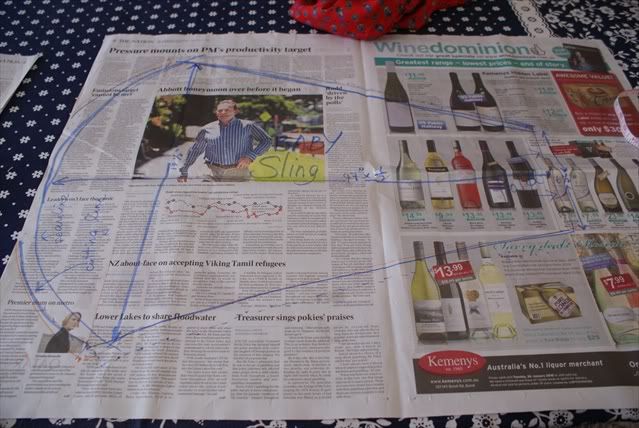 [/caption]
On the left end is a gentle curve-that's where you want the baby's bum to sit. The width of the widest end is 45 inches divided by two-just fold your 45-inch fabric lengthwise. On the right is the strap that will go over your shoulder-that straight line is cut on a fold-and can be any width-I made mine about 7-8 inches wide. And the length of the pattern is that measurement over the shoulder and under the arm divided in half-mine was 47 x 1/2 inches=23.5 inches.
I added a seam allowance of about 5/8 inch all around the pattern except for the shortest line on the right-that line is cut on the fold.
[caption id="" align="alignnone" width="639" caption="My pattern all cut out with seam allowances"]
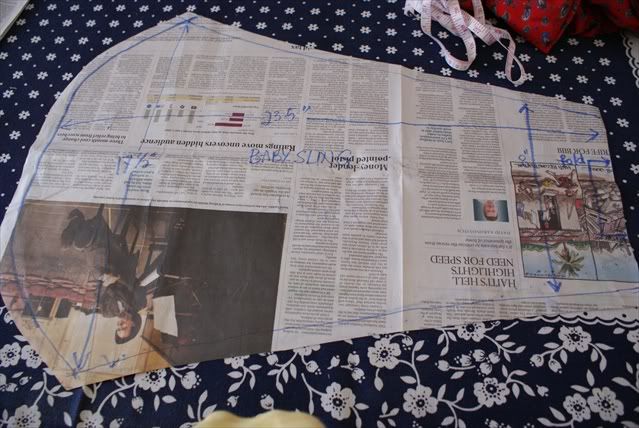 [/caption]
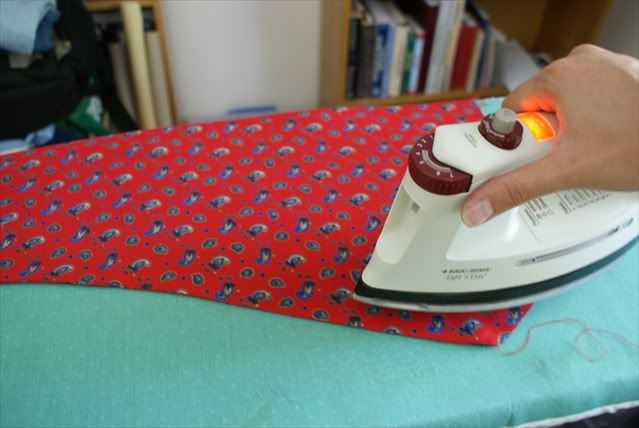
[caption id="" align="alignnone" width="426" caption="I pressed the fabric before cutting"]
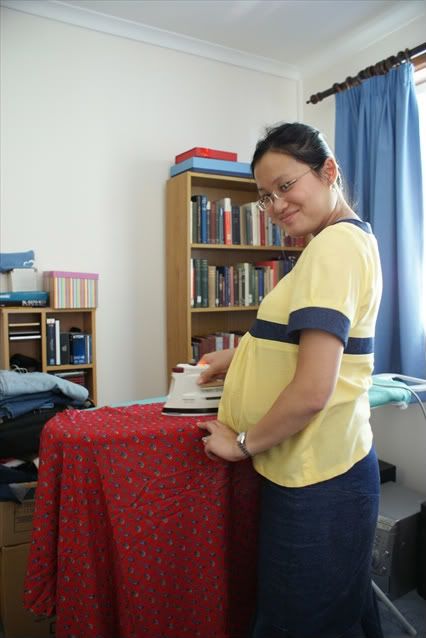 [/caption]
I folded the fabric lengthwise once, and then again in half crosswise, so that I had 4 layers of fabric. I laid the pattern onto the fabric, with the "CUT ON FOLD" line placed directly on the fold of the cloth.
[caption id="" align="alignnone" width="639" caption="Pinning my fabric onto the pattern before cutting out"]
 [/caption]
And then my scissors came out. Snip snip.
[caption id="" align="alignnone" width="639" caption="The fabric all cut out"]
 [/caption]
Here, I have 2 pieces of fabric folded on the left end, and with curved raw edges on the right end. Time to sew!
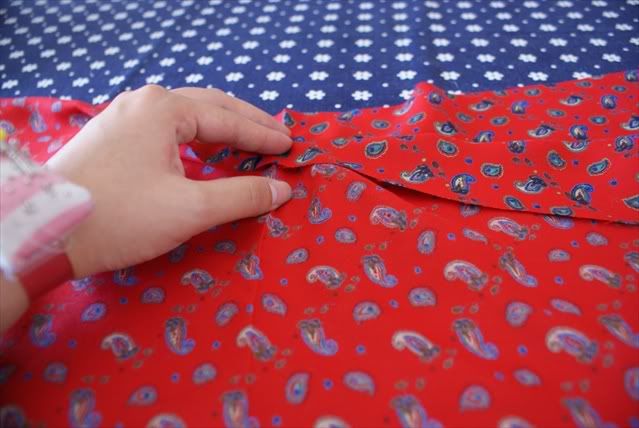
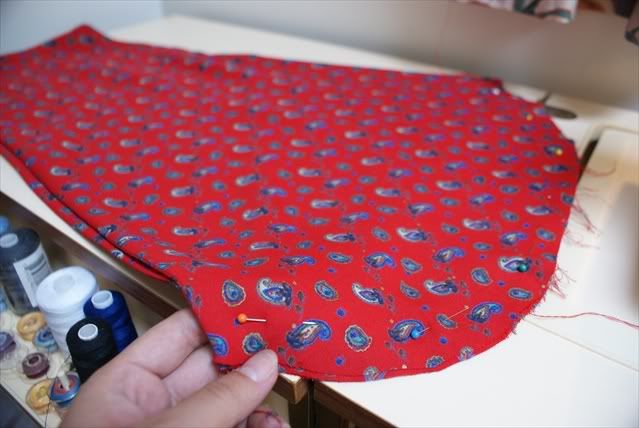
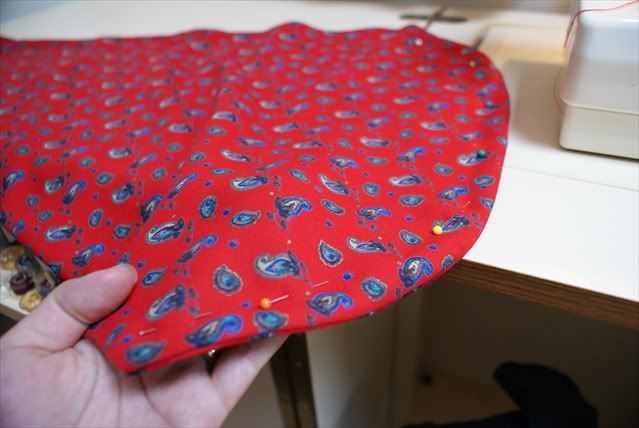
I separate the 2 pieces of fabric, put them right sides together, and pin all alongside the long edge.
[caption id="" align="alignnone" width="639" caption="Right sides together and pin"]
 [/caption]
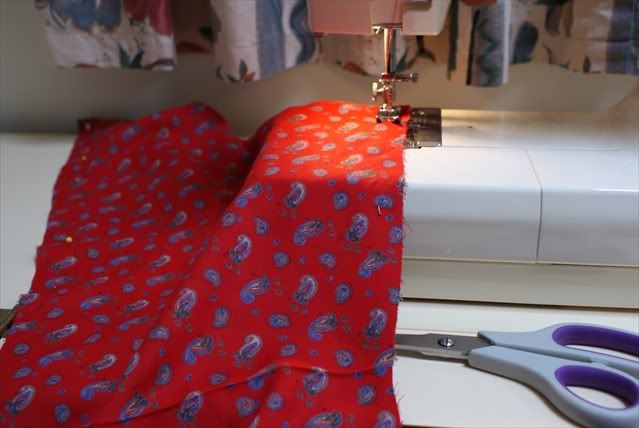
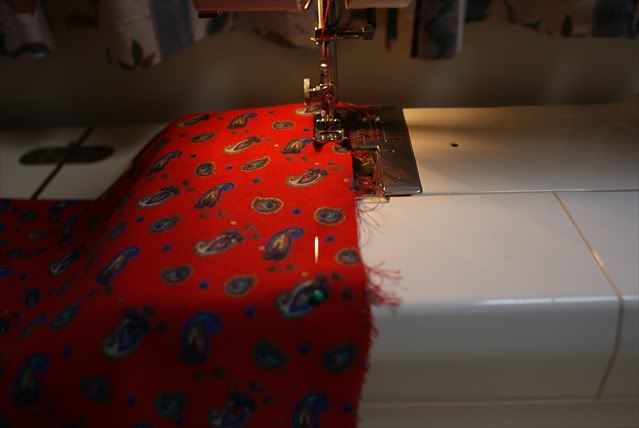
[caption id="" align="alignnone" width="639" caption="I sew a seam down the 2 long edges of the sling, but not the curved edges."]
 [/caption]
This is because we want to turn it inside out later.
[caption id="" align="alignnone" width="639" caption="Here, I'm pressing the seams flat and open"]
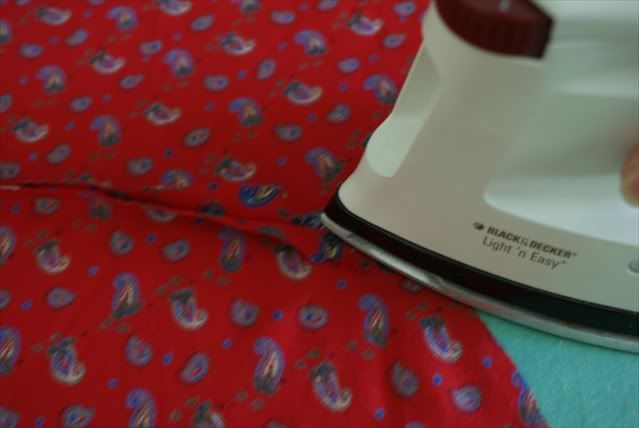 [/caption]
[caption id="" align="alignnone" width="639" caption="I turn the sling inside out, and press the outside edges flat"]
 [/caption]
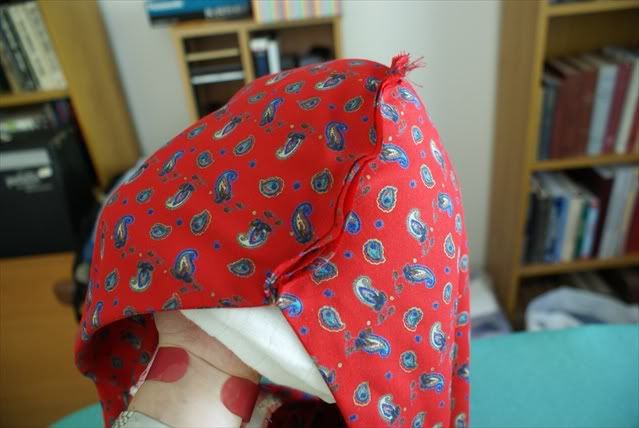
Time to sew the curved edges together.
[caption id="" align="alignnone" width="639" caption="Here, I pin fold the sling, and bring to two curved edges together and pin"]
 [/caption]
[caption id="" align="alignnone" width="639" caption="Sew a seam down the curved edge."]
 [/caption]
[caption id="" align="alignnone" width="639" caption="Press the curved seam open with a folded towel underneath."]
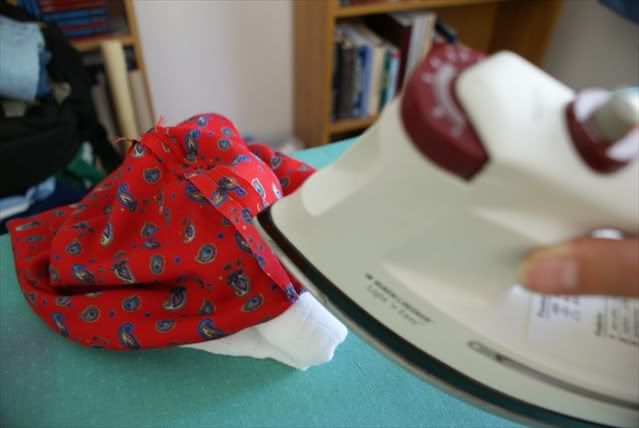 [/caption]
I find that a folded thick towel is an excellent substitute for a tailor's ham.
[caption id="" align="alignnone" width="639" caption="Just put your fist under the towel to form a curved surface to iron a curved seam, like a princess seam"]
 [/caption]
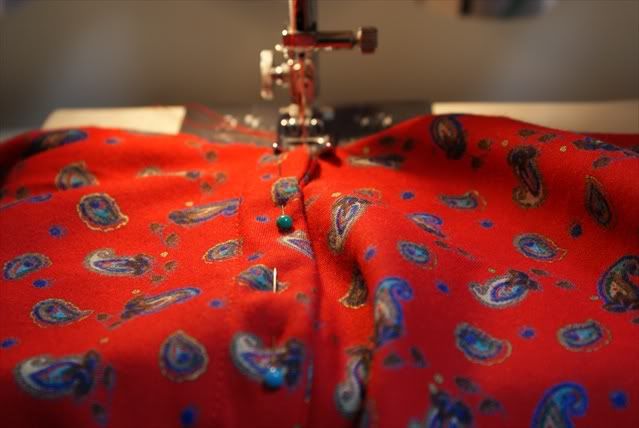
[caption id="" align="alignnone" width="639" caption="Enclose the first curved seam with another seam from the opposite side."]
 [/caption]
[caption id="" align="alignnone" width="639" caption="Stitch the standing seam down to one side."]
 [/caption]
This is called a flat-felled seam, whereby a seam is sewn on one side, then turned over, with another seam sewn on the opposite side to enclose the first seam, and then the standing seam is stitched to one side. This forms a very strong seam.
[caption id="" align="alignnone" width="639" caption="The finished baby sling"]
 [/caption]
A one-hour project.
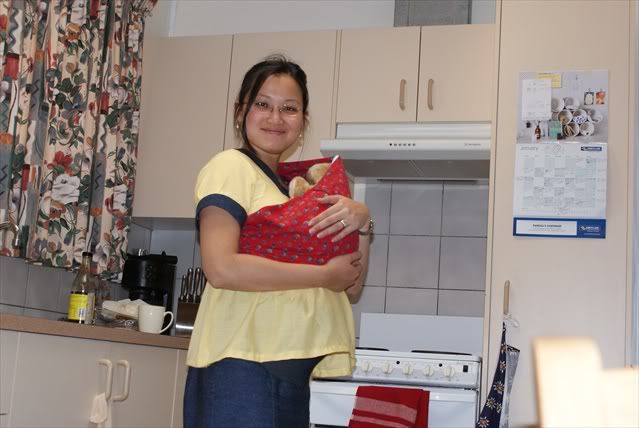
[caption id="" align="alignnone" width="639" caption="That's the rhino-in-a-nappy in the sling. Front view."]
 [/caption]
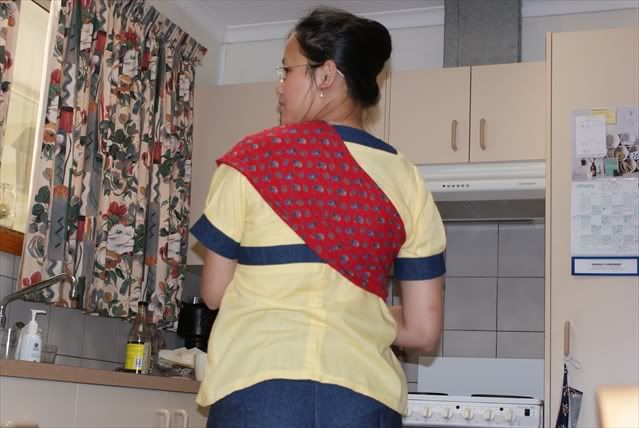
[caption id="" align="alignnone" width="639" caption="Back view"]
 [/caption]
No comments:
Post a Comment
I love hearing from you! Please leave your comments here: