 [/caption]
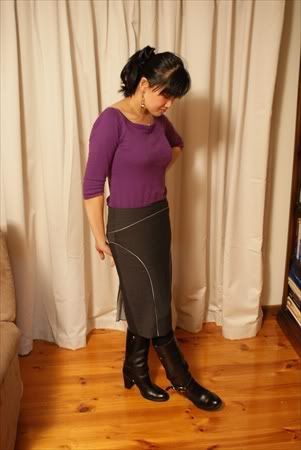
I've spent the last 3 days making that Vogue 8426 -inspired skirt I blogged about on the previous post and took pictures today. From the start to finish, I told myself that it was going to be a mock-up/test garment/muslin instead of the real thing in order to test the fit of my drafting, and then to later make other versions of it if it was successful. However, I also wanted to make it a wearable muslin. I was quite determined to use fabric from my stash, and only to buy little incidentals like zippers if absolutely necessary. The path to the end was frought with mishaps, with me miscutting the front centre piece NOT on the fold, and having to piece another bit of fabric to make up for it, then I discovered a hole in the skirt fabric, then after that, I couldnt' insert the lapped zipper properly. Also, this was my first time inserting corded piping, so the results aren't as uniform as it should be.
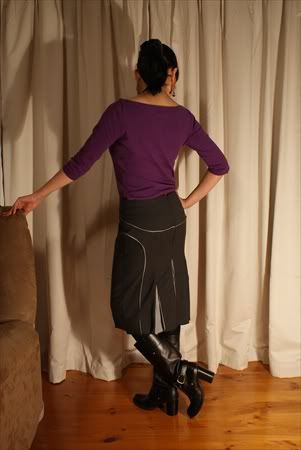
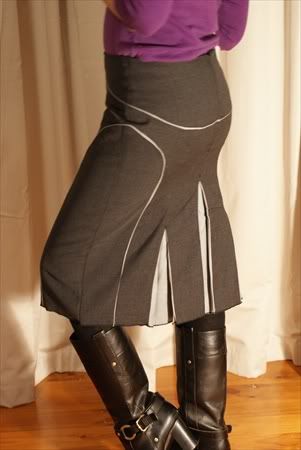
After reading about SewVeryPrairies' skirt here, I thought and thought about how to draft the skirt. The front of the skirt was quite easy to draft. It was the back which had me puzzled for a bit. The bum-hugging shaping of the back of skirt has to be built into the 3 seams at the back, which ends in inverted pleats. This was what I came up with.
[caption id="" align="alignnone" width="321" caption="drafts and doodles..."]
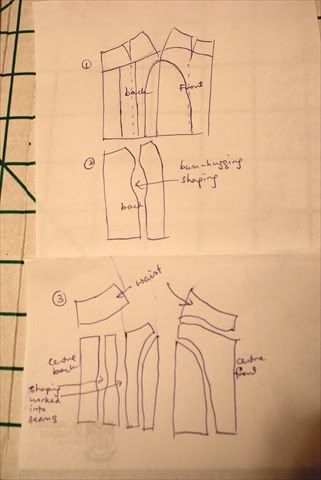 [/caption]
It was quite successful-although for the skirt to hug the bum even more, I'd have to curve in the seams even more inwards. But I'm quite happy with my skirt as it is.
The materials I used were a dark grey crepe material, a silvery rayon? fabric, and bemberg lining.
[caption id="" align="alignnone" width="450" caption="Fabrics"]
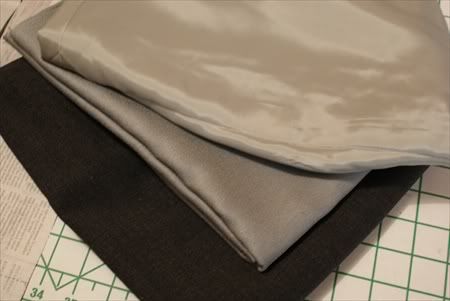 [/caption]
Here are the pattern pieces laid out on fashion fabric ready to be all cut out.
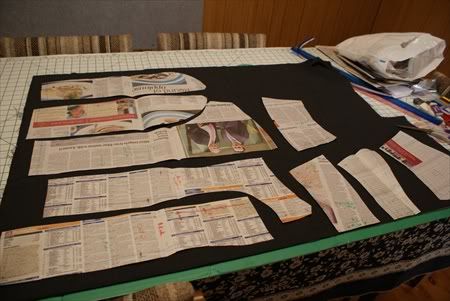
- Ready to cut.
I wanted my skirt to have piping details in the lower waist seams and on the side, but didn't want to buy ready made piping-so I made my own. I started by cutting 1-inch wide bias strips with the grey fashion fabric.
[caption id="" align="alignnone" width="450" caption="Bias strips"]
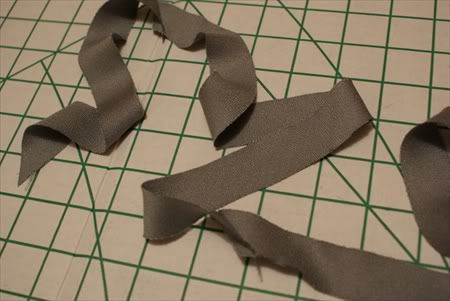 [/caption]
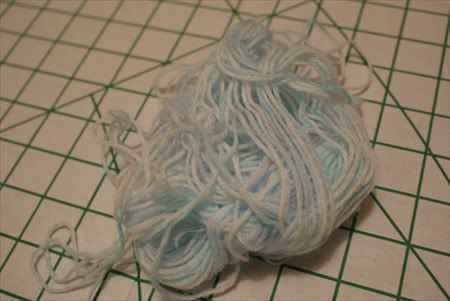
Instead of buying cord for the piping, I used some regular knitting yarn.
[caption id="" align="alignnone" width="450" caption="Knitting yarn."]
 [/caption]
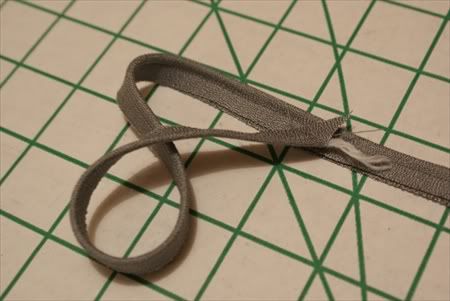
I used a zipper foot to sew the yarn into the piping.
[caption id="" align="alignnone" width="450" caption="Handmade corded piping"]
 [/caption]
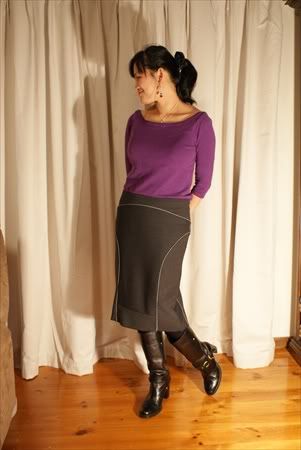
I was too lazy to take pictures of the process in between. But here are the photos of the finished project.
[caption id="" align="alignnone" width="301" caption="Front view"]
 [/caption]
[caption id="" align="alignnone" width="301" caption="Back View"]
 [/caption]
[caption id="" align="alignnone" width="301" caption="Side View"]
 [/caption]
[caption id="" align="alignnone" width="301" caption="Closeup"]
 [/caption]
The whole project cost me nothing-I used everything out of my stash, most of which came from opshops.
Not too bad for a mock-up. I'll be making more soon.
My little man was very good-he just smiled at me from his little rocker as I hammer away on my sewing machine. How lucky am I?
Great skirt. I love the design and the fabric.
ReplyDeleteA nice skirt you've made. =) I m impressing of your talent.
ReplyDeleteJoyce!! You make me want to learn how to sew!
ReplyDeleteLearn! You won't regret it!
ReplyDelete[...] at the opshop for 2 dollars. I knew that it was perfect winter skirt material. I planned to make a Vogue inspired skirt out of it, and after cutting it out, I found that I still had enough left for another skirt. This [...]
ReplyDeleteThats fantastic, well done!
ReplyDeleteWhere did you find the Vogue 8426 pattern by the way?
ReplyDeleteThis is pretty KEWL. I love the stash busting and re-purposing with the knitting yarn. I would bet that if using acrylic it would hold up forever.
ReplyDelete