Showing posts with label Maternity Skirt Tutorial. Show all posts

Saturday, May 21, 2011

Constructing The Knit Maternity Skirt Part II

This is Part II of the Ponte Maternity Skirt series. For Part I, see here.

My post yesterday showed me cutting out some charcoal grey super ponte (or ponti-I've seen both spellings). But I actually bought a lot more ponti knits after that, in purple, red, fawn , ivory and blue-black.
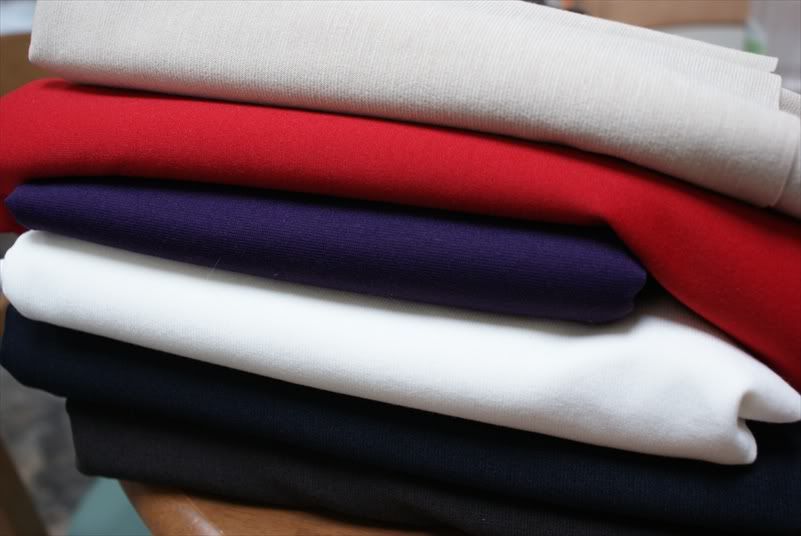

In this post, I will be constructing the skirt in red. One, because I was in a hurry to finish the charcoal grey skirt (which was the first attempt), and two, because red photographs better.

By the way, I finished sewing my fawn coloured ponti knit skirt last night-took me three hours to knock it up, thats including all the overlocking and pressing I had to do. But I already had it all cut out from two weeks ago. Now I've got five go-anywhere, goes-with-anything maternity skirts! And they have been all that I've been wearing the past 2-3 weeks since I made it, and I've still got about 4 weeks to go before my due date. All the different colours keep them from being too boring, although still classic and neutral.

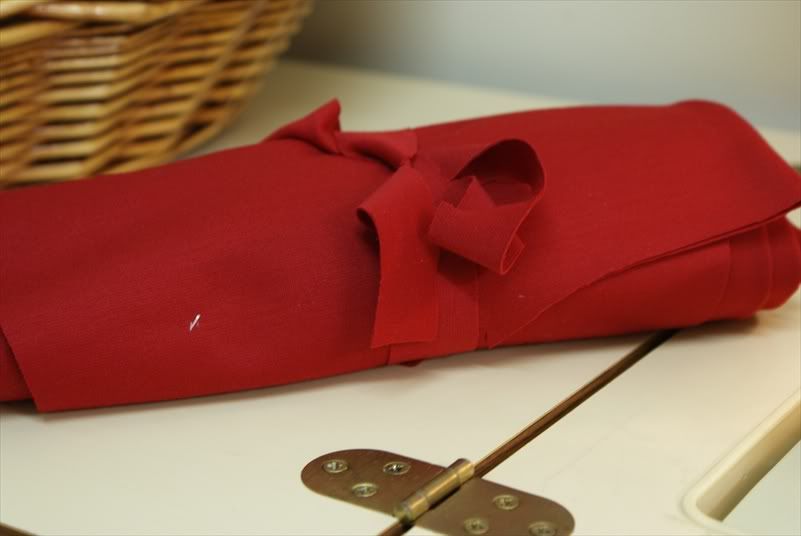
This is my neatly tied up roll in glam red.

This is the order of construction. As far as possible, I sew as many pieces together whose seams do not cross, and then press the seams. So if  it seems that the order of construction jumps from the front garment pieces to the back pieces randomly, it's because I chose to do as much sewing as possible before I go and press them.

First I dealt with the flounce. Now, in my sketch, I've drawn the flounce free flowing as it should be, but I found that after I sewed the grey ponti, the fabric was too stiff to drape the flounce nicely, so I 'fixed' it by sewing down the flounce and making it into an inverted pleat. So I did the same for the other skirts.
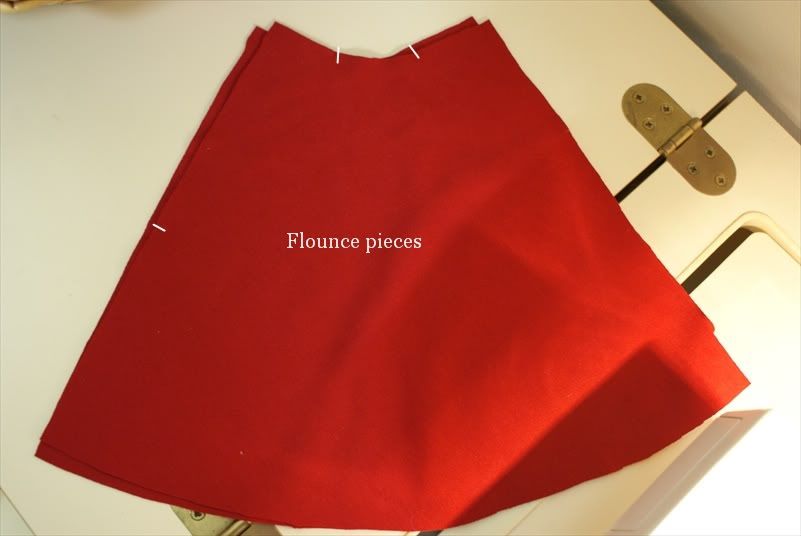
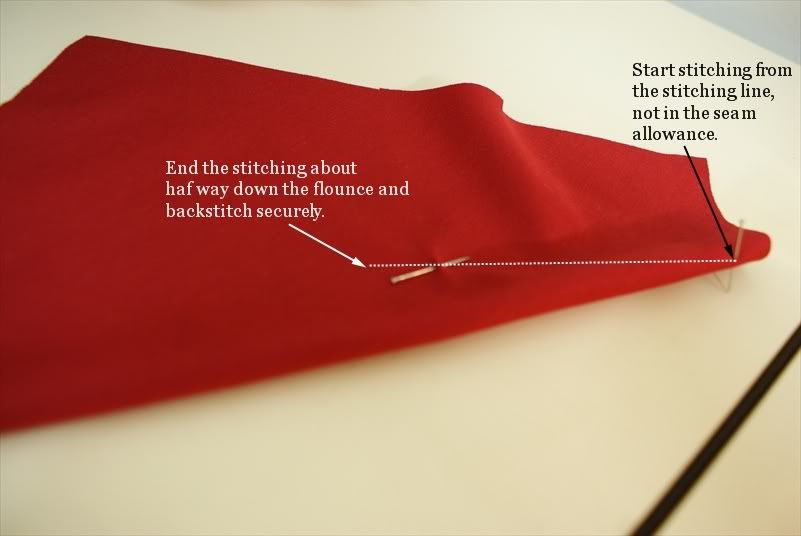
If your fabric is a drapey knit, you can ignore this bit and just sew the flounce to the back centre panel. To make a pleat in the flounce, I folded the flounce in half, then sewed from the stitching line at the top of the flounce, (not the cutting line), down 3.5 inches and 1.5 inch in from the fold. Backstitch so that the pleat does not open up.


This is what it looks like.


Looks like an inverted box pleat, but it isn't really. This pleat needs to be pressed flat, but it depends on the look you're going for. If you want a sharply pressed pleat, press the whole piece. If you want to preserve a softer flouncy look at the bottom, press to the end of the stitching in the pleat, but don't press the bottom  half of the flounce piece.

Now to join the flounce pleats to the centre back panels.
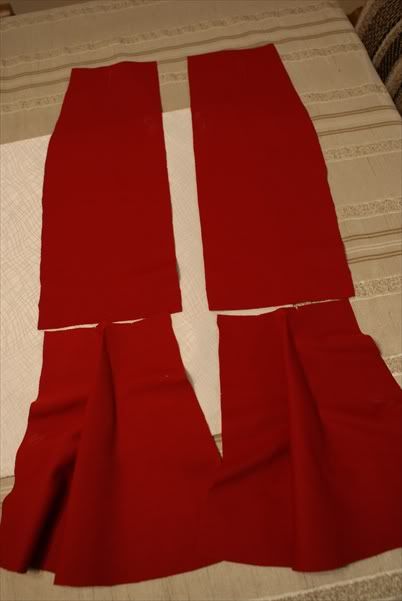

Be careful not to switch left or right sides. This is where the 'X' chalk marks on the wrong sides come in handy. Match the snipped notches to the seamlines.

I could have overlocked the seams straightaway, but I sewed the seams in place with the sewing machine, on a zigzag stitch before I overlocked it with a four-thread overlock. I feel that the overlocker is harder to control and if you get it wrong, there is no going back after the knife trims off the seam allowances. I did this with all the seams, and then pressed them to one side.
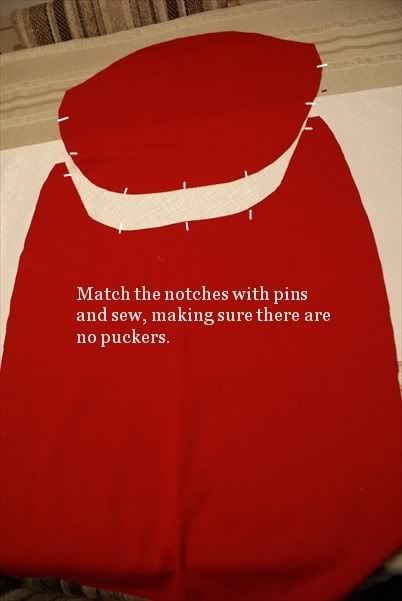

Next I pinned the maternity panel to the front piece, matching centre notches and then pinning at quarterly intervals. I sewed with a zigzag and then overlocked it.
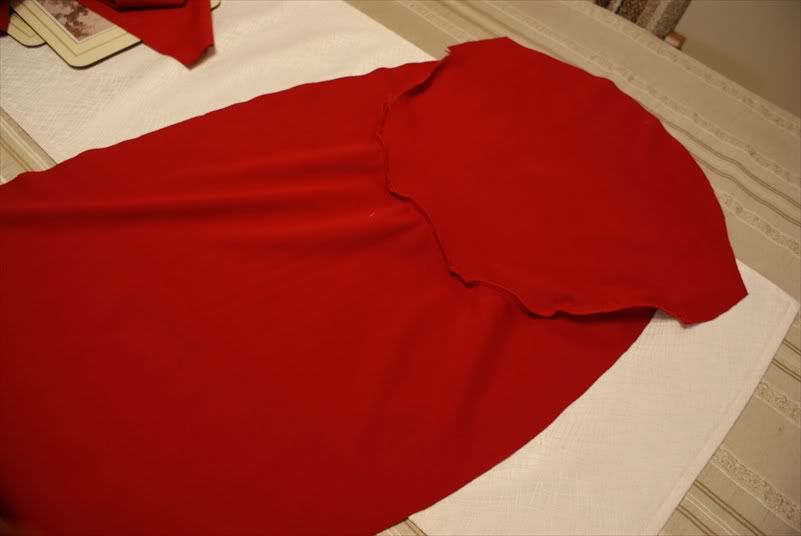

Once the seam is pressed, those puckery lines will smooth out. Be sure to use a press cloth with ponti knits as they tend to shine if the iron is too hot.

All the pieces above can be pressed one go at this stage, before we construct the back pieces again. Once the centre back panels and flounce pieces have been pressed, it's time to sew and overlock the back side panels. Again, the seams will have to be pressed before the back waist is stitched on.
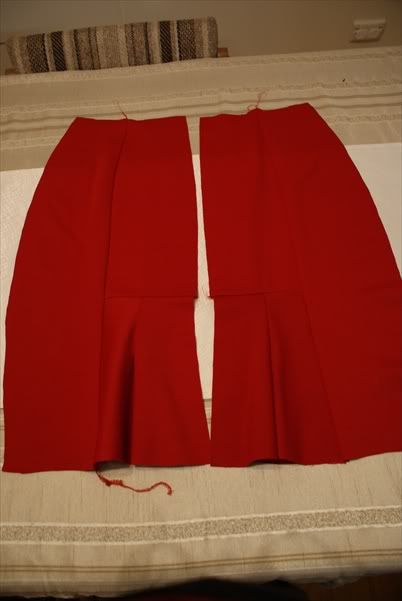

Here I've stiched the back waist panel onto the bottom pieces. We are very close! Just need to do the centre back seam now!


Pin the two panels together, matching notches. There is an intersecting seam in the picture below which must match exactly. Knits stretch, and can distort when sewing, no matter how accurate your pinning. So do the pinning accurately, and stitch slowly over the seam. Use a tailors awl or stiletto to guide the fabric. This is why I prefer to sew knits with the sewing machine first before overlocking.
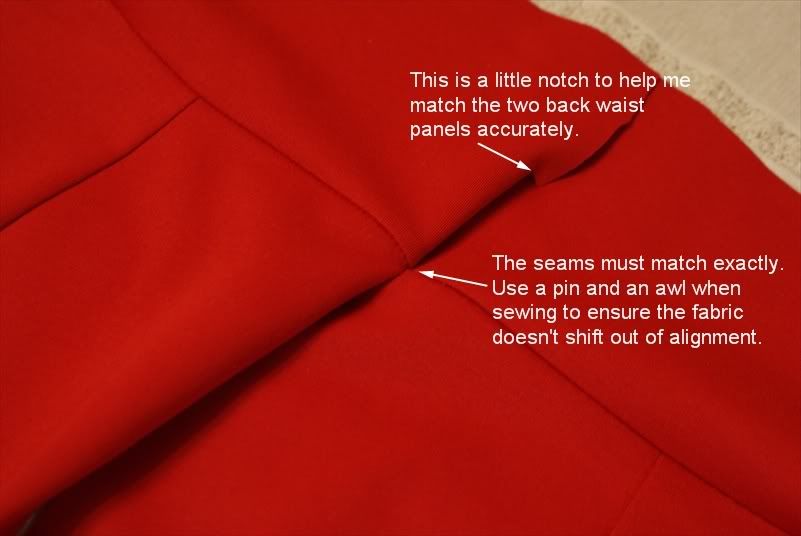

The back piece is done! We'll just need to join it to the front piece, pinning and matching notches again, sew and overlock....
 

And press...
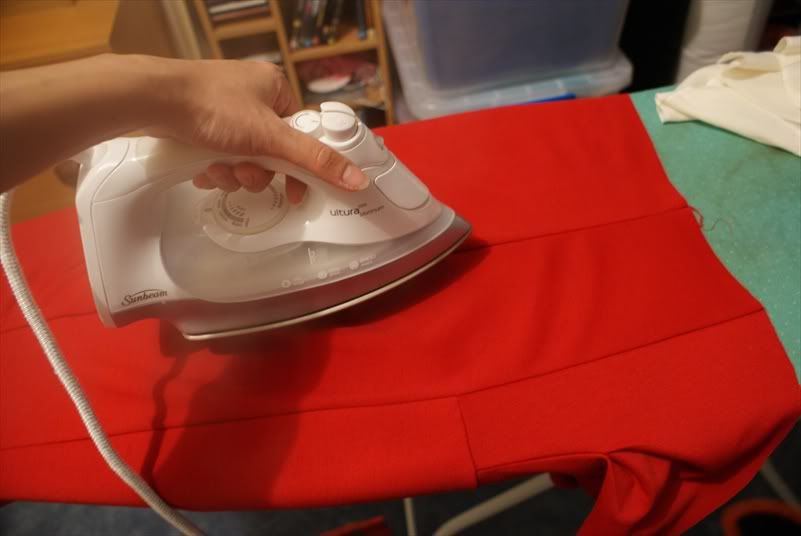

All that's left is to sew down the casing at the top of the skirt all around the maternity panel and back waist. And the hem! To do the former, I pressed the casing down 1 cm with the iron to form a nice pressed fold, which will help guide me when sewing. You can choose to overlock the top of the skirt at the casing, or leave it. I prefer to overlock everthing as it gives a more RTW finish.
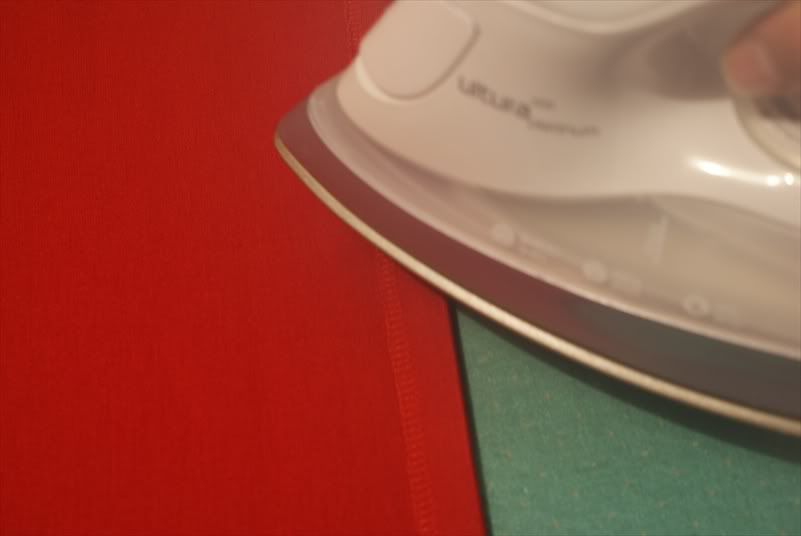

Sew the elastic casing with a zigzag stitch, leave about 1-2 inches unsewn, and insert elastic. I used whatever I had in my stash that fitted in the 1cm casing. Pull it snugly but comfortably around the waist approximately where the skirt would sit. Stitch the two ends of the elastic securely, and stitch the casing opening shut.

Fold the hem up 1 inch and press all around the skirt. Topstitch with a twin needle. Press the hem flat again.

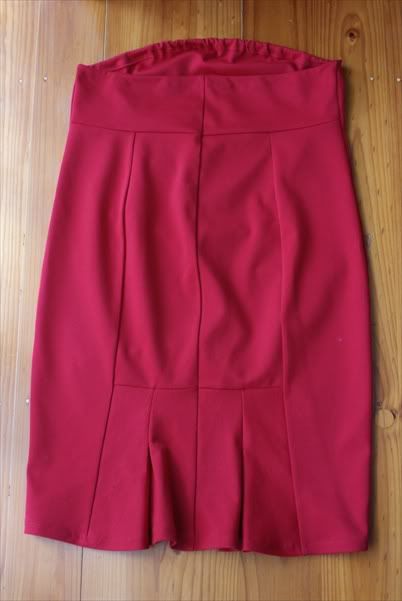
And voila! The finished product.

The front.


The back.

The other skirts I made within 2 days!
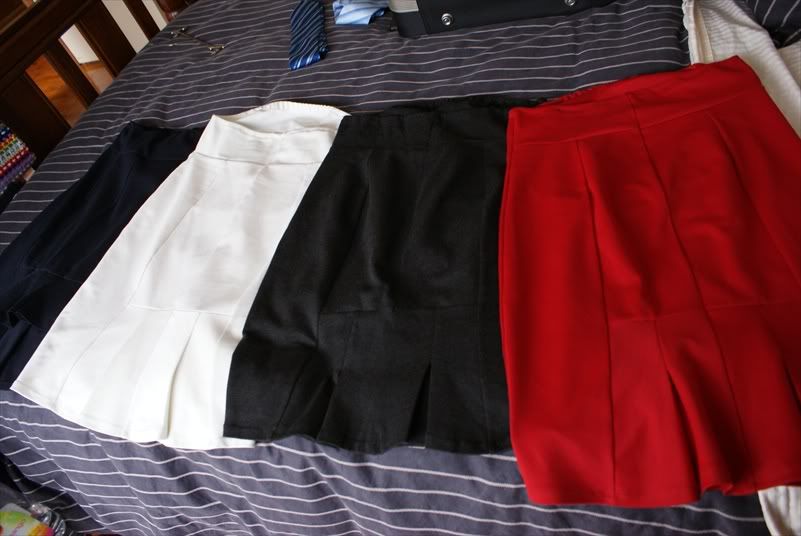


These skirts a super comfy and so versatile! I can wear a normal T-shirt or blouse over it and my belly doesn't hang out!
I haven't taken pictures of myself modelling the skirts since Wyld Man is not home, but stay tuned!

Friday, February 12, 2010

White Maternity Skirt

I have been needing a white skirt to wear with some tops that won't go with anything but. Last night I sewed up a 7-gored, 7 godet skirt out of a white jacquard weave linen.

[caption id="" align="alignnone" width="639" caption="This was what I wanted it to look like."][/caption]

It would have a stretch waistband with a maternity panel in from to accomodate my belly. No closures.

[caption id="" align="alignnone" width="639" caption="I got out my file with all my drafted blocks and patterns."][/caption]

[caption id="" align="alignnone" width="639" caption="My skirt block drafted from Winifred Aldrich's Pattern Cutting for Women's Wear"][/caption]

[caption id="" align="alignnone" width="639" caption="Laying the  skirt block out."][/caption]

[caption id="" align="alignnone" width="639" caption="I've drawn a maternity line-the curved line follows the baby bump all around. Everything else will fit as per pre pregnancy."][/caption]

[caption id="" align="alignnone" width="639" caption="I draw out the stylelines for my skirt. You can see the godet I drew in between one of the gore panels."][/caption]

I already have a pattern for a 7 gored and flared skirt from a few months before, so I only needed to draft the godet. I made it  6inches long, and 3 inches wide on each side of the red middle line.

[caption id="" align="alignnone" width="639" caption="My trusty carbon sheets. This is just 8 sheets of A4 carbon paper stuck on a broadsheet newspaper."][/caption]

[caption id="" align="alignnone" width="639" caption="Laid a sheet of newspaper on top"][/caption]

[caption id="" align="alignnone" width="639" caption="Layed the block on top"][/caption]

[caption id="" align="alignnone" width="639" caption="And used my double Clover tracing wheel to trace the seamlines of the godet onto the newspaper"][/caption]

[caption id="" align="alignnone" width="639" caption="Turn the newspaper over-and tada! A perfectly traced godet pattern piece."][/caption]

[caption id="" align="alignnone" width="639" caption="These are the pattern pieces i made a few months back for a flared, 7-godet skirt, plus my godet."][/caption]

I wanted my new skirt to be an inch longer though, so I made a note on all my pattern pieces that it be cut an inch longer with 5/8 inch seam allowance.

[caption id="" align="alignnone" width="639" caption="These were the materials I used. The white linen jacquard and a white Lycra I bought for AUD1.99 from an opshop at 1.5m."][/caption]

[caption id="" align="alignnone" width="639" caption="I laid out the pattern pieces on the material and pinned and cut."][/caption]

[caption id="" align="alignnone" width="639" caption="Laying out the rest of the pattern pieces"][/caption]

[caption id="" align="alignnone" width="639" caption="This is the Lycra piece I cut for the waistband"][/caption]

[caption id="" align="alignnone" width="639" caption="I wanted it 3 inches wide"][/caption]

[caption id="" align="alignnone" width="639" caption="Here is the maternity waistband all cut out."][/caption]

[caption id="" align="alignnone" width="639" caption="All the pattern pieces cut out."][/caption]

[caption id="" align="alignnone" width="639" caption="I used tailors tacks on all the points where the seams join, especially for the godets, which saved me heaps of time."][/caption]

[caption id="" align="alignnone" width="639" caption="I made sure I marked the centre back, centre front, the right and wrong side of the material."][/caption]

[caption id="" align="alignnone" width="639" caption="Overlocking all the raw edges of the material"][/caption]

[caption id="" align="alignnone" width="639" caption="Here I overlock the centre back seam of the waistband into a tube and pinned all the edges together."][/caption]

[caption id="" align="alignnone" width="639" caption="And overlocked all the seams"][/caption]

Next, I laid out all the front panel pieces together.

[caption id="" align="alignnone" width="639" caption="Matching tailor's tacks between the gore panels."][/caption]

[caption id="" align="alignnone" width="639" caption="Matching the tailors tacks for the godets and the panels."][/caption]

I realised that I had to sew the godet onto one panel first, before joining two gore panels together.

[caption id="" align="alignnone" width="639" caption="That little tailor tack X was very important."][/caption]

I had to make sure to start the stitch at that point on both sides of the gore panels, being careful not to catch the fabric underneath, which would have resulted in a pucker.

[caption id="" align="alignnone" width="639" caption="Sewing the two gore panels together from the top down to the godet point X."][/caption]

I repeated all the steps for joining the godet and panels for the front.

[caption id="" align="alignnone" width="639" caption="This was what the front looked like."][/caption]

[caption id="" align="alignnone" width="639" caption="And the back"][/caption]

I always make a point of making the front and back panels separately, and then joining the side seams last with a basting stitch to check the fit. At this point, I realise that it was too tight, so I reduced the 5/8 inch seam allowance to 1/4 inch at the sides. But that wasn't enough either, so I had to rip out the stitchs at the centre back seam and resew that at 1/4 inch seam allowance.

[caption id="" align="alignnone" width="639" caption="This is what the whole skirt looked like after I joined the front and back panels together."][/caption]

[caption id="" align="alignnone" width="639" caption="Ironing the seams flat. Very important."][/caption]

Next, the waistband.

[caption id="" align="alignnone" width="639" caption="Joining the waistband to the skirt"][/caption]

I had marked the centre of the skirt and the waistband with tailors tack, so matching them up was a breeze.

[caption id="" align="alignnone" width="639" caption="I separated the waistband into quarterly intervals, and pinned it to the skirt, stretching the lycra to ease in the skirt fabric."][/caption]

[caption id="" align="alignnone" width="639" caption="Tada!"][/caption]

It needs an iron again.

But this is what it looks like on me.

[caption id="" align="alignnone" width="321" caption="Front Side view"][/caption]

[caption id="" align="alignnone" width="321" caption="Back side view"][/caption]

[caption id="" align="alignnone" width="321" caption="Me in my new skirt."][/caption]

I hemmed the skirt up, but wasn't satisfied with the way it fell stiffly, so I unpicked the blindhem stitching, and will use a rolled hem on my overlocker to finish it.

I love the versatility of a white skirt, and especially a maternity one with an wide stretchy waistband.