Monday, March 21, 2011

Dining Room Part Two

I first wrote about our dining room makeover in January (read about it here). We've since made a few more improvements to it. And I'm so happy about how it turned out that I just had to write about it.


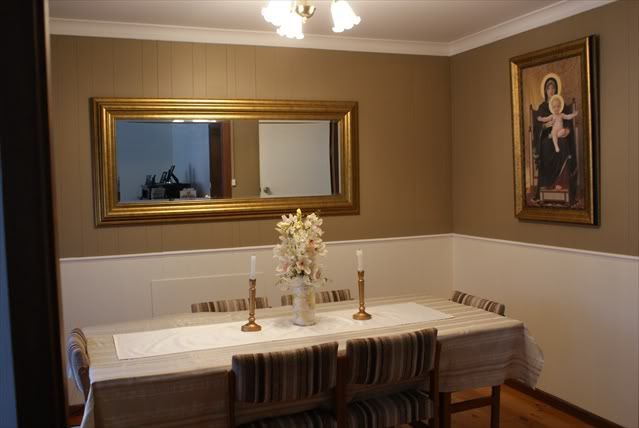
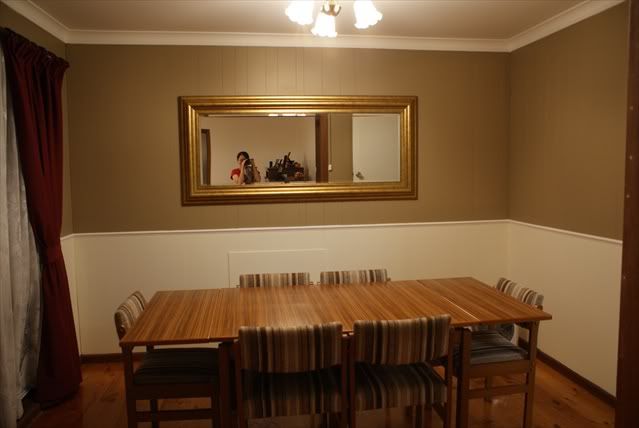
This was the way it looked when it was finished in January. However, as you can see, it still looked rather plain. It still needed a lot more dressing up.

At that time, we were still a little hazy about how to really finish the look of the room. I hated the chair coverings, and at that time, was quite decided that I'd reupholster them-although I have no idea how to do it. We didn't have a nice tablecloth that fit such a long table-we had one that looked very dated and 70's that ruined the look of the room. And that bare wall just begged for a painting.

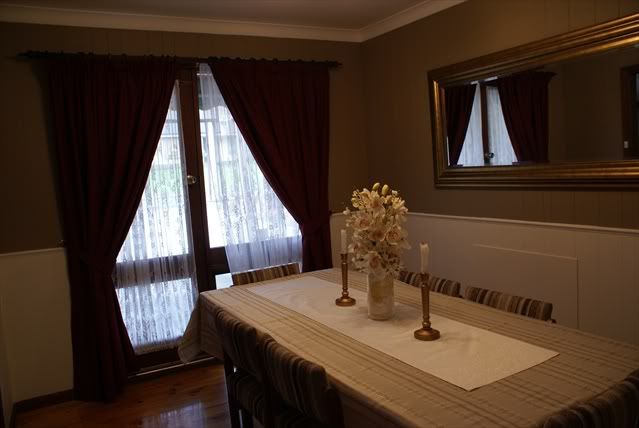
I went to work. I went to Spotlight down my road and rummaged the bargain home dec fabrics table for something suitable for a tablecloth. I got out two candlesticks that had been hibernating in the cupboard for a year. And I made a flower arrangement for the table. I also made a runner for the table out of some remnant curtain fabrics (curtains that I sewed for the kitchen.)

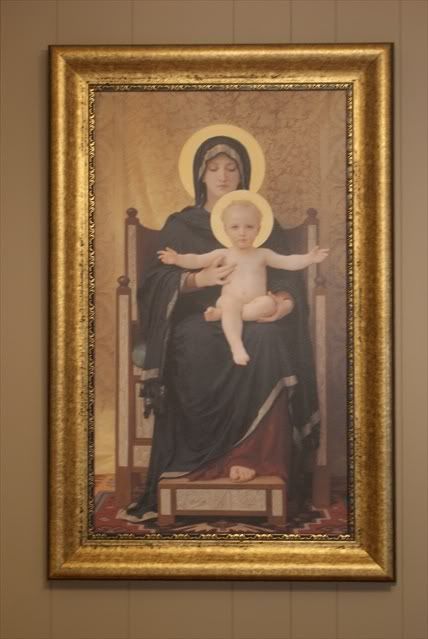
For the bare wall, we went to the local South Australian Art Gallery and had a browse of their selections and ordered a canvas reproduction of an exquisite life-sized painting in half-size. And then had it framed to suit the mirror (and the painting of course.)

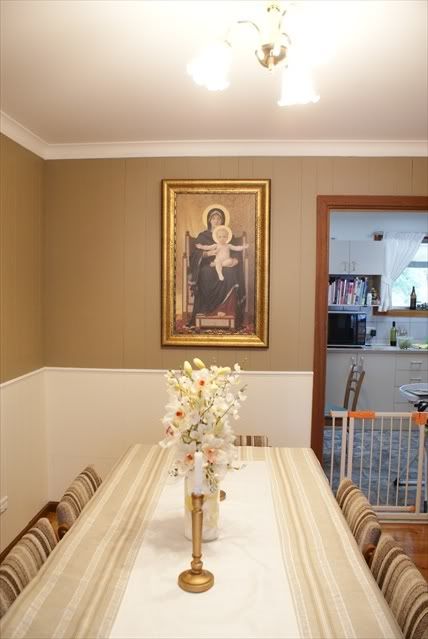
And this is the result.


Part of the flower arrangement came from the floral arrangments from our wedding (I had fresh flowers for bouquets and table centrepieces, but used some artificial orchid sprigs for the pews). The vase is actually a glass biscuit jar stuffed with wide organza ribbons from the wedding to hold the flowers in place. 

The tablecloth is a textured fabric in graduated creams and beiges. And it was a happy coincidence that they sort of match the chair coverings and makes them look quite acceptable. And those candlesticks came from a Salvos opshop!

The painting is a canvas reproduction of William-Adolphe Bouguereau's Virgin and Child (1888). The original hangs in the SA Art Gallery, and is a life-sized painting of Our Lady and the Child Jesus. Bouguereau was an artist of the Classical school, and was famed for his ability to paint luminous and life-like skin tones. His skill in painting the hands and feet was second to none.


The detail in the painting is amazing. The gold backdrop has folds to depict drapery, and even the halos are ornately decorated. We went to visit the art gallery before we took the plunge, but it wasn't a hard decision. We knew we loved the painting and had to have it.

So there you have it. We are quite, quite happy with our dining room.

Sunday, March 6, 2011

Print Maternity Twist Top

My library got hold of the Pattern Magic book for me last December. I poured and salivated all over it, especially the page on making a twist top. Since I've started patternmaking, I've been puzzling over how to actually draft a twist top from scratch-most patternmaking books don't go into that, and I've got no dummy to drape and experiment over. The Pattern Magic book drafts for wovens, not knits, so I imagine that drafting a twist top would need more precision than drafting for a knit, which would be more forgiving.

When I got hold of this book, I started to go through all the possibilities of drafting twist tops with the fabrics I had. I had in mind some polyester prints my mum brought over from Malaysia to play with.

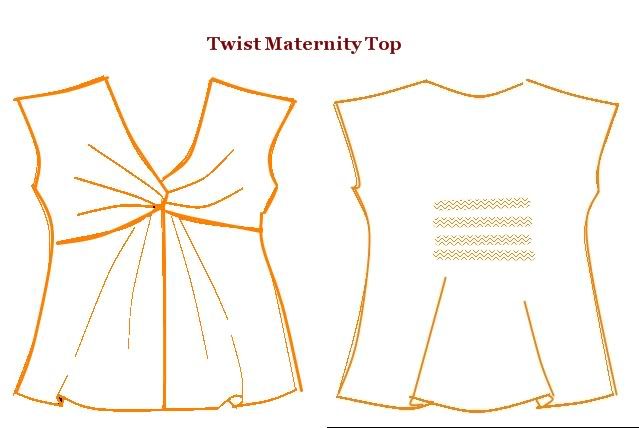
I wanted to draft a simple woven twist top with lots of drapey gathers on the belly for a maternity style. I wanted a loose fit, but with some waistline definition. However, the top had to be simple, no back seam, no closures, have a wide enough neckline for the head to go through etc.I decided on the design below-dropped sleeves with a one-piece back defined by an elasticised waist.. I've included the drafting process below.


I used my personal block to trace out the outline of the top.


I've discovered that cheap sew-in interfacing is great for tracing. That's what I used to trace over my personal block (on manila card).

I drew the outline of my top over the shoulder, centre front and side seams. Being a twist top, I drew in a v neckline. I also wanted a drop sleeve, so I extended the shoulder 1 cm up and 10-15cm out over the original armhole. I've included the darts as well.

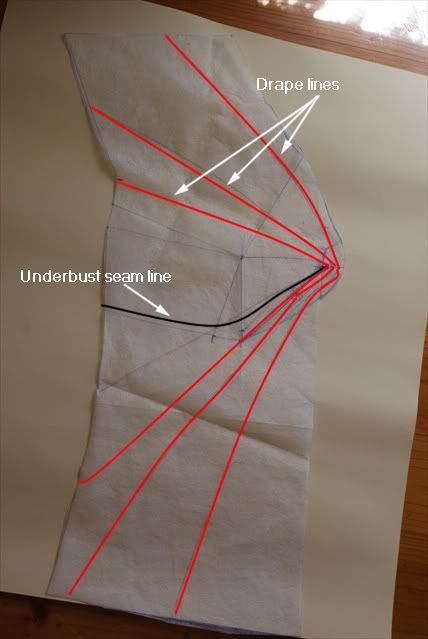
Where the red line forms a half circle at the centre front, that's where the twist occurs. Draw a small circle of 5cm in diameter if you want a tight twist, or draw a larger circle if you want a more relaxed twist.


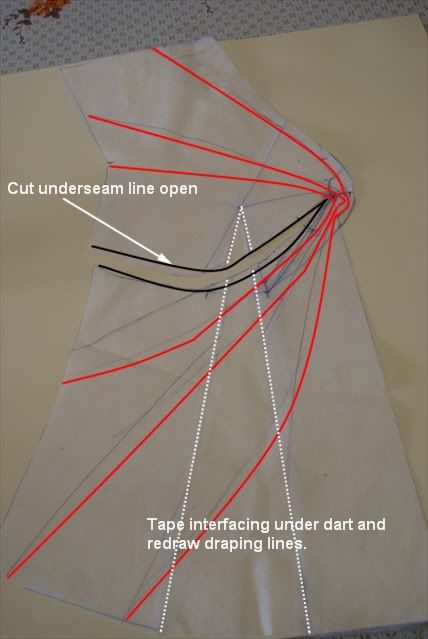
 The red lines represent the draping folds. I learnt that the patterndrafter decides where the folds go when they draw the draping lines in. These lines must go through the half circle but must not touch each other, and should preferably by equidistant from each other. Later, you will see how cutting and spreading the draping lines will create excess fabric that will form beautiful folds when you form the twist. 

The underbust seam allows the twist to be formed by creating a loop. The loop is simply the unsewn part of the underbust seam, about 4cm long, at the centre front.

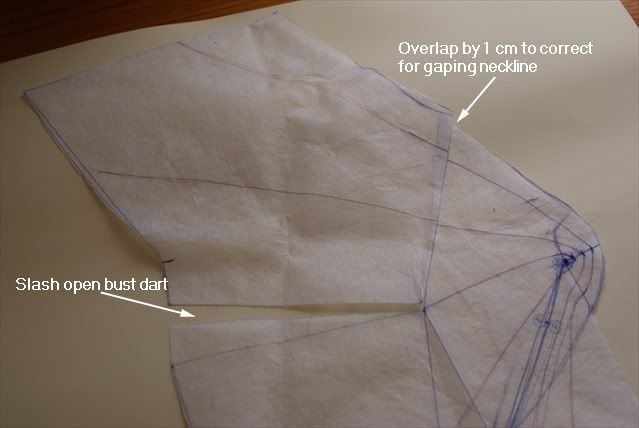
To correct a gaping neckline, slash from neckline to bust point and overlap by 1cm. In order to do this, you'll have to slash the bust dart open. This is be closed later.

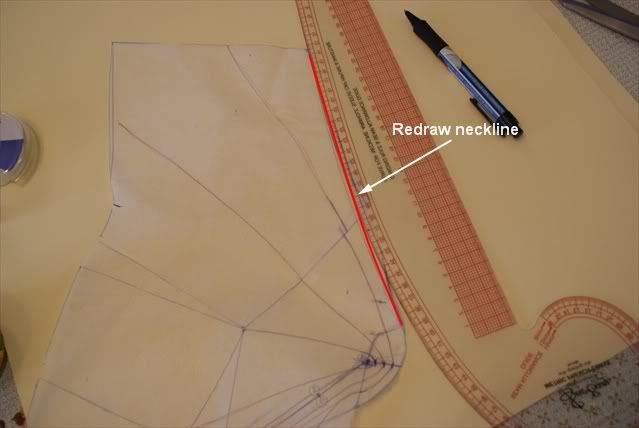
 Redraw and smooth out the new neckline.


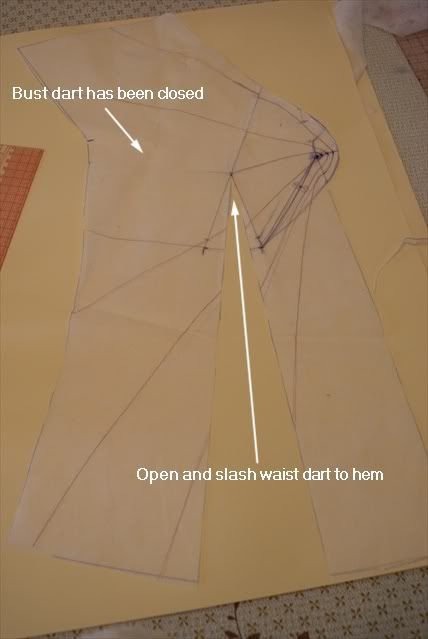
Slash from hem to bust point and open. Close bust dart.

Because this is a maternity top, I wanted a loose fit, so instead of shaping the darts below the bust, I left the darts open, and taped in more interfacing under the dart and drew the draping lines over it. Normally you would want to close that dart by joining each section of the continuing draping panels together to get a slimmer fit.

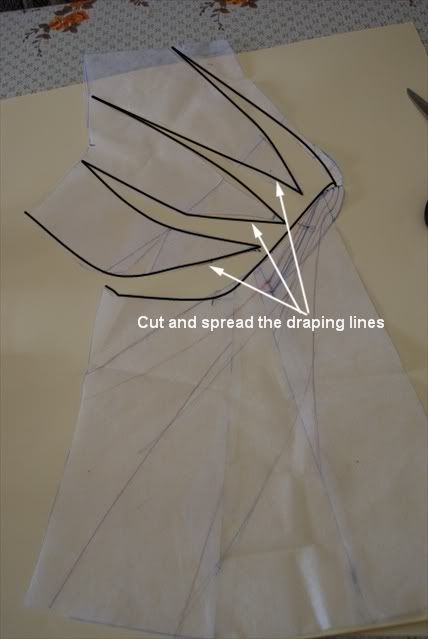
The underbust seam AND the draping lines are then cut open.


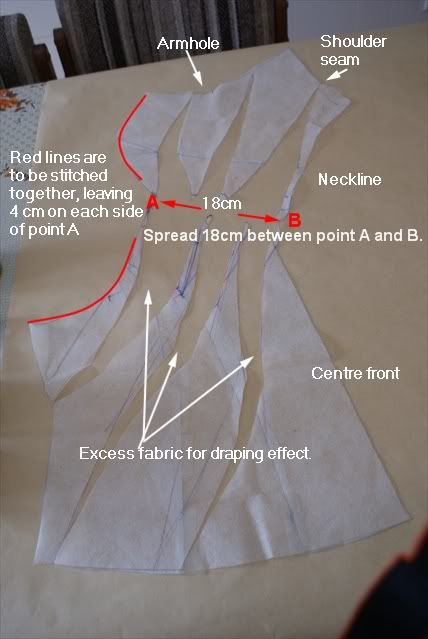
When all of the draping lines have been cut open, spread it so that point A and B are 18 apart. I labelled the underbust seam, shoulder, neckline and armhole so that I didn't get confused. 

When slashing the draping lines, leave a little hinge at point A and B, or tape them together so that they are connected (but not overlapping).

Make a notch 4cm of either side of point A on the underbust seam. The seam will be sewn till that point only, creating an unsewn loop for which to thread the opposite garment piece through.


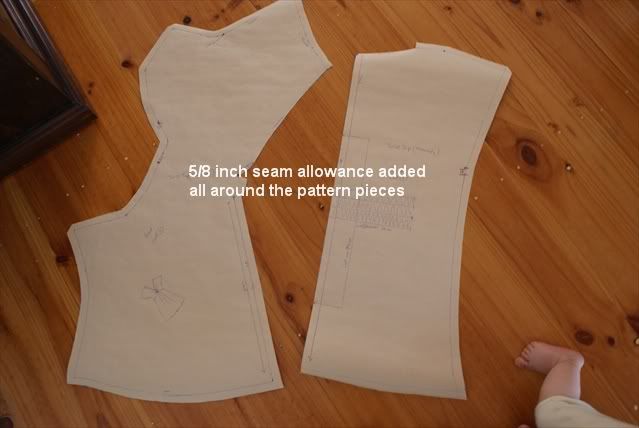
Here are the pattern pieces with 5/8 inch seam allowance added all around. Cut 2 of the front piece, and cut the back piece on a fold. (I didn't show the patterndrafting process for the back because it's a one piece, only needing to match the shoulder seam lenghts, and side seam lengths).

Isn't that a cute little foot?

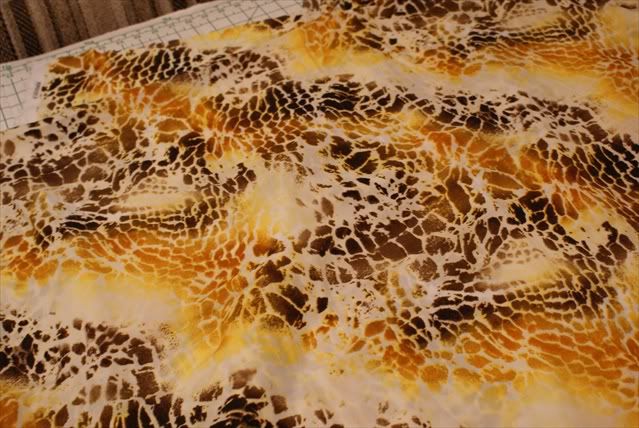
This is the fabric I used for the top. It's a polyester print, reminiscent of an animal print I think, but more wearable and cheery and less cougar-like I think. 


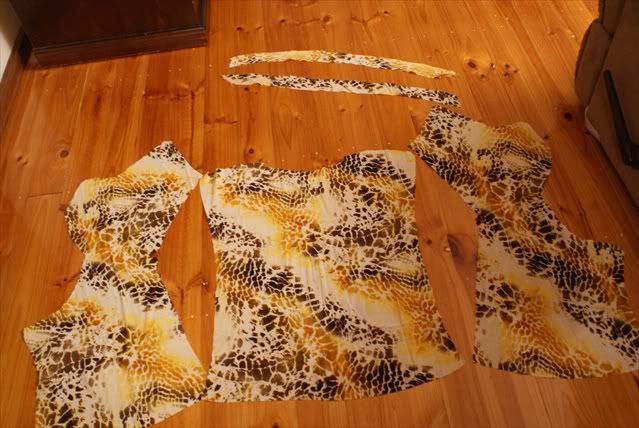
Here are my pattern pieces all cut out.


The 2 long thin pieces are bias cut for finishing the neckline. Normally with knit twist tops, the neckline has a self-facing , cut as one with the front garment piece. However, I didn't think it would work with a woven, so I decided to finish the neckline with a bias binding.

Below was my order of construction.


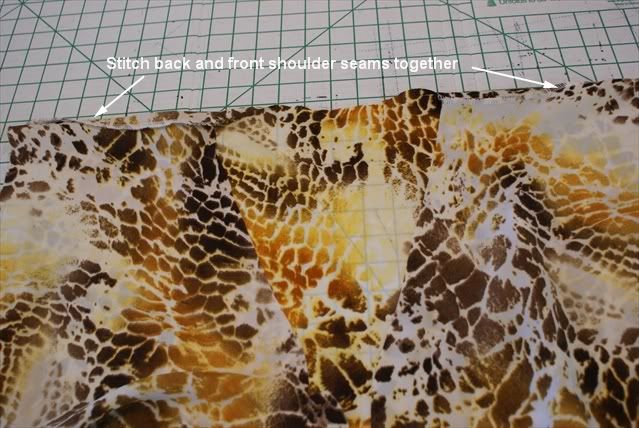
I stitched the shoulder seams first.


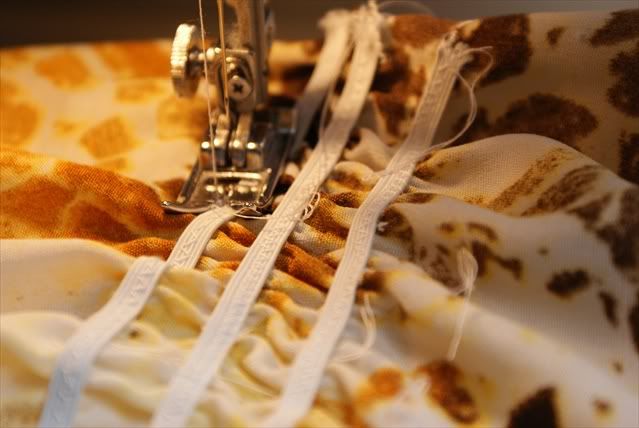
Then I sewed the elastic onto the back waist. Those hanging thread tails you see are tailor's tacks to mark the centre and ends of where the elastic should go. I cut the elastic 10 cm shorter than the width of my markings on the pattern piece. I pined the elastic at the ends and at the centre of the line markings, and stretched as I sewed. There were 5 lines of elastic to create a shirred backwaist.


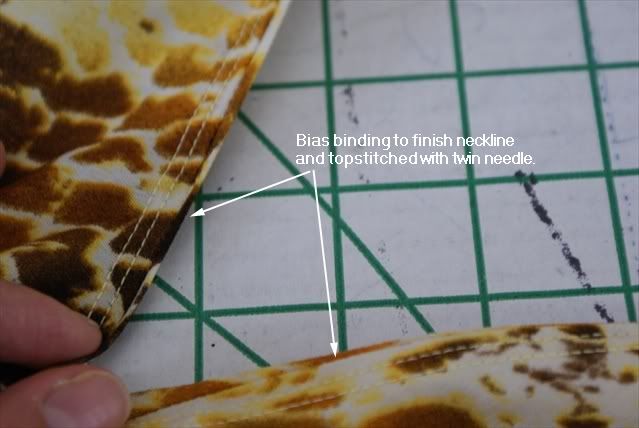
To attach the bias binding, I pressed the bias strips in half, stretching as I pressed to make them more malleable. The raw edges were overlocked first, then matched with the raw edge of the neckline, with the bias binding on the right side of the fabric. It was then sewn all the way around the neckline. Before topstitching over it, I pressed it open, with the seam allowance facing towards the inside of the garment, and the bias binding peaking out on the right side of the fabric. It was then topstitched with a twin needle.


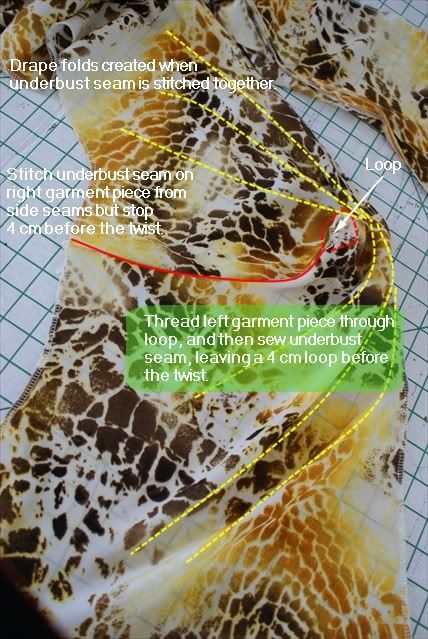
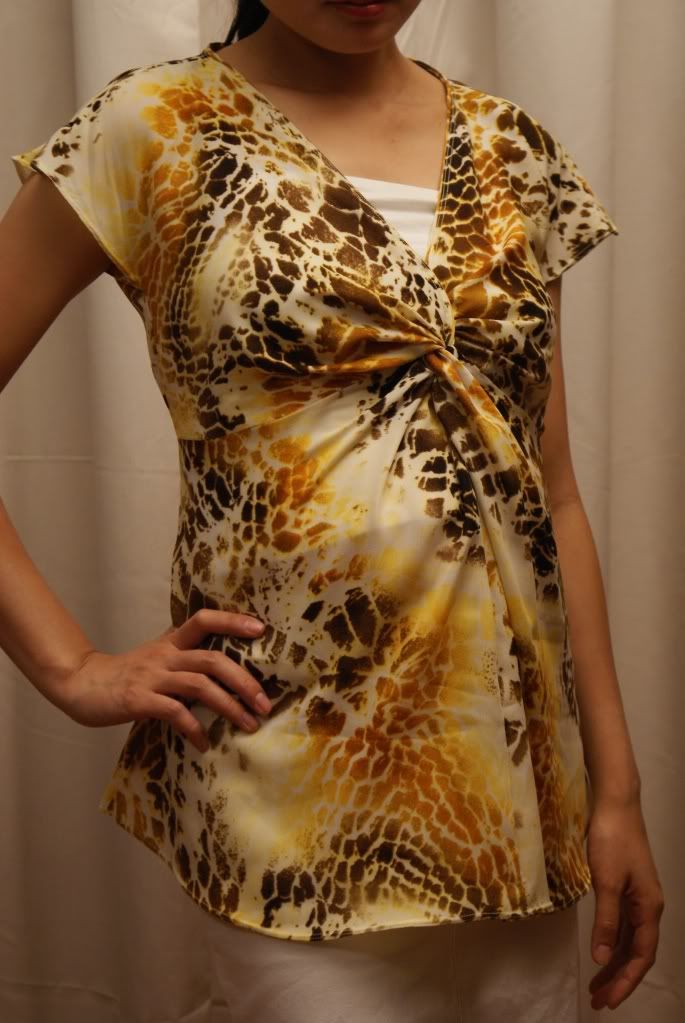
This was the most exciting part for me. I choose to sew the right garment piece first. The underbust seam is stitched to that notched point, 4 cm from point A, forming an unsewn loop. Here you can see all beautiful drapes and folds that is created when that seam is sewn. Then the left garment piece is threaded through the loop, and the underbust seam sewn to the notched point as well.

After this, all that is left is to sew the side seams, and hem the bottom. I finished the sleeves by simply overlocking and then sewing a narrow turned hem. And tada!!!!


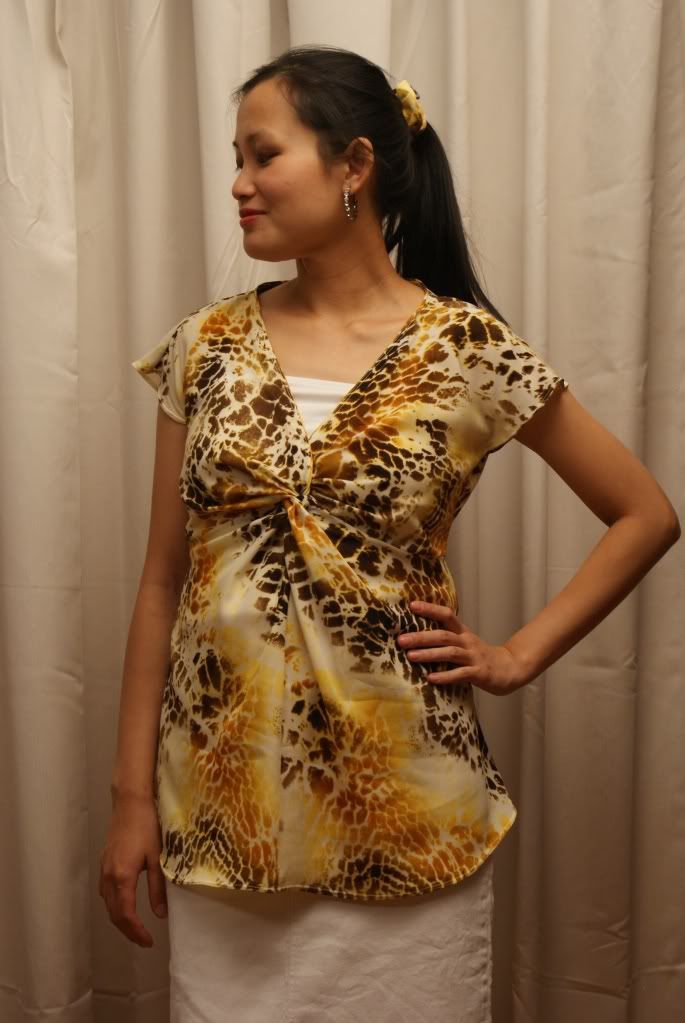
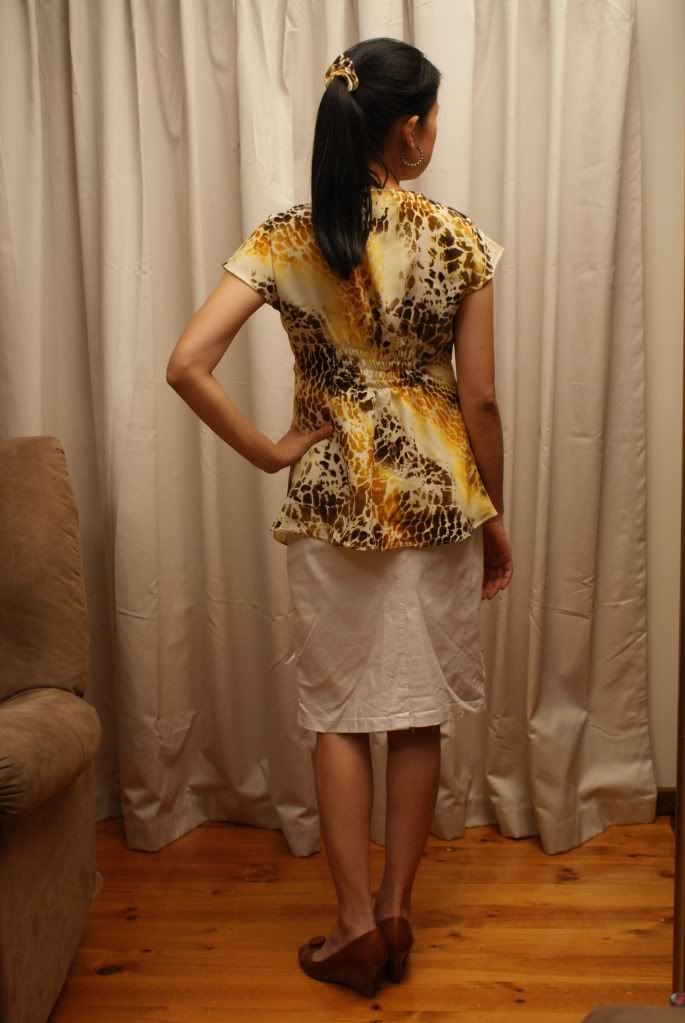
Here I am modeling it.


I have to admit though, that I resorted to tacking the twist so that it stayed in place, because the underside of the bias binding showed through the loop in the twist. Also, it was a little too roomy, so I took in the sides. The shirred back waist helped define the waistline better despite the absence of darts in the front for shaping purposes.

All in all, I'm quite happy with this top, and will probably make more.
Saturday, February 5, 2011

One Dollar Sewing Books

I woke up to a beautiful morning today-beautiful weather in the low twenties, a nice break from the 36-43 degree weather we've had the past week. So I decided to visit a park in one of the eastern suburbs with William. While I was having a look around the place, I noticed a secondhand bookshop in the corner and decided to check it out.

At the door, they had a one dollar book trolley, which to my amazement, had at least 8 books just on sewing and patternmaking. Most secondhand stores and opshops don't carry anything about sewing worth buying, but these were really good, hard to find secondhand books in mint condition. Needless to say, I snapped them all up, and the nice lady brought out some more she had at the back. My eyes nearly glazed over with the stack of books I had.

See, every now and then, I'll go on Amazon and read reviews of sewing and patternmaking books, and I would make a list of all the books I'd like to get my hands on. Once I want to learn about something, I'd get every piece of information available about it, and still wouldn't be satisfied. It's because I love books, I love reading, and now I'm addicted to sewing and patternmaking. Much like people collect recipe books, I collect sewing books. When the TAFE or WEA course book comes in the mail (FYI, these are short courses and community learning programs for adults), I'd read the fashion section to see what was being offered at the time. They'd have dressmaking, alterations, bra-making, corset-making, patternmaking classes etc. I'd love to attend, but being a mum with a very attached little man, it's a bit hard.

Aside from that, I learn very well just from books-I taught myself how to knit, sew, draft and cut patterns for myself just from books. It doesn't work for all people, I think most people would benefit immensely from having an instructor to teach hands-on. But visual learners could probably manage without if they need to.

I also tell myself (and Wyld Man) that for the price you'd pay to attend these courses, you can buy loads of books and materials and learn to do it yourself. So my love affair with sewing-related books continue.

Anyways, these are the titles I got this morning.

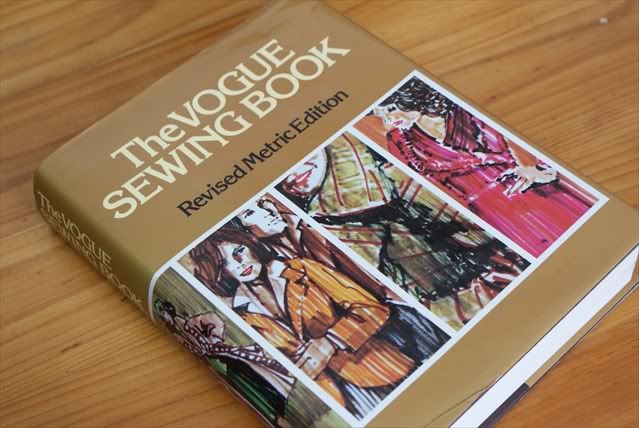
1. The Vogue Sewing Book: Revised Metric Edition. Pub.1978.
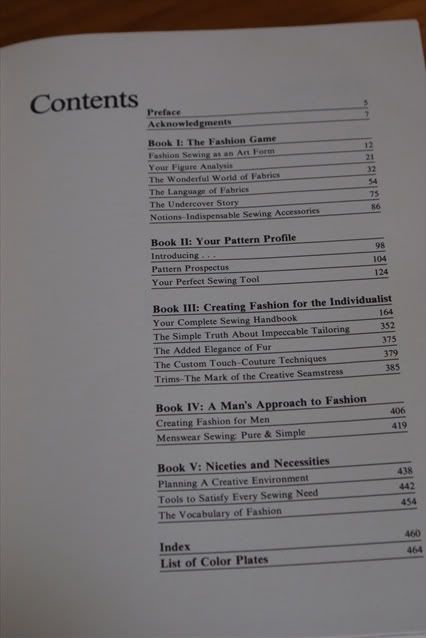
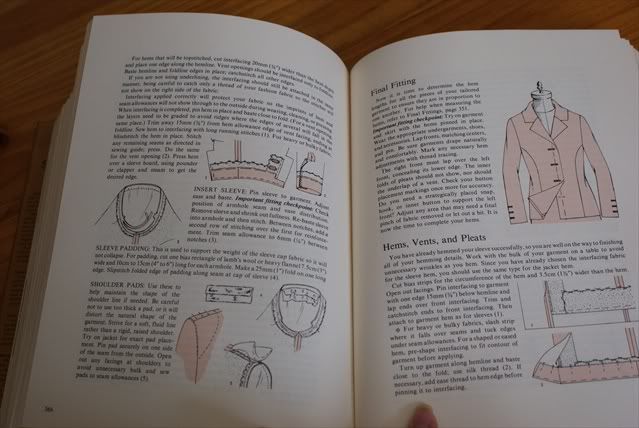
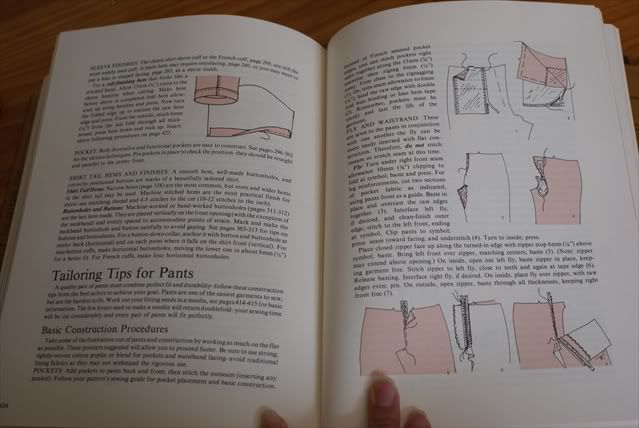
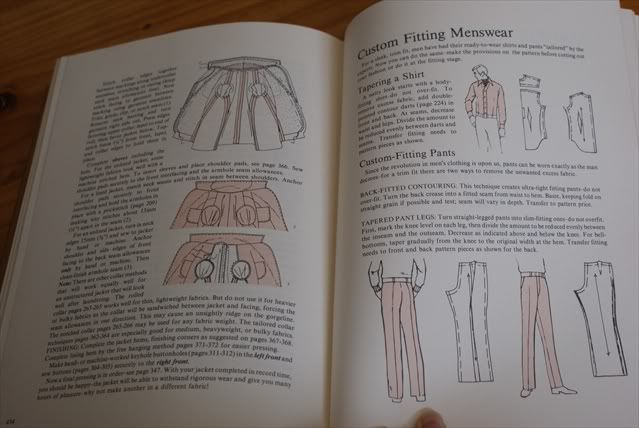
This is a hefty book at 464 pages thick. It was also the most expensive of the lot I bought at 15 dollars. But anything Vogue puts out is good. This book covers more than just the usual basics. It has a chapter on sewing menswear and fitting for men, tailoring, and even talks about using fur and feathers for embellishments. There is a page on how to build a cutting table, as well as a big chapter on common fitting problems. I've added the Contents page below.

Some pages from the book are below.

 
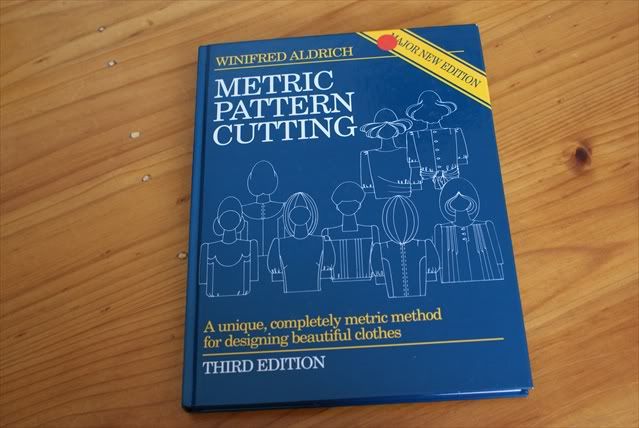
2. Metric Pattern Cutting by Winifred Aldrich, 3rd Edition. Pub 1996.

This one was a real coup. I couldn't believe that they were selling this for a dollar. My Metric Pattern Cutting for Women's WearI bought at Dymocks for AUD76.95. I've now got the whole series, including the ones on menswear (Metric Pattern Cutting for Menswear)and childrenswear(Metric Pattern Cutting for Children's Wear and Babywear).

I really love this whole series by Aldrich. Her books are surprisingly thin, but very dense with information. I learnt most of what I know about patternmaking from her book on womenswear.

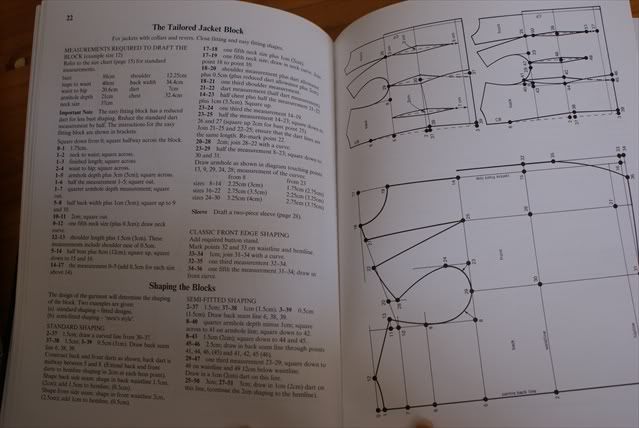
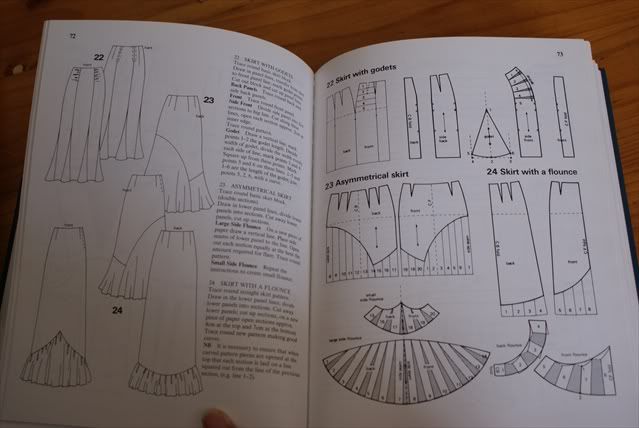
Here is an inside look at her book.
As good as her book is though, I've found though that she drafts with a lot of ease, even with the close fitting block. And the bust apex follows a set formulae instead of your personal measurements. This can point your dart somewhere else rather than your actual bust point. But if you have some knowledge of pattern drafting, it is easily corrected. The strength of this book lies in the extensive illustrations. Her explanations are very brief, but to the point. No wasted words here.

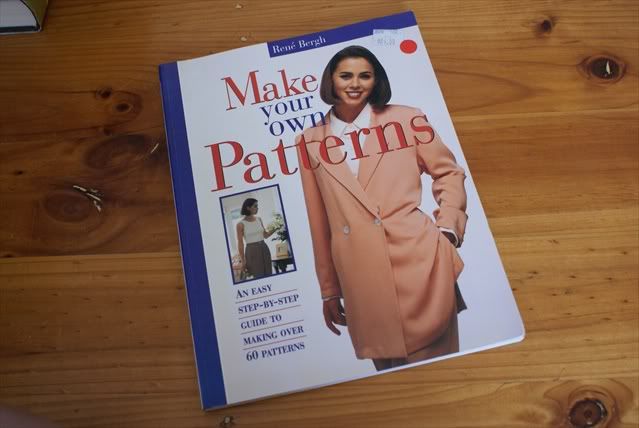
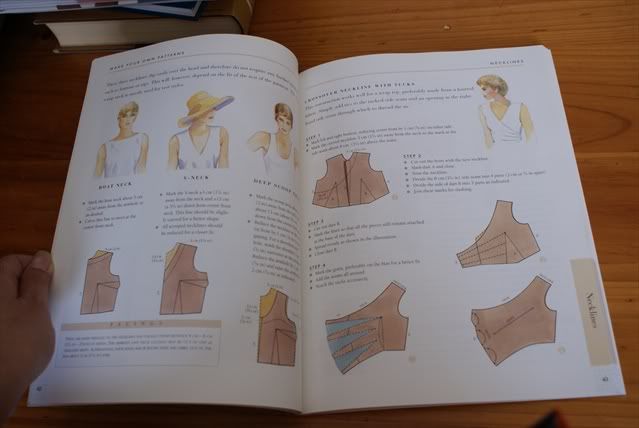
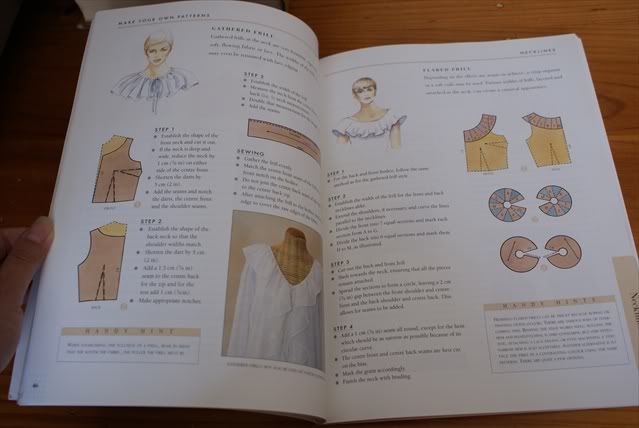
3. Make Your Own Patterns: An Easy Step-By-Step Guide to Making Over 60 Patterns by Rene Bergh.

 Time and time again I've seen this book on Amazon or Alibris and read good reviews about it. So I was really glad to find this book, especially one in such excellent condition. It is 128 pages, with glossy full colour illustrations. It covers how to make your own bodice, sleeve, skirt and pants block, as well as how to draft different necklines, sleeves, and skirts. Looks very promising indeed.

`
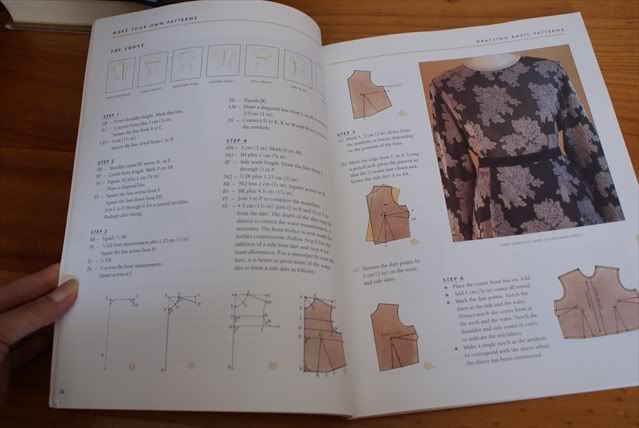
Above is the page on the bodice block draft.

Aren't the illustrations pretty? This is the first pattern cutting book I've seen in colour.


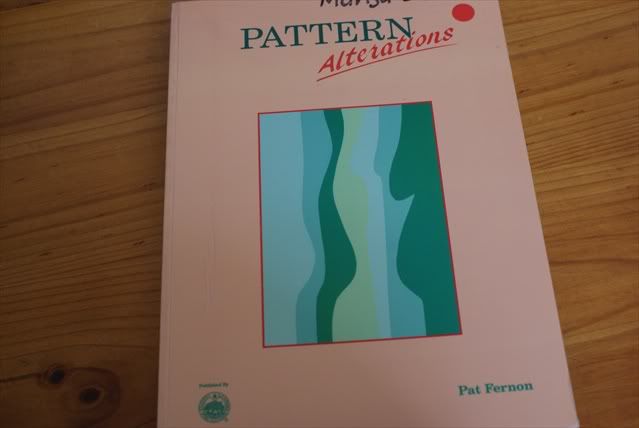
4. Pattern Alterations by Pat Fernon. Pub. 1990 by TAFE Publications. 


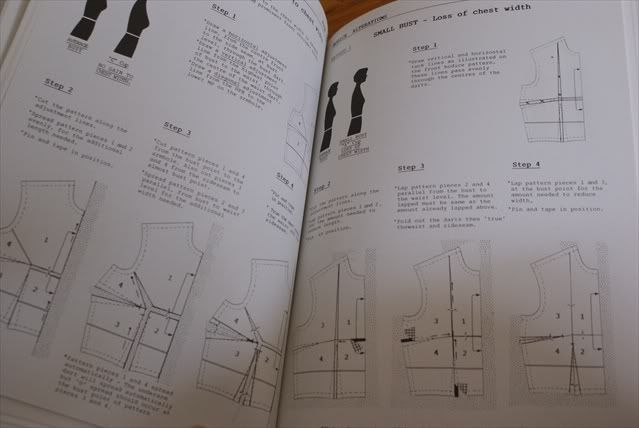
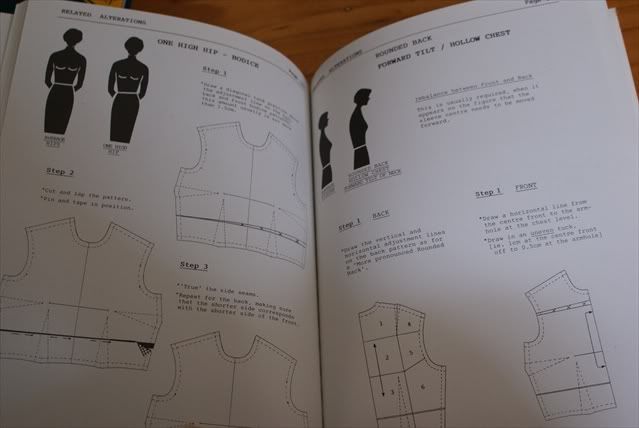
This is a fairly comprehensive book on fitting problems. It does not teach you how to draft, only to fit commercial patterns. There is a companion book called Figure Analysis, but it seems quite good on its own. Being a TAFE publication, I reckon it's quite rare, and you can't really get it anywhere else.

It covers some unusual alterations such as 'prominent shoulder blades on a narrow back' and a 'bottle neck' (what in the world is that?!!)

My next finds were:

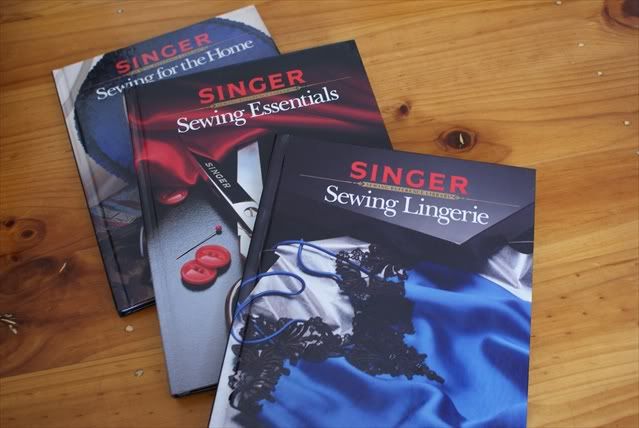
5. Singer Sewing For the Home Pub 1995, 128pp. This is a good basic book on home dec. I don't like project based home dec books-but this one guides you through home dec techniques such as how to measure curtains (I recently tried to measure my windows to make curtains, and believe me, I got confused about how much fabric I needed to the pleats!), how to line curtains, hem tablecloths and apply mitred bound corners to place mats.

6. Singer Sewing Essentials Pub 1984, 128pp. A very basic book to have, and I daresay I'm familiar with most basic techniques, but I couldn't pass up the chance to start collecting the Singer books. It has tonnes of gorgeous pictures instead of illustrations.

7. Singer Sewing Lingerie Pub 1995, 128pp.

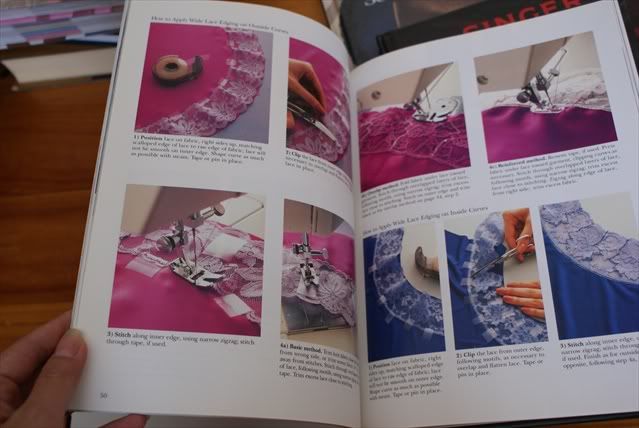
I was really happy to get the three from the same series. The Singer Sewing Reference Library books are packed with step by step photos over a broad range of subjects. Of the three books, my favourite was the Sewing Lingerie book, because there are so few on the market. This book also has glowing reviews on Amazon.
It covers lingerie fabrics, lace insertion and application techniques, how to make slips and camisoles, loungewear and sleepwear. However, it's a pity it does not cover bra-making.

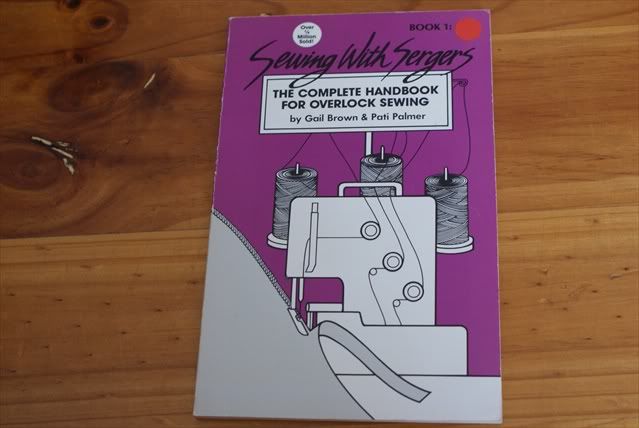
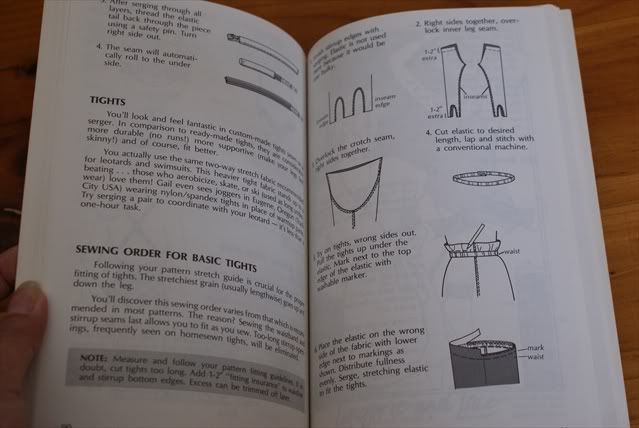
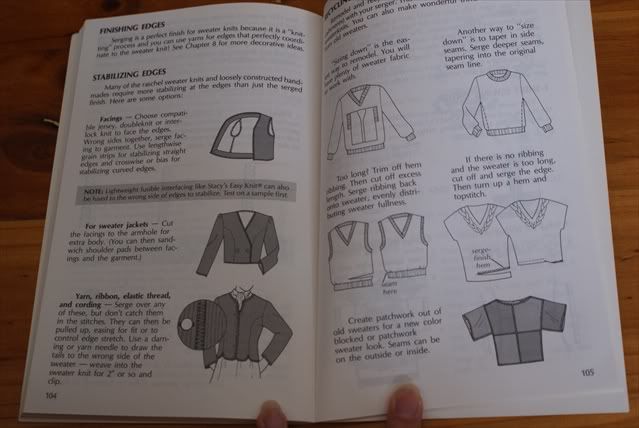
8. Sewing With Sergers: The Complete Handbook For Overlock Sewing by Gail Brown and Pati Palmer. Pub 1990. 128pp.
 A really good book on sergers. However, being black and white only, it's a bit boring.

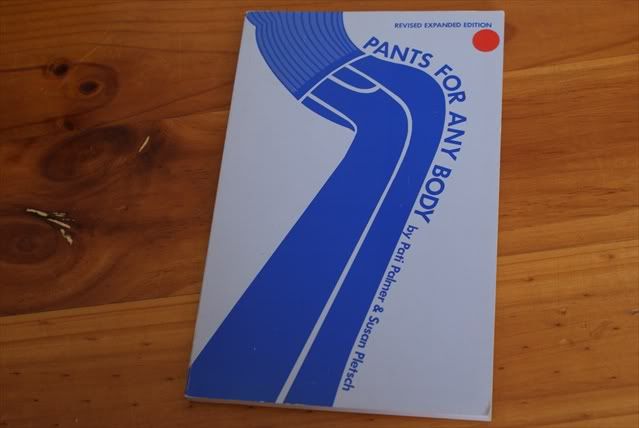
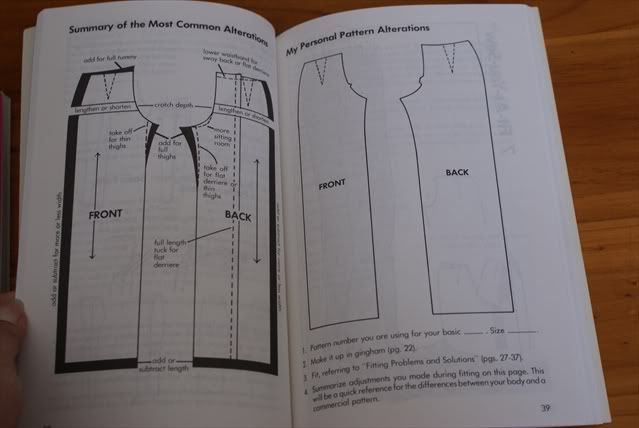
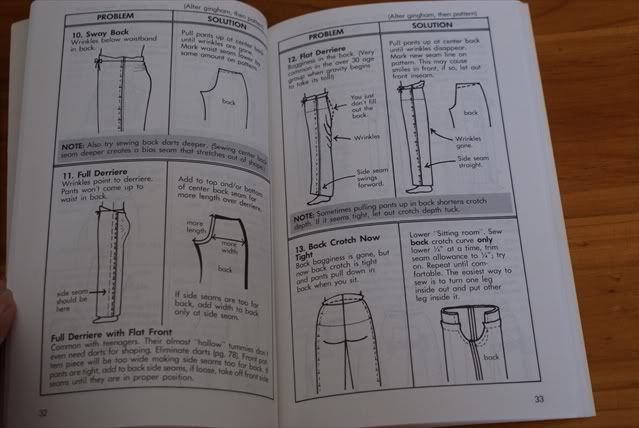
9. Pants For Any Body (Revised Expanded Edition) by Pati Palmer and Susan Pletch
I haven't sewn any pants yet, but having read the multitude of problems sewers face when they try to sew and fit pants, I thought it would be a good idea to have a pants book around. However, I think the newer version called Pants for Real People: Fit and Sew for Any Body (Sewing for Real People series) would probably be better, as it is in full colour instead of black and white illustrations.
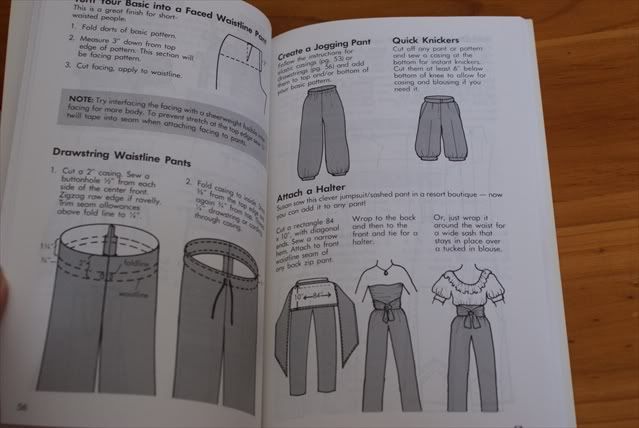

  A good book to get.

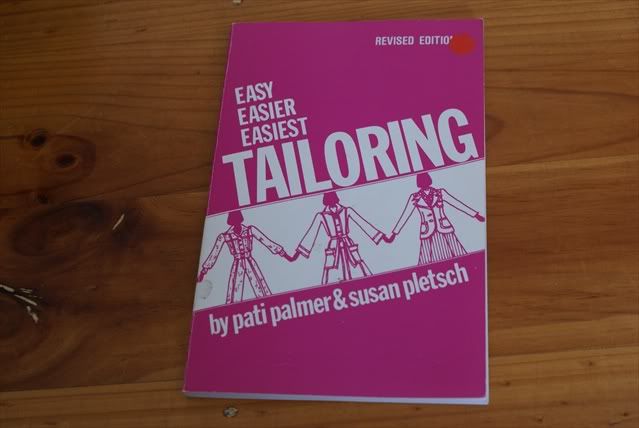
10. Easy, Easier, Easiest Tailoring (Revised Edition) by Pati Palmer and Susan Pletch
This book is about tailoring shortcuts. It's not about custom tailoring. It's an ok book for an 8-hour-jacket, but I'd probably refer to the newer edition called Jackets for Real People: Tailoring Made Easy (Sewing for Real People series). Again, black and white illustrations.

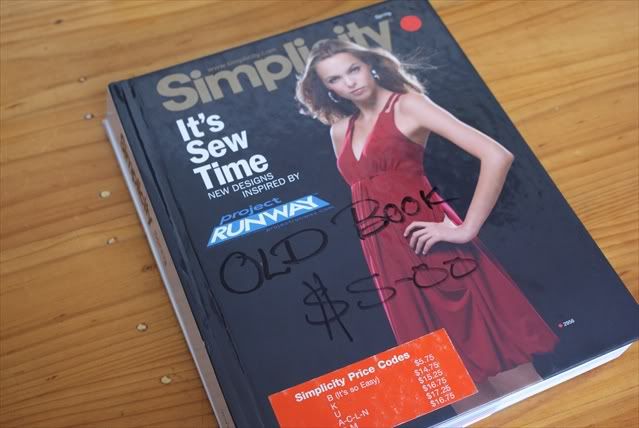
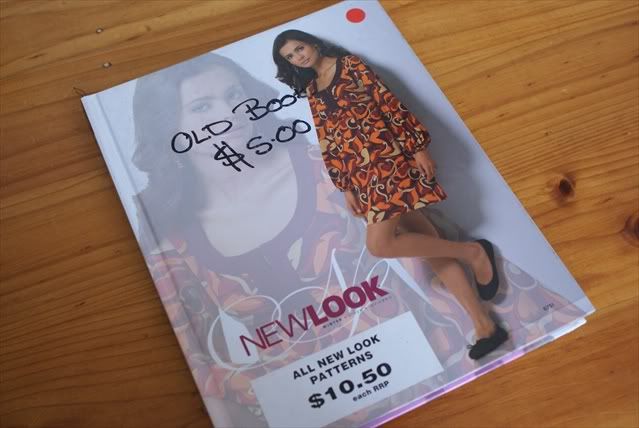
Lastbut not least, I got 2 pattern catalogues, a Simplicy Spring and New Look Winter.


Why would anyone buy a pattern catalogue? To get drafting ideas on different blouses, dresses, necklines, sleeves etc; fabric suggestions for certains looks and patterns as well as an idea of the yardage needed for a design. Technical drawings are what I like about pattern catalogues, because when you draft from scratch, a coat for example, you need some reference as to how wide the collar or pockets should be. The style lines in the technical drawings are very helpful. When I see an interesting and unusual pattern, I like to turn it over in my head like a puzzle and figure out how it was drafted.

Everything I bought was a dollar each except for the Vogue Sewing Book and the Singer books (which were four dollars each). So I spent 35 dollars on 12 books in all.

This made my day!